
BUON NATALE PANEL IDEAS #2: QUILTED AND FRAMED ORNAMENTS
This nostalgic BUON NATALE CHRISTMAS CARD PANEL fabric can be used for the backing of any Christmas project for a perfect holiday finish. It can also be used to make stockings, pillows, or as gift wrapping paper! BUT, it can also be cut up into individual images and made into a huge assortment of tiny hand projects and crafted items.

The panel comes in 2 colors: pomegranate red [35408-24] and pine green [35408-26].
Each fat quarter yields a wonderful assortment of (21) images to work with:
- (10) larger ones ranging from 4″ square to 3″ x 4 1/2″ -and-
- (11) smaller images ranging from 2 1/2″ square to 2 1/2″ x 3 1/2″
- PLUS a decorative border that can be used in crafting, as well.
……
Today is the second installment of hand projects and crafted items using single images from the BUON NATALE CHRISTMAS CARD PANEL fabric – this time with goodies from my good friend Susan [@thefeltedpear].
Don’t forget to check out FIRST INSTALLMENT BLOG POST of projects – including Christmas Cards, Coasters, and Pincushions! CLICK HERE for the first set of goodies and peruse below for the second set of creative ideas!
……
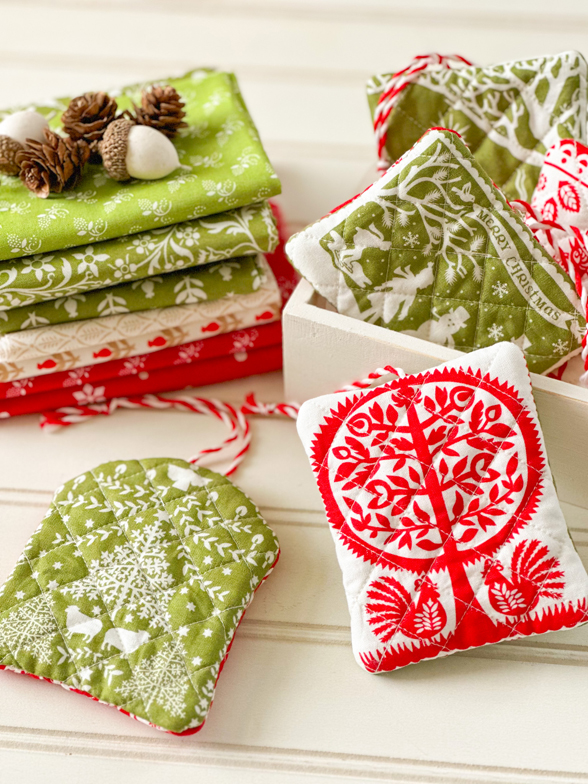
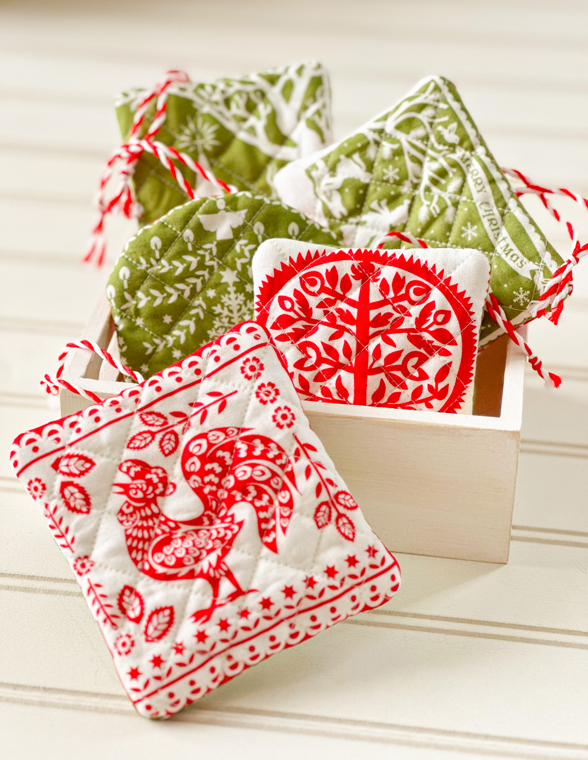
QUILTED ORNAMENTS
MATERIALS:
- Batting -or- Fusible Fleece [PELLON (987F] Scraps
- Fabric Scraps for BACKING
- Twine or Ribbon for Hanging
- Coordinating Thread
- Point Turner -or- Chopstick
SIMPLE TUTORIAL:
- Decide on your favorite CHRISTMAS CARD images and rough-cut them out, leaving at least a 1/4″ all the way around for turning (without cutting off part of the chosen design).
- Cut batting slightly larger than your focus image.
- If using fusible fleece, you will want to cut it to the same size and iron to the wrong side of your focus fabric. Cutting larger could cause fusible to stick to your iron -or- your ironing board.
- Add quilting to your ornament “front”.
- Susan used a diagonal crosshatch design.
- Find a fabric scrap large enough for your ornament “back” and cut to match ornament “front”.
- Layer your back and front right sides together [RST]. Cut a 6″ piece of twine or ribbon and fold in half. Pin to the center of your ornament “top”, between the front and back layers. Be sure to catch the twine/ribbon as you sew all the way around, leaving a small opening on one of the sides for turning.
- Turn ornament right side out [RSO]. Use a point turner or chopstick to help with any corners. Hand stitch the opening closed.
- Tie your twine/ribbon ends for immediate hanging!
……
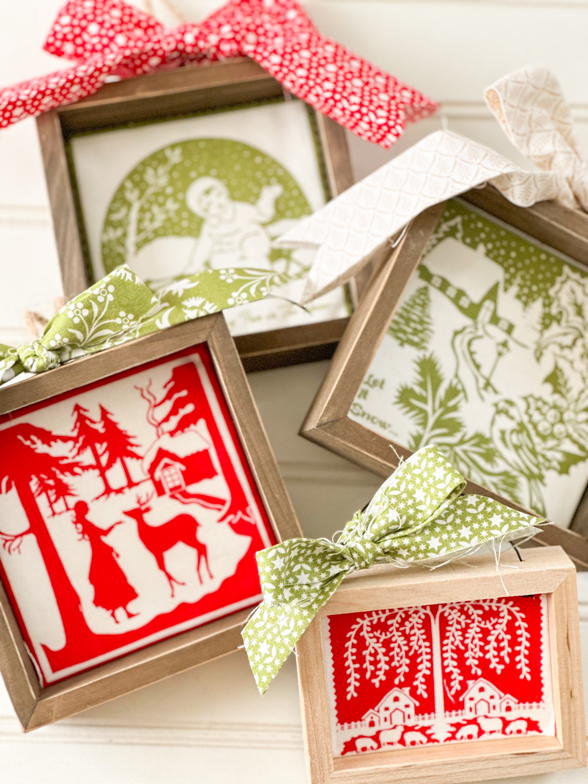
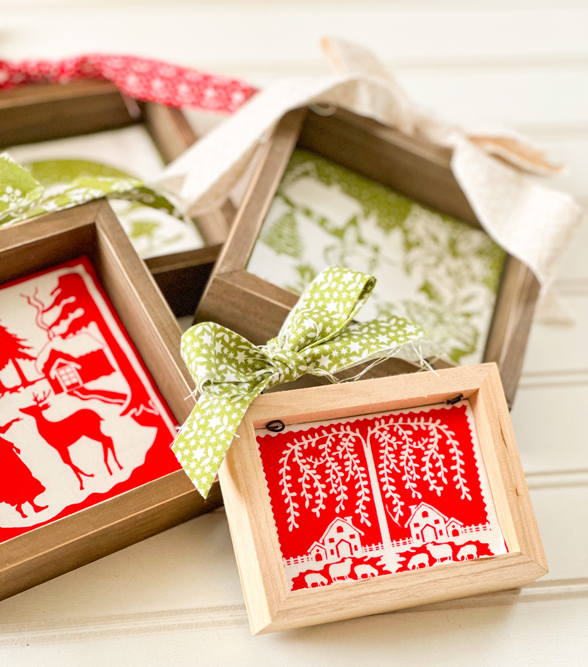
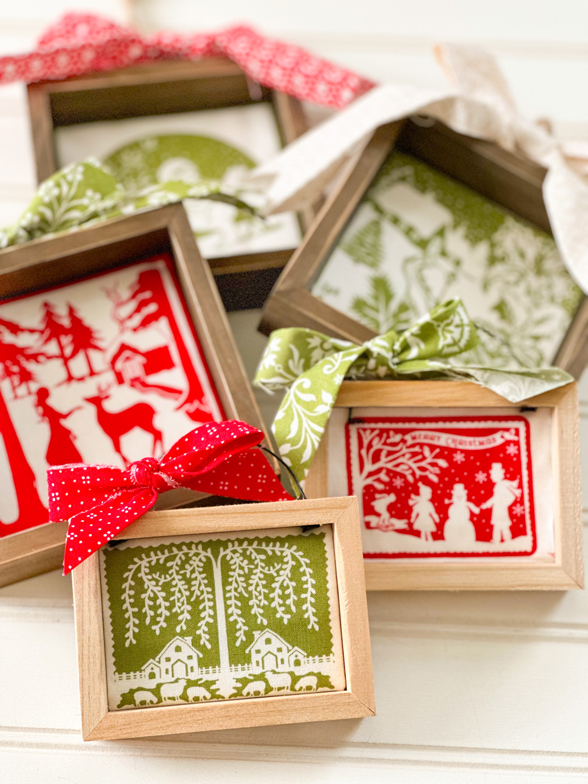
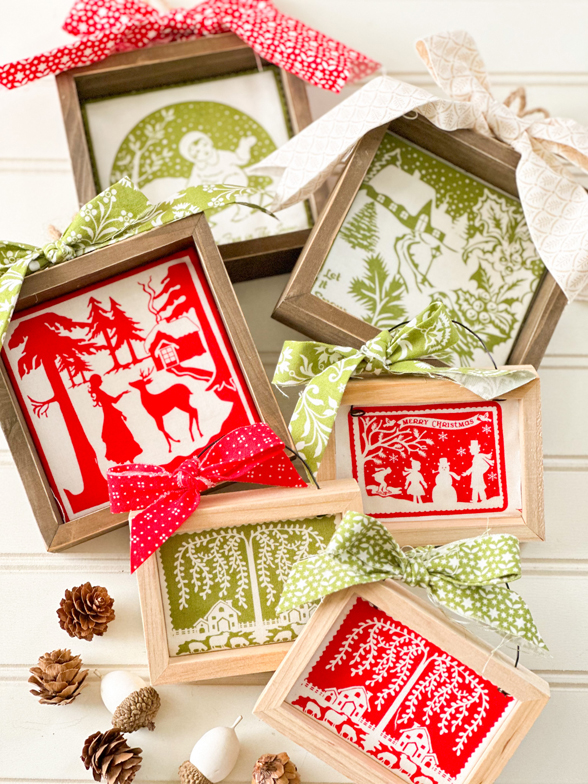
WOODEN FRAMED ORNAMENTS
MATERIALS:
- Press-On Self-Stick Mounting Board 8″ x 11″ Sheets [Amazon]
- Wooden Frames [Variety of Sizes]
- Hobby Lobby SKU 205333661 and 105049432 – Seasonal Availability
- Cross Stitch Finishing Tape [3/4″ Moda Stock # ISE 803]
- Ribbon -or- Fabric Scraps
SIMPLE TUTORIAL:
- Measure the inside of your wooden frame. Choose a CHRISTMAS CARD design that will fit nicely within the frame dimensions.
- Rough cut the focus image out, leaving at least 3/4″ all the way around for turning/finishing.
- Cut your Mounting Board to the same inside measurement of your wooden frame.
- Remove the self-stick and place your Mounting Board (sticky side down) to the wrong side of your fabric, centering your chosen design.
- Use the Cross Stitch Finishing Tape (which acts like double-sided tape) to turn the fabric edges to the back of your board, providing a neat finish.
- Mount the focus image inside the frame.
- You may be able to simple slide the Mounting Board into the frame -or- use the Cross Stitch Finishing Tape again.
- Use ribbon or fabric scraps to tie a bow to the hanger.
……
ATTENTION QUILT SHOP OWNERS – PRINTABLE PDF
Are you a quilt shop owner and looking for a handy project sheet to help your customers with ideas? Look no further – download the printable PDF below!
BUON NATALE CHRISTMAS CARD PANEL IDEAS PRINTABLE PDF
……
Totally inspired?! WE SURE HOPE SO! And we aren’t done yet….so stay tuned. We still have a few more projects up our sleeve.
Happy Sewing!
-Joanna & Susan
Sara | 30th May 25
These are adorable! I think these would be great for making an advent calendar!
Sara | 30th May 25
These projects are adorable! I think these little fabric cut outs would be great for making an advent calendar!