
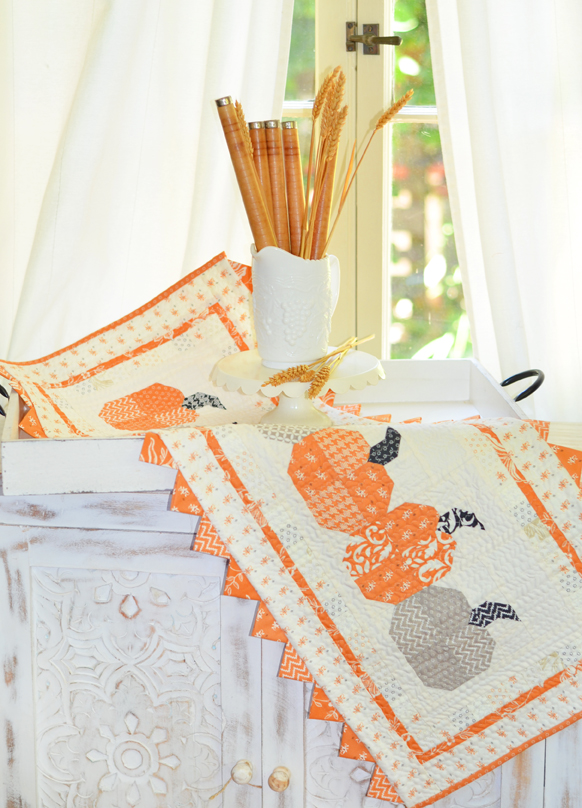
Introducing… Pumpkins In A Row
We are smitten with our newest pattern addition!

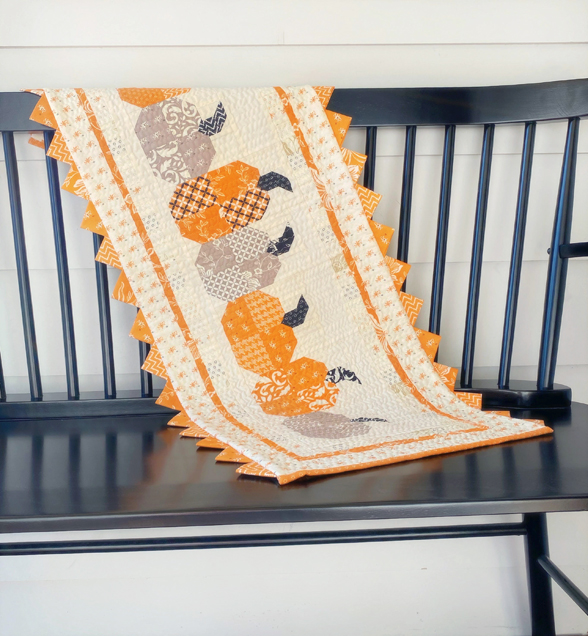
So happy to introduce you guys to our newest pattern… Pumpkins in a Row. The latest addition to our growing “charm pack” quilt projects [among others, they include Pumpkin Trio, Oh Christmas Tree, Daisies and Butterflies], Pumpkins in a Row is such a fun way to use a charm pack of our All Hallows Eve collection or any other favorite Halloween grouping that has a mix of oranges, greys and blacks.
WHAT YOU WILL NEED: With one charm pack you can make all of the pumpkins, the steams and the little scrappy cream border. You need to add some of our favorite ivory solid for the background [available in the shop anytime], an orange print for the inner border, a group of any of your favorite oranges for the prairie points and a cream print for the outer border. Substitutions can be made of course… depending on what you have. If you have good greys or blacks, you can use those for the inner border and/or prairie points. We are just suckers for orange… every single time :-)!
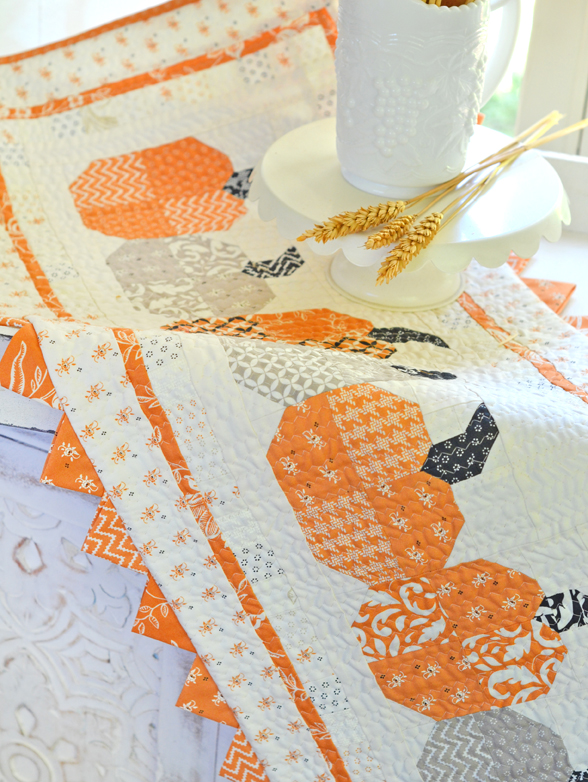
CONSTRUCTION: The construction is simple and totally straightforward using our favorite SEW AND FLIP method. If you are familiar with our patterns then you know exactly what I mean. Is fun and easy! For those of you who are new to Fig Tree Quilts patterns, it is a basic way to get fabulous shapes like pumpkins and stems without having to work with templates or bias… just squares!

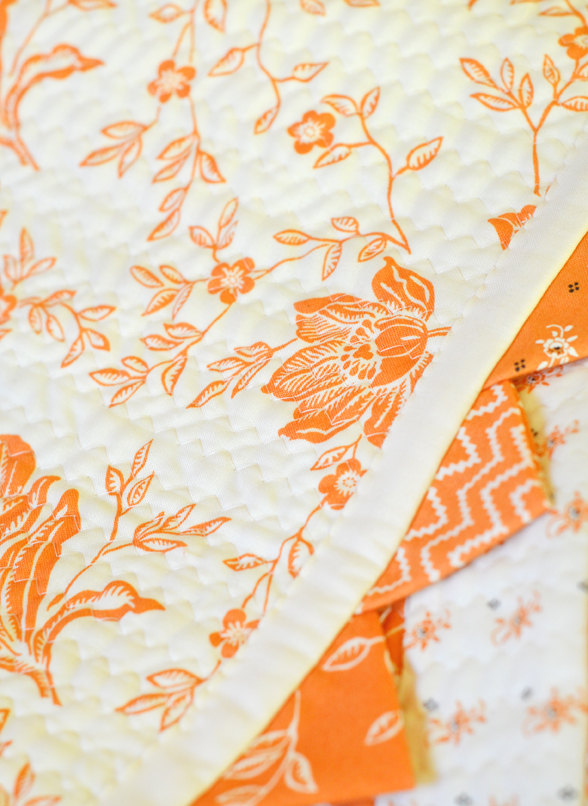
QUILTING: I know for most of us, with a small project like this one, we want to tackle it ourselves instead of sending it out to be quilted. Me too! So although I always send my larger quilts to my favorite long arm quilters, a table runner like this is my perfect excuse to get in a little bit of quilting on my regular machine. My favorite method and stitch? Large zigzags in straight lines. I turn my zigzag to the largest, longest and widest setting I can and I start sewing lines. That’s it folks! I set the lines about 1/2″ to 5/8″ apart and follow the line before it for my guide. The stitches don’t have to be even or lined up or perfect in any way. When you are done, they mimic hand stitching and its fabulous! I have done lots of pillows and runners like this and love every single one of them!
PRAIRIE POINTS: For a bit more in depth explanation, tune in with me tomorrow for a video tutorial on how to do Prairie Points but for those of you who have done them and just want a few pointers, here are mine:
- Make your Prairie Points. All you are doing is folding a square in half and then in half again.
- Line them up on your project, overlapping them by about 1/2″. I prefer to overlap them more than 1/4″ for 2 reasons. One- I like the feel of them continuously flowing on the border instead of coming to a point on the project after sewing. Two- It is easier to not have to worry about them being at a perfect 1/4″ spot to catch when binding. And I am all about making the process easier for myself.
- Pin each one in place. Make sure you are staying about 1/4″ to3/8″ away from each corner and that your prairie points are more or less equally spaced from one another [again not too big of a deal if they aren’t]
- Sew them to your runner with a 1/8″ seam allowance. Remove pins.
- Add your binding/facing to the top of them just like you would a regular binding, raw edges aligned with the edge of the runner. Trim the binding at each end [these will be closed up by the L/R sides so you don’t need to do anything else other than trim.
- Pull your binding/facing to the back of the quilt… all the way down. What this does is it pulls the prairie points so they stick out and it pulls and hides your seam allowance flat to the back. Once you have pulled the whole binding/facing to the back to the back of the quilt and the prairie points are sticking straight out, stitch the facing by hand just like you would the back side of regular binding.
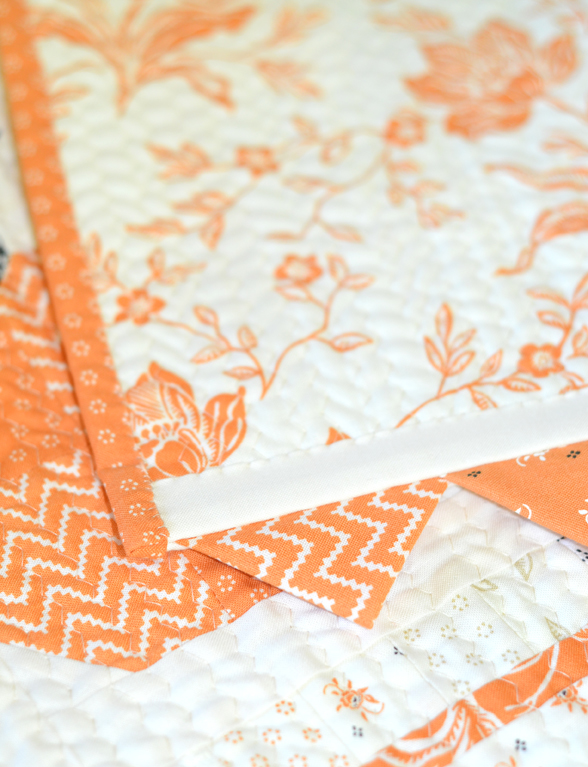
BINDING: Bind the remaining 2 L/R sides like regular binding. You will have to tuck the ends under and bind the corners closed. This might be the trickiest part… not because it is complicated in any way, but because you have a lot of bulk to tuck in there. Personally, I usually trim out some of the excess fabric of my binding to make the end less bulky…literally just cut out a little piece of the backside of the binding, then I maneuver it with my fingers, flattening it out as best I can and stitch down with a few more stitches than I would normally use on regular binding.
That’s it, voila! Enjoy!
PATTERN INFO:
Finished Size: 16 1/2″ x 40 1/2″ plus prairie points.
Originally introduced last week as a part of our LITTLE BOX OF FIGS subscription box. It is now available for everyone. If you are a store and would like to order, please contact us via email. If you are a retail customer, the pattern is available in both paper and PDF format in our shop anytime. Thanks so much!
Joanne Merry | 11th Aug 20
I would love to purchase pumpkins in a row table runner and fabric. Please let me know how I go about it. thank you so much.
joanna@figtreequilts.com | 11th Aug 20
In our shop right now. On the featured page and the Halloween page too!
Becky | 11th Aug 20
Working on mine now – love it! Do you have any tips for putting the layers together before quilting?
Thanks
joanna@figtreequilts.com | 11th Aug 20
I use a fusible fleece instead of batting for table runners so it adheres to one side with just the iron. I use a bit of Quilt Basting Spray on the backing. You could use pins but I dont love them.
Heather Lyon | 19th Aug 20
I love this pattern, so cute with the prairie points. Never tried them, but just might have to now.😊🥰
joanna@figtreequilts.com | 19th Aug 20
You should definitely try them… so fun! Go check out the YouTube tutorial if you need a refresher!