
MODA BLOCKHEADS 5: GROUP 2 – WEEK 16
This week’s designer is….drum roll, please…ME! 🙂
It’s really hard for me to pick my favorites when it comes to star blocks, but this DOUBLE STAR block is at the top for sure! Part of it is because I get to squeeze in two stars into one block, and part of it is because that gives me more fabrics to play with! There really is something so timeless and classic about star blocks so two can only be better if you ask me!
Please CLICK HERE for the pattern download and read through to the end of our post here for our hints on construction, as well as a special project idea!
……
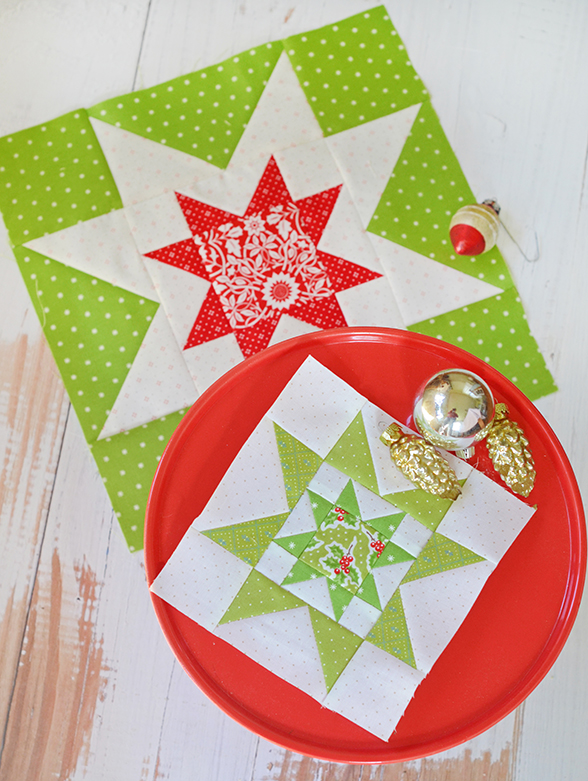
OUR BLOCK #16: DOUBLE STAR
We couldn’t stop at just one, so we have a few different color versions to show you!
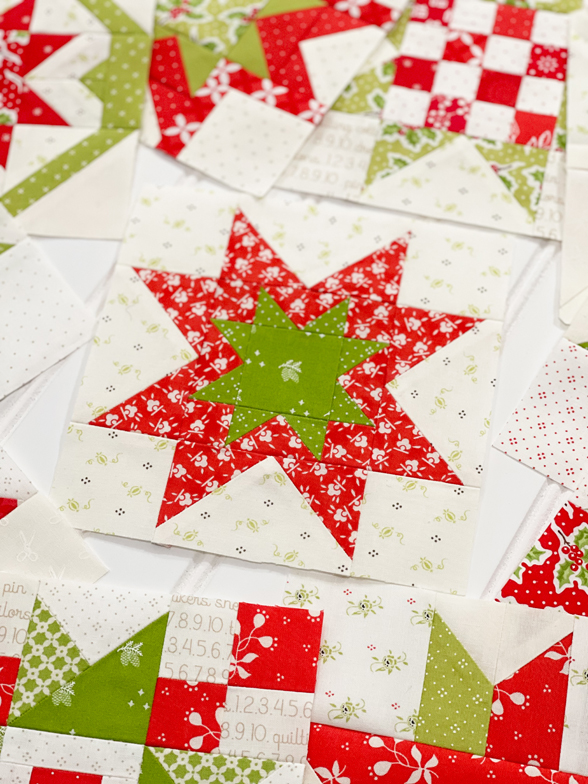
This first one is the 6″ finished star that we will be adding into the quilt in our MBH5 setting. Using a few prints and showcasing a favorite red print makes for a lovely Christmastime star-in-a-star.
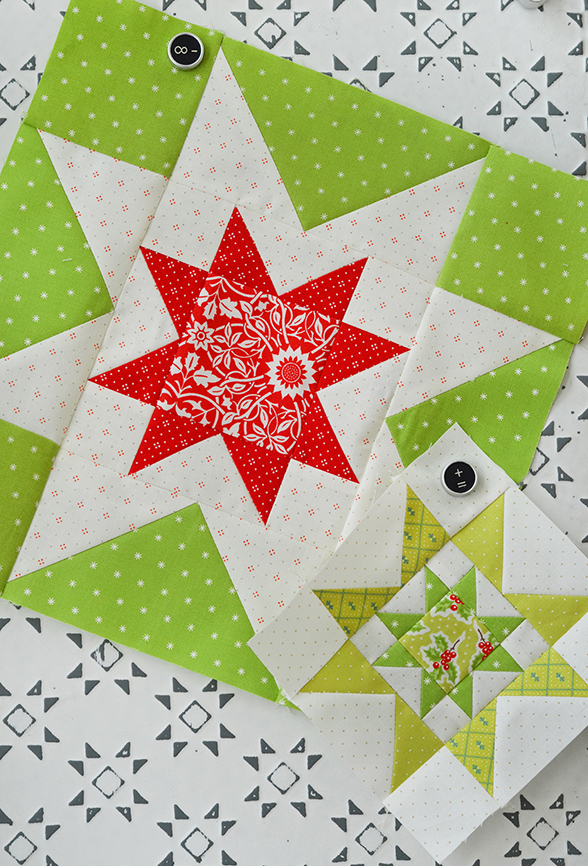
As soon as we finished one, I wanted to experiment a bit more with color placement with this block so I made a 12″ version with the center star in red (using 2 prints), then the main star actually all done in a cream print with green for the outer background section. I think it creates a completely different look and I love that so much. It really is such a wonderful exercise in color and design to see what happens when we change color placement and value!
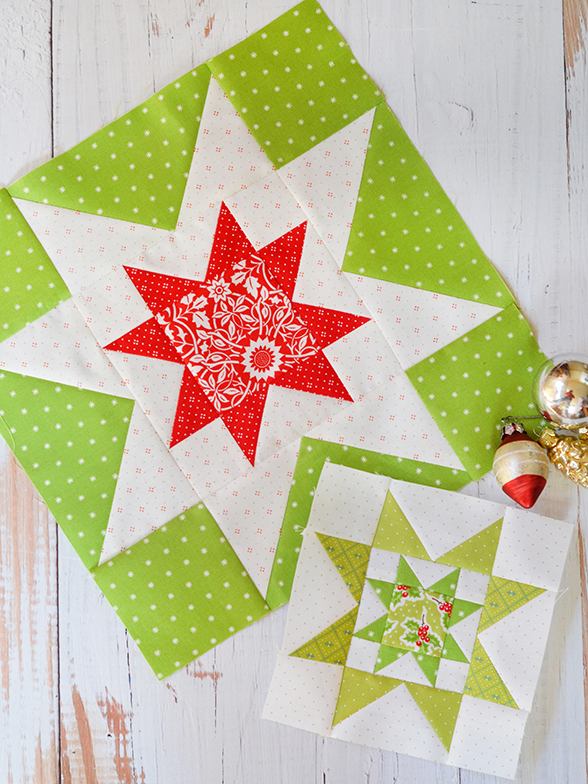
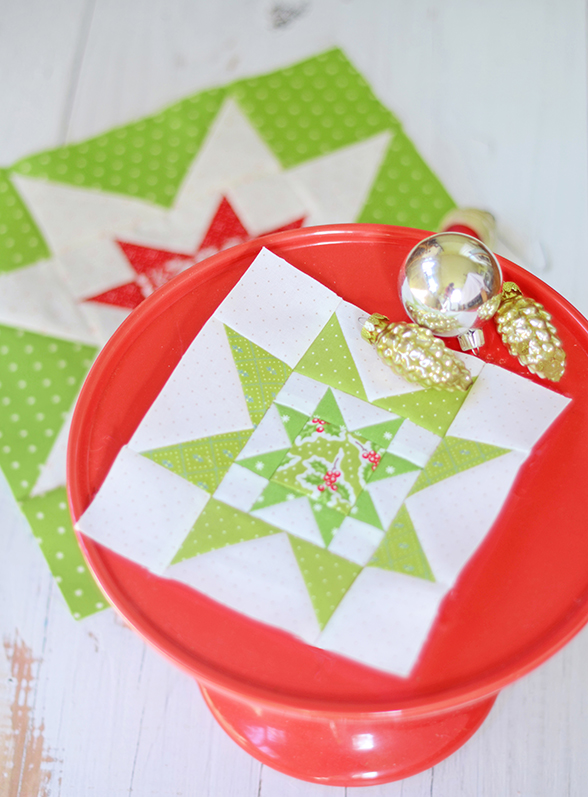
And then because… you know… I don’t know how to leave well enough alone, we made another one of the 6″ blocks with all green prints as scrappy as we could!
I used 4 green prints and my favorite little pin dot from FRESH FIG FAVORITES. For this one, we did color placement as a classic “star-in-a-star” block, where there is cream background on both stars. It’s such a perfect stash buster in any color grouping.
……
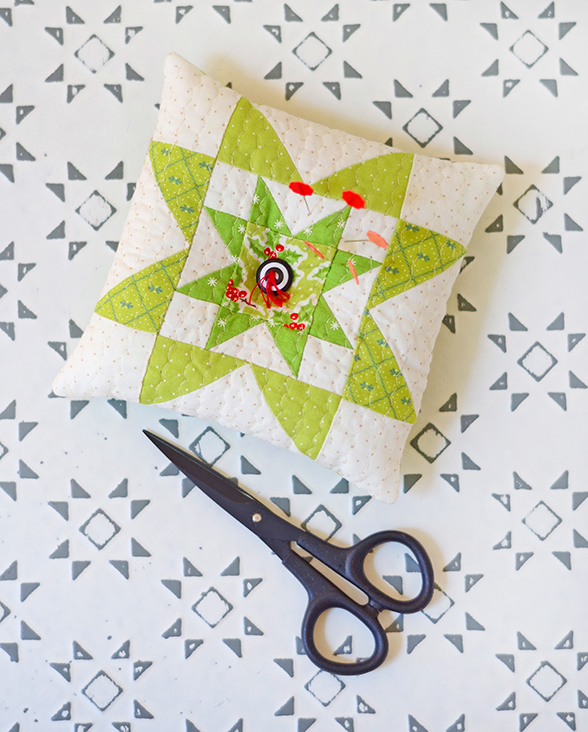
SIMPLE 6″ BLOCK PROJECT IDEA: PINCUSHION
Since I knew that we were not going to add the little green one into the final quilt and I loved it so much… I wanted to inspire you guys with a fun little finished project! A “flat stanley” kind of pincushion. They are actually among my favorite pincushions and if you follow me, you will have definitely seen me do these before.
So if you find yourself with some leftover 6″ blocks from your BLOCKHEADS when you are done, this is the perfect project for you.
- Choose any 6″ block.
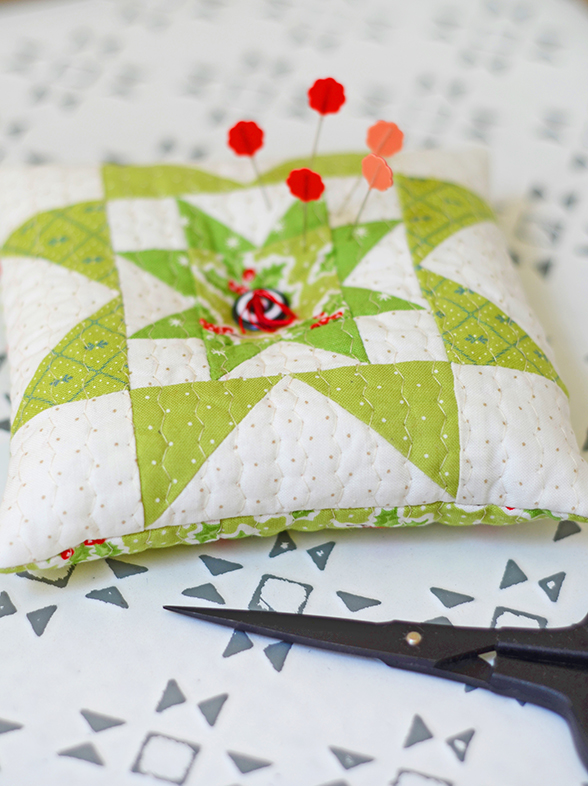
- Add a piece of fusible fleece to the back and quilt a simple design on your sewing machine. My favorite is my elongated ZIG ZAG [see the Youtube video for it if you are unfamiliar].
- Trim up your quilted piece.
- Sew a few scraps together or use a single piece of fabric for the backing. Press to a piece of fusible fleece/batting and quilt that in the same way as your star front.
- Sandwich the two together right sides together (RST). Sew around the edges and leave a 3″ opening on one of the sides for turning. Turn right sides out (RSO) and press out the corners as much as possible.
- Fill with a mix of stuffing and crushed walnut hulls for the perfect blend of the two. Leave it fairly loose… the test is that you should be able to easily press the center down and get a good “divet” in the middle.
- Close your opening by whipstitching.
- Find a favorite small button. Sew it into the center with some floss, tie up on the front, as tight as you can get it to go down into the pincushion and fluff the little extra threads. Voila, instant holiday pincushion!
I can’t wait to use this one during the holiday season!!
……
PIECING INSTRUCTIONS:
As always, I use the SEW & FLIP method for my flying geese units. If you’d like to follow along with me, eliminate the cutting for [A], [B], [E], and [F]. Instead:
For a 6″ block, cut:
- (8) 1 1/4″ squares [A]
- (4) 1 1/4″ x 2″ rectangles [B]
- (8) 2″ squares [E]
- (4) 2″ x 3 1/2″ rectangles [F]
For a 12″ block, cut:
- (8) 2″ squares [A]
- (4) 2″ x 3 1/2″ rectangles [B]
- (8) 3 1/2″ squares [E]
- (4) 3 1/2″ x 6 1/2″ rectangles [F]
Using SEW & FLIP, create your (2) groupings of flying geese units. This will eliminate step 1 and 2 in the MODA pattern sheet. Continue with step 3 and 4 to create your DOUBLE STAR block!
……
FABRIC COLLECTIONS:
For the 6″ [red/green] block, we used:
- Cream Ditsy: PUMPKINS & BLOSSOMS
- Green Pinecone: CHRISTMAS STITCHED
- Green Eyelet: EYELET BASICS
- Red Floral: STITCHED
For the BONUS 6″ [all greens] block, we used:
- Cream Dot: FRESH FIG FAVORITES
- Green Holly: CHRISTMAS FIGS II
- Green Star: CHRISTMAS FIGS II
- Green Dot: FRESH FIG FAVORITES
- Green Lattice: FIGS & SHIRTINGS
For the BONUS 12″ [inverted red/green] block, we used:
- Cream/Red Eyelet: STRAWBERRIES & RHUBARB
- Red Eyelet: EYELET BASICS
- Red Mosaic: CHRISTMAS STITCHED
- Green Star: CHRISTMAS FIGS II
……
MODA QUICK LINKS
For ALL the details and specifics on Moda Blockheads 5, I encourage you to visit these useful resources:
INTRO TO MODA BLOCKHEADS 5 LIVE VIDEO [REPLAY]
BLOCKHEADS LIVESTREAM RECAP BLOG POST
MODA BLOCKHEADS FACEBOOK GROUP
And last, but certainly not least, the MODA BLOCKHEADS 5 BASIC PAGE – this is where ALL the block patterns will be saved for easy reference as we move forward!
Happy sewing! See you back here next week!
-Joanna