
TUTORIAL: SPIKY ROSE CROSS STITCH BAG FINISHING
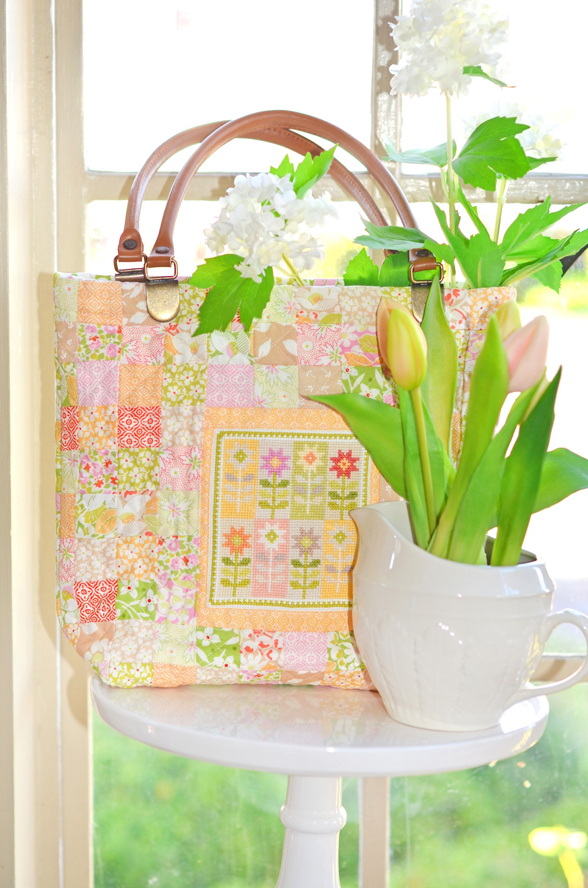
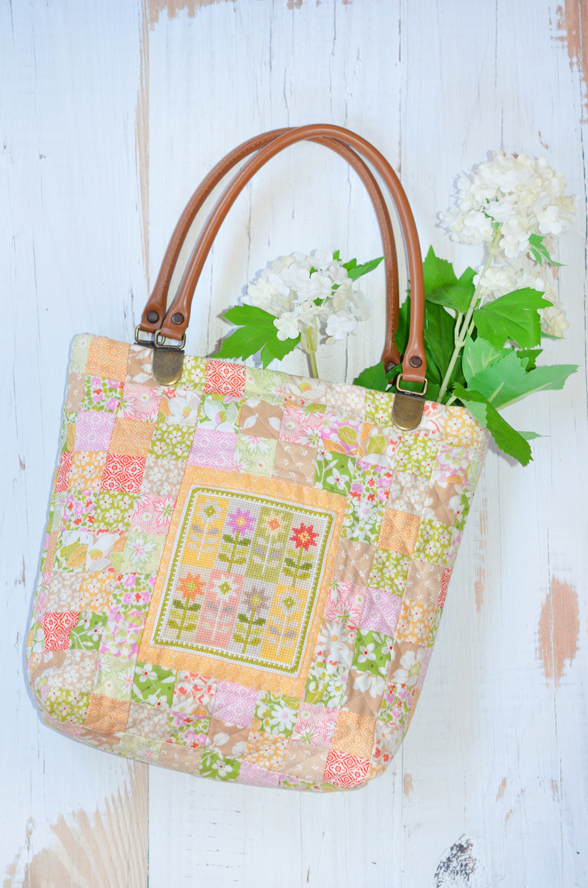
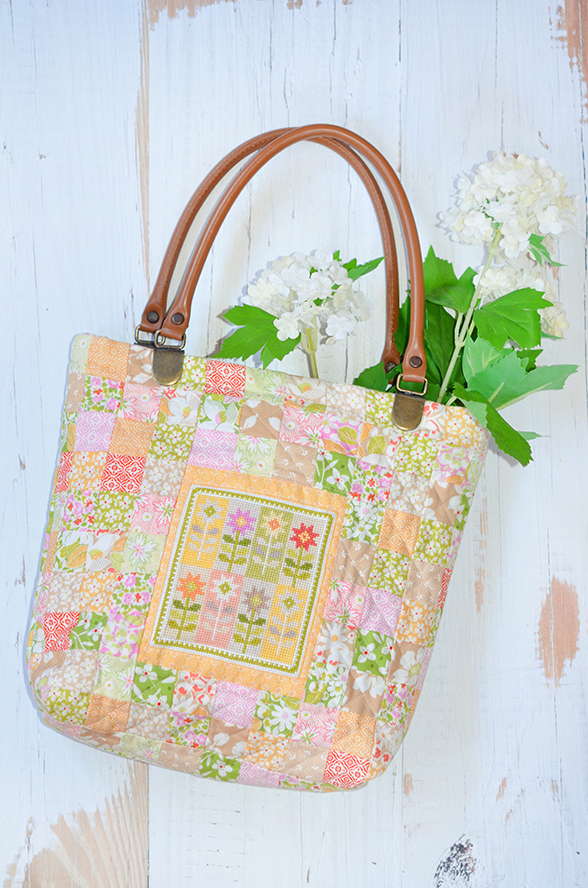
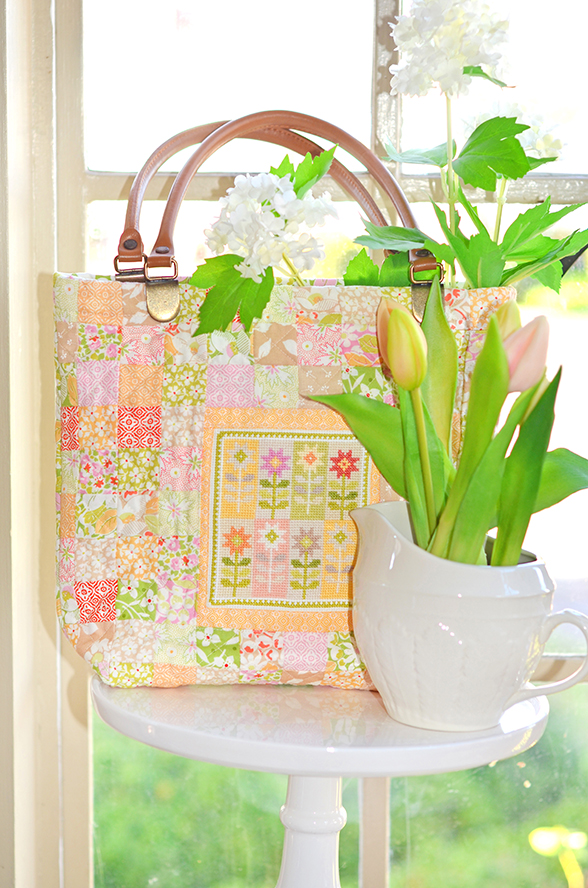
I so enjoyed finishing the SPIKY ROSE CROSS STITCH PATTERN into this fun, functional bag, and I am adding the tutorial right here on the blog in case you want to finish yours the same way!
……
SUPPLIES
In addition to your finished SPIKY ROSE cross stitch, you will also need:
- 1 CHARM PACK of SUMMER’S END fabric
- 1 FAT QUARTER for bag back
- 3/8 yd. for bag lining
- 1 yard coordinating Renaissance Ribbon in YELLOW MOSAIC
- Coming in MAY 2026
- Batting scraps
- Clip-on or sew-on leather handles of any type – 16″ in length
……
FINISHING THE STITCHERY
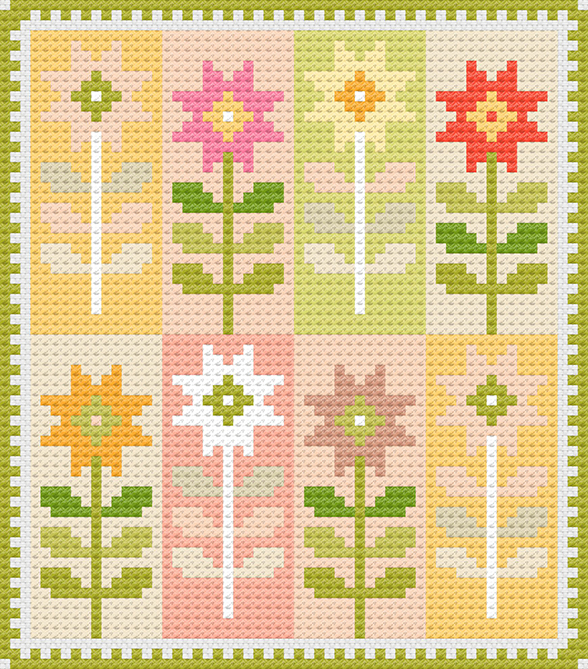
- Finish the stitchery according to the SPIKY ROSE PATTERN. Leave some aida/linen borders on all sides so you have something to work with for finishing.
- You will then need the coordinating Renaissance Ribbon to expand the size of the overall stitchery size to 4 ½” x 5 ½”. I added it (1) “thread count” outside the stitchery all the way around. The easiest way to do this would be to simply affix the ribbon to the cloth side of your stitchery with fusible tape or even a tiny bit of glue. Once affixed so it cannot shift, I topstitched it with yellow thread as close the edge as I could for a nice little finish all the way around.
- Then trim it up to the size noted above. It will end up being a bit wider on the top/bottom than on the left/right sides of your stitchery to get it to the needed size.
- If you don’t have the coordinating ribbon, you could create some single fold binding with coordinating SUMMERS END fabric or use any other soft colored grossgrain ribbon as a “finishing border” around the stitchery.
- If you used a linen or softer colored background for your stitchery, you could also just leave this border just cloth and not worry about this little border. With the ivory aida that I used, I for sure wanted to add some kind of finishing detail here.
- This will be your “finished” center now ready to sew into your patchwork.
……
MAKING THE PATCHWORK
- From your SUMMERS END CHARM PACK, choose all of your soft greens, pinks, tans, gold and lilacs. Remove all the stronger fabrics like the reds and anything that reads darker when you look at it with your “squinty eyes”. Basically I only wanted the colors that coordinated softly with the colors of the SPIKY ROSE stitchery. You will need a minimum of (13) charm squares but of course you can use more for a bit more variety as you join your squares.
- Cut the charm squares into 1 ½” squares [you can get 9 of those per charm square]. You will need a total of (112) 1 ½” squares.
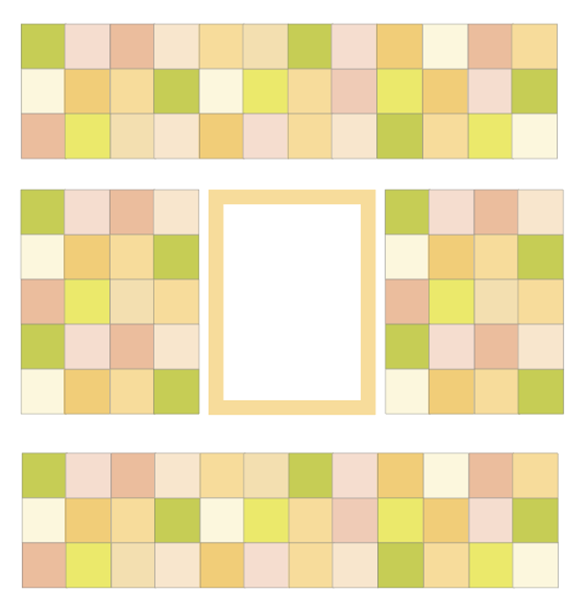
- Sew the squares together into 3 sections. Press open or in alternating directions on the following rows for interlocking seams.
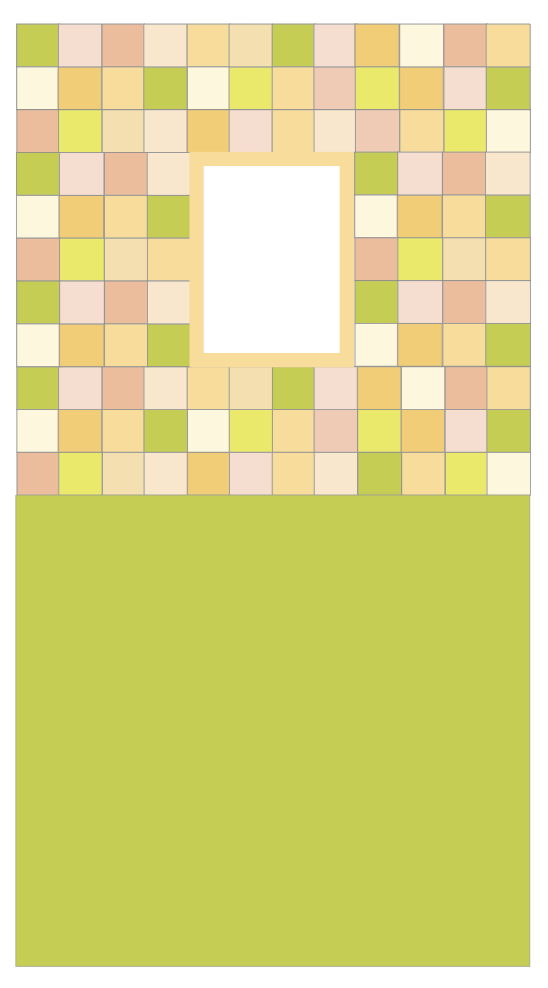
- BAG FRONT TOP: Sew (3) rows of 12 squares each. Sew together into 3 x 12 patchwork.
- BAG FRONT SIDES: Sew (5) rows of 4 squares each. Sew together into 4 x 5 patchwork. Make (2) of those sets, one for each side of the stitchery.
- BAG FRONT BOTTOM: Sew (3) rows of 12 squares each. Sew together into 3 x 12 patchwork.
……
PREPARING YOUR BAG PIECES
- Add the patchwork sections to the center stitchery to create your BAG FRONT. Press well. Front will measure 12 ½” across and 11 ½” down.
- Cut (1) 12 ½” x 11 ½” back piece. Join that back piece to the patchwork bag front you just created to make (1) 12 ½” x 22 ½” FULL BAG OUTSIDE section.
- Quilt this section to a 13″ x 23″ scrap of batting or bigger [no backing is needed for this quilt sandwich since we will be adding a simple lining in the next step]. I quilted a simple crosshatch using the squares themselves as my guide. Press the section well after quilting.
- Measure your quilted section and use this as your guide for the remaining pieces. There will likely be shrinkage of your piece due to the quilting, so this step is important.
- Using your lining fat quarter, cut (1) 17″ x 12 ½” piece. Then trim the remaining fat quarter leftovers to 12 ½” x 6″. Join those pieces together so your finished piece measures 12 ½” x 22 ½”. If you are using yardage, then simply cut a 12 ½” x 22 ½”. piece. Trim this final piece to whatever your quilted piece measures now after quilting. They need to be the same. This will be your lining.
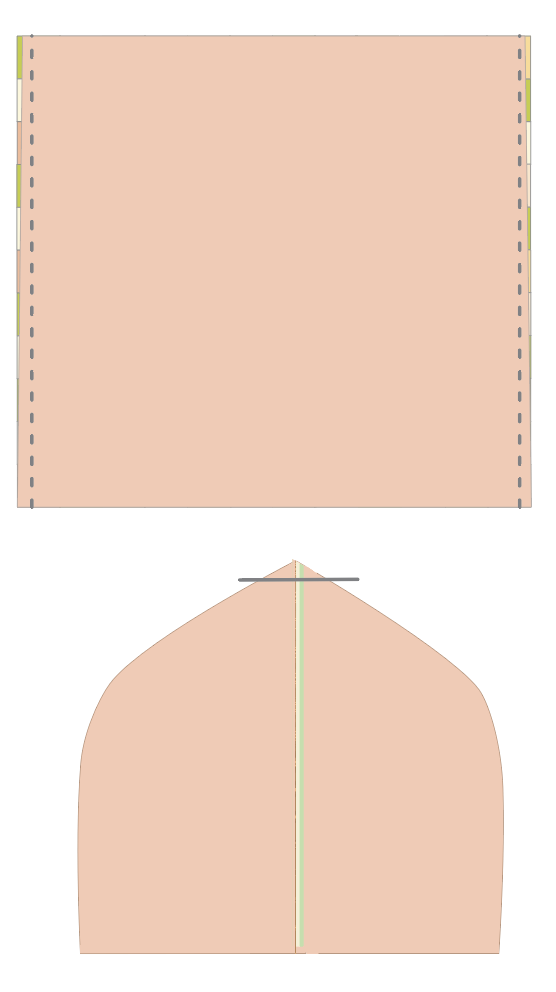
- Place the lining on top of your quilted patchwork right sides together [RST] and pin to keep them from shifting. Sew all the way around the perimeter, leaving a 3″ opening on one side. See diagram below.
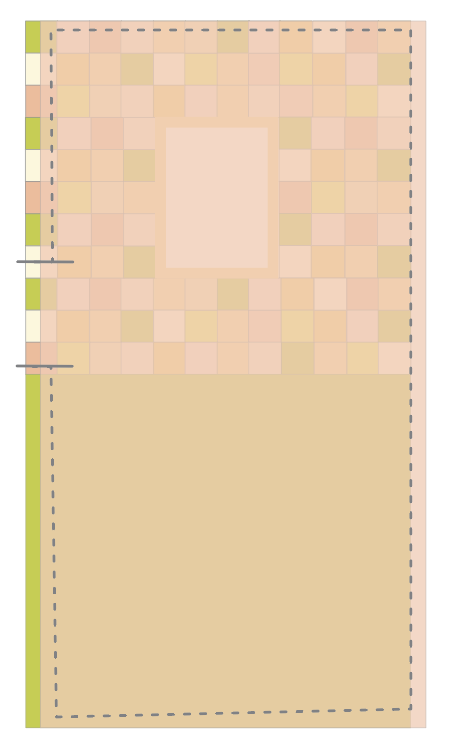
- Turn the sandwich right sides out [RSO], through the side opening. Press well all the way around.
- Topstitch the opening closed right on the edge. You now have a fully quilted and turned/finished bag rectangle to work with.
……
MAKING YOUR FINAL BAG
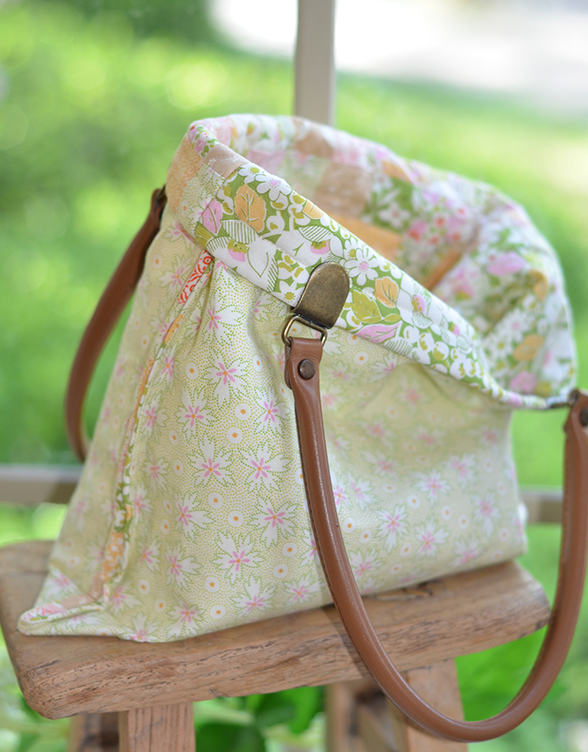
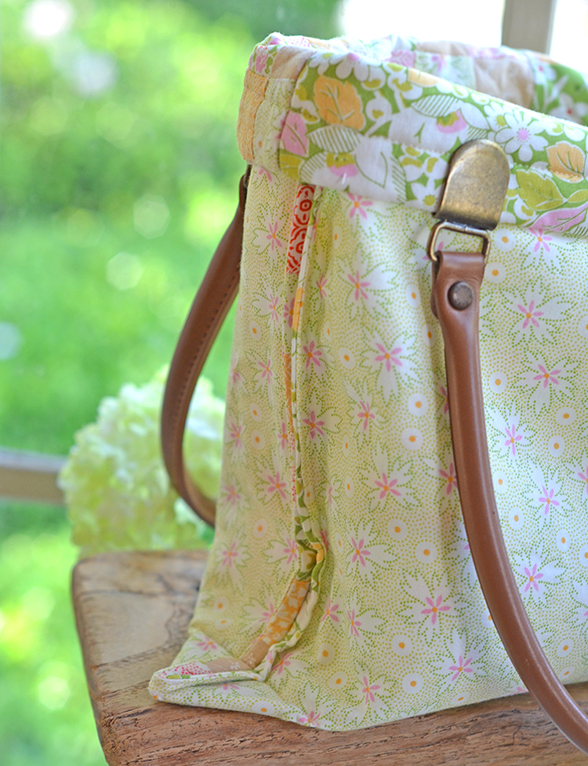
- Fold your bag patchwork in half, stitchery on the inside, lining on the outside. Clip the sides together to prevent shifting.
- Sew the sides together, back stitching on both ends to secure.
- Measure and “box” the bottom corners 3″ across/ 1 ½” on each side of bag seam. Back stitch on both ends of each corner to secure. You can then either leave the bottom triangles intact since they are nicely finished/turned already. Or you can trim them off and zigzag the raw edges of your inside bottom corners. Personally, I simply left them on.
- Turn your bag RSO. Press.
- Top stitch a seam all the way around the top app ½” from the top for a small finishing detail and to secure the fabric from wanting to “creep up” over the top.
- Add clip on or sew on handles of your choosing to the top. Ours are simple “clamp” style handles that you place over your fabric and tap with a mallet to secure. More commonly found leather handles can be sewn on by hand or machine.
A few handles I found online:
On ETSY HERE. or HERE or HERE.
……
Happy Stitching & Sewing!
-Joanna
About The Author
