
PATTERN SHOWCASE: AUTUMN SUN
Personally, I love branching out and learning a new skill or method and I thought we could work on this one together. AUTUMN SUN uses a new-ish technique to me and one that I have only used a few times in the past and I have always loved the results!
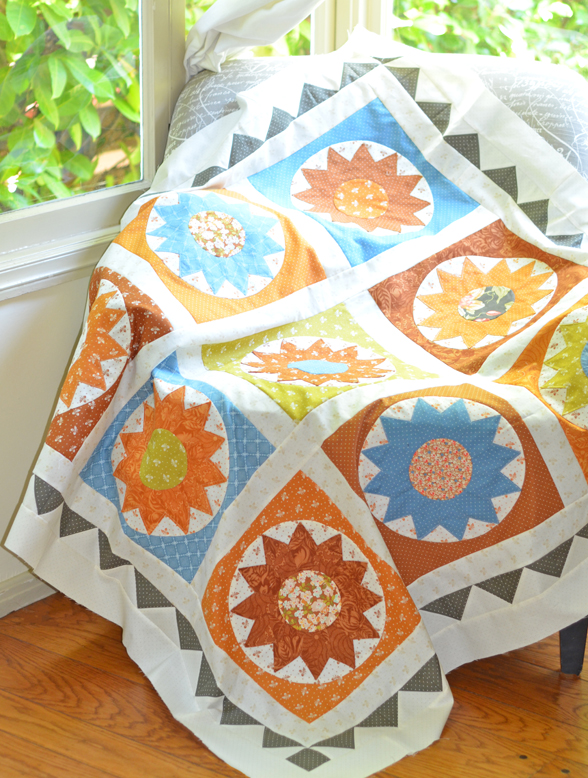
I really loved designing and creating this seemingly very complicated block and, in the process, finding out it really wasn’t that hard at all.
Grab a cup of tea and enjoy reading (and viewing) all the tips and tricks I have for creating a successful AUTUMN SUN quilt. I sure hope you join me and enjoy the process as much as I have!
……
QUILT INFO
Quilt Size: 53 1/2″ x 53 1/2″
Pieced by Joanna with help from my friend Cheryl Hadley
Custom Quilted by Diana Johnson [photos coming soon]
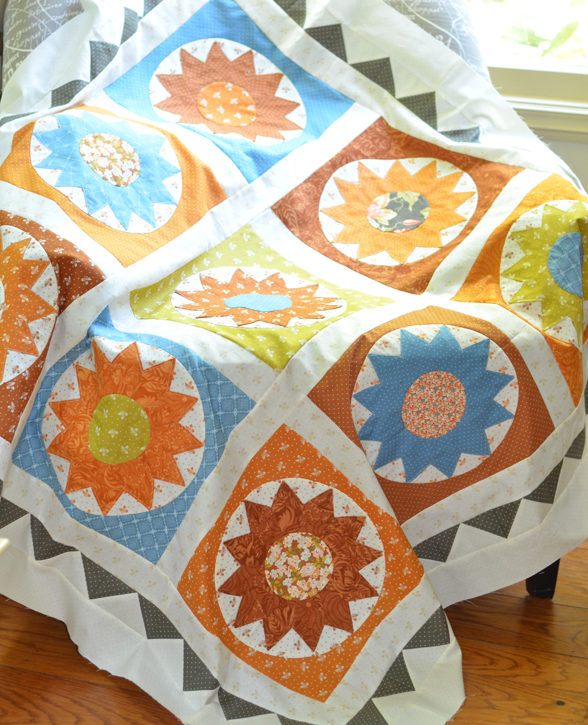
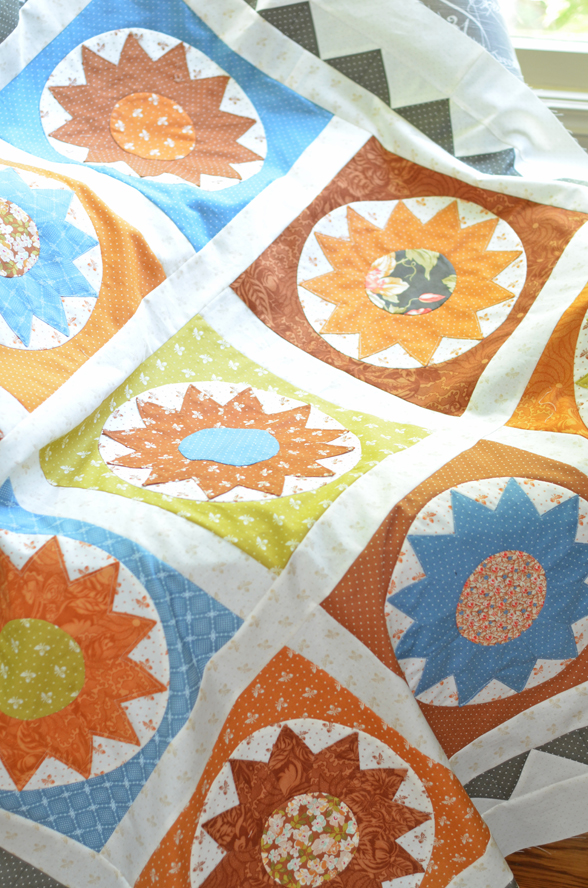
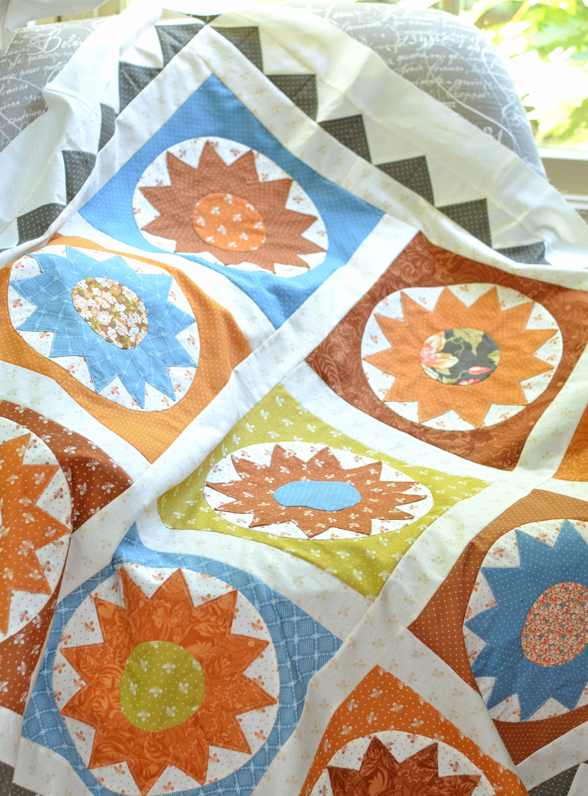
The AUTUMN SUN Quilt Pattern is available via PAPER or DOWNLOADABLE PDF.
……
INITIAL THOUGHTS
- First and foremost, please be sure to READ THROUGH THE ENTIRE PATTERN before getting started. There are a few choices you are going to be able to make and that will affect how you cut and assemble your quilt blocks.
- In addition to the main fabric requirements, there are a few additional supplies needed to create this quilt. These are listed on the back of the pattern, but I am including them here as well:
- 2 yds. lightweight non-fusible sew-in interfacing
- Permanent marker
- Template paper -OR- starch applique supplies*
- *Before purchasing, see inside pattern for more detailed information on the two different method options and accompanying supplies needed.
- Glue stick
……
FURTHER INFO: TIPS, TRICKS, AND HINTS
Usually I try to stick to more straightforward patterns and techniques that I know most intermediate quilters will be able to tackle without any issue. But once in a while I like to try a new technique or method to not only challenge myself a little bit but to also challenge you. I am so pleased with this technique that I know I will use it in the future.
When I saw a vintage quilt just like this one… I fell in instant love with it and of course you all know what happens when that occurs. A pattern idea was born. But this pattern would require a bit of a different way of doing things so here we are on the blog giving you some hints and tips.
First of all… feel free to use the ENGLISH PAPER PIECING method of making this block provided in the pattern. Use the template, make copies and piece those spokes! Applique your star to your circle fabric using straightforward applique. That is the way it would have been traditionally done. The spokes would be joined together from templates by hand, they would be appliqued to fabric that was then appliqued to the background, and finally the center would be appliqued down. And all that is fabulous. If you love hand work and feel comfortable with applique, you go girl. I will cheer you on!
QUICK HINT: While I might not be opting for this method personally, I do think that a bit of classic applique definitely has its place in this design. Keep reading for more info.
PROS: The pros of applique is definitely that you have some more control of your pieces as you are working on each component. If a spoke is a bit too long or too short, if the pieces are a bit wonky… you have a chance to make the fabric do what you want a bit more than with handwork. The look is also a bit more delicate with applique.
You can, of course, use both methods and do a bit of one and a bit of the second. For example, joining the spokes like a Dresden and topstitching that to the background circle. BUT THEN appliqueing that circle to background square by hand or appliqueing the center circle as well. This would give you a chance to do different kinds of techniques and possibly getting the best/most successful results.
……
ASSEMBLY HINTS & TIPS
For those of you who are intrigued by this pattern but would rather poke your eyes out with a stick than do all that hand piecing and applique, there is the alternate method.
You will be joining your spokes following a few basic measurements, more or less how you would make a Dresden Plate. Follow the pattern for all the hints and tips on how to do that. To reiterate the most important ones:
- Be sure your trios are a 90º angle. If they are not coming out that way, check to make sure you are sewing on your marked line, your measurements are correct, and you are pressing your spokes all the way out and are not “losing” any fabric in those seam creases. Use your marked lines as closely as possible, trim up to a true 90º angle by fudging your lines a bit if needed.
- When sewing your trios together into halves, be sure to line up your top carefully and easing in your bottom a bit if needed. This will help in creating halves that are all the same.
- Once you have halves, again make sure you have an actual 180º or straight line seam across the bottom. If not, feel free to trim that up a bit to make it so.
- When joining your halves together, match up the outer points and ease in the rest as needed to make sure your outer spokes all come together. Remember that your center will not be seen by anyone other than you so if any “fudging” needs to happen, that is where you want it to be.
- If all else fails, feel free to spray your final sun with water or a bit of spray starch and press that sucker to make it lie flat!
……
VIDEO REFERENCES:
Here are a few videos of the steps I took to make my Dresdens. Please excuse the bumpy one handed videos!
Video 1
Video 2
Video 3
Video 4
Video 5
Video 6
……
Once you have done at least a few, if not all, of your suns, measure them to make sure they are the expected 10″ round. If so, you can use the template as is and make your circles. IF NOT, then this is the place to adjust that a bit.
- If your suns are coming out a bit on the small side, feel free to trace your circle a bit smaller than the template. Or be okay with your suns floating a bit. Either is fine.
- If your suns are coming out a bit on the larger side and the spokes won’t neatly fit into a 10″ finished background circle, then you will definitely want to enlarge your circle by ⅛” or even ¼” around so that you don’t struggle with those spokes when sewing them to the circle.
- If you have some of both (your circles vary), I would 100% make each background circle to match, making some a bit bigger and some a bit smaller. Making your circles vary by ¼” will be barely perceptible to the eye in the final blocks [since there is float on the final squares] and will make you love your blocks a lot more than struggling with them coming out perfectly with the given measurements.
……
TOP STITCHING INFO
If you are working to avoid any and all applique in any of your steps and want to top stitch all the components, you can absolutely do that and have a wonderful block at the end.
A few things to think about:
- If you want your topstitching to show, just use your regular off-white piecing thread. If you want it to disappear a bit more, use coordinating thread to each SUN. Same would go for the circles.
- For the spokes, you want to topstitch app. ⅛” away from the edge to create a nice top stitched detail.
- For the outer circles, you will want to topstitch slowly and carefully around your circles as close as humanly possible to the outside. If you sew slowly and are not tempted to speed up, you should do just fine!
- If you plan to topstitch your cream background circle to your final block square, you should consider that that topstitch line will “hit” the tips of your spokes and you have to be okay with that. If you are not okay with that, you should definitely choose to applique at least that one step. As an alternative, you could sew slowly and carefully, slightly lifting the tips of the spokes to sew right underneath them instead of over them.
HINT: I usually use my favorite Aurifil #2000 color for all of my sewing, piecing, quilting, and top stitching. I used that thread for 6 of the blocks. But when I went to add it to the (3) cinnamon colored blocks, I wasn’t crazy with how it looked so I switched thread colors to cinnamon for those 3.
As an alternative, you could use a monofilament/invisible thread. I am generally not a huge fan of this type of thread, however I have used it and it really does disappear into your project.
……
INTERFACING TIPS
This method of using another fabric [sometimes muslin] or interfacing is one that I first tried out about 20 years ago and even talked about it in a few patterns [if you have my BOTTLECAPS pattern then this method will be familiar to you]. The reason I moved almost completely into the freezer paper method of applique [for the times that I decide I want to scratch that applique itch], is that in my opinion this “interfacing method” is fabulous for large simple shapes and not so great for small or more delicate shapes and definitely not for points. At least in my personal experience. But for these large simple circles, it is perfect!
- I would use the lightest weight SEW-IN INTERFACING you can find so that you are not adding unnecessary bulk to your shapes.
- I would trace my circle shape with a Frixion heat erasable pen so that when I am pressing my interfacing flat, it will automatically erase the line in case anything peeks out on the sides.
- I would not use fusible, mostly due to the fact you only have one chance to get your shape with your iron and then you are committed because the interfacing is fused to your shape. I have used fusible before, but I would not use it as my first choice.
- In a total pinch, you could use this same method with any fabric [preferably matching your shape or your background] and the result would be similar but potentially a bit bulkier.
- Don’t forget the important step of clipping your seam all the way around. This will really help the turning process A LOT.
- Work your circle well with your fingers and any pressing tools all the way around the seam to make sure your fabric is pushed all the way out.
- When doing your final pressing, be sure the interfacing is not “peeking out” on the edges but is nicely tucked underneath and only fabric shows on the side.
……
FINAL TIPS
Once you have progressed through all your steps and it is time to add your final small center circle to your block, you have a final “hack” you can do to help your block out.
- First, center and topstitch your center circle to your block. Measure and make sure you are centered to avoid any unpicking.
- Once your center circle is added, you can take the extra step and trim out all that extra fabric underneath to help get a flatter block without all of those extra layers of fabric underneath. Sometimes this feels kinda scary since you have already put so much time and effort into your blocks so if you would rather leave them intact, go for it but just know that your block will be a bit “thick”.
- But if your blocks are not flat or bulky in any way that you are not loving, you can trim through the background square, through the interfacing of the circle and finally through the spokes.
- Be sure to use small sharp scissors and be sure to hold the center circle fabric away from the rest of the layers when trimming.
- Trim with a ¼” seam allowance away from your top stitched line.
- Press your block and enjoy!
……
THANK YOU!
Be sure to check out our previous BUTTERNUT & SAGE pattern showcases:
……
Happy Sewing!
-Joanna
About The Author
