
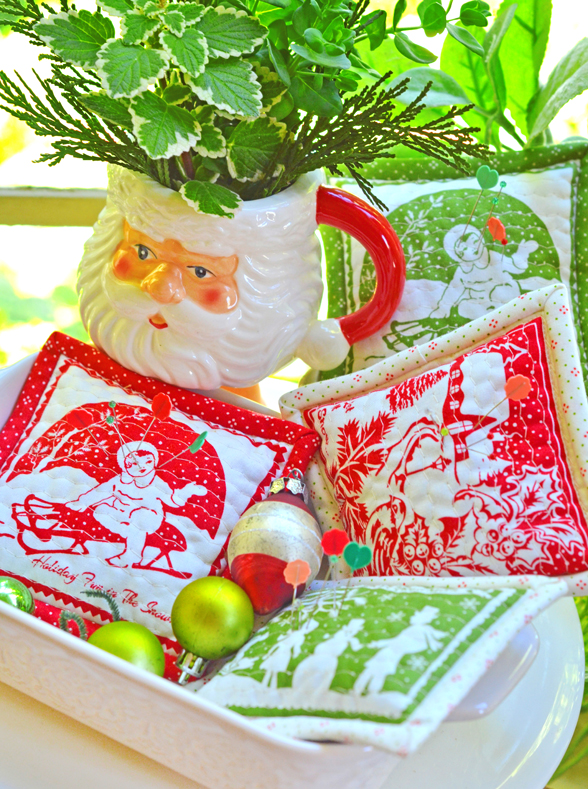
BUON NATALE PANEL IDEAS #1: CARDS, COASTERS AND PINCUSHIONS
This nostalgic BUON NATALE CHRISTMAS CARD PANEL fabric can be used for the backing of any Christmas project for a perfect holiday finish… can you imagine turning the quilt over and finding all of these beautiful images there for you to look at?!
It can also be used to make stockings, pillows, or as gift wrapping paper! BUT, it can also be cut up into individual images and made into a huge assortment of tiny hand projects and crafted items. We may have gone a bit crazy with these but since we did, I thought I would share them all with you in a series of posts. Here we go…

The panel comes in 2 colors: pomegranate red [35408-24] and pine green [35408-26].
Each fat quarter yields a wonderful assortment of (21) images to work with:
- (10) larger ones ranging from 4″ square to 3″ x 4 1/2″ -and-
- (11) smaller images ranging from 2 1/2″ square to 2 1/2″ x 3 1/2″
- PLUS a decorative border that can be used in crafting, as well.
……
Today is the first installment of hand projects and crafted items using single images from the BUON NATALE CHRISTMAS CARD PANEL fabric and more posts will follow so be sure to check back if you are looking for ALL the ideas.
Let’s jump right in!
……
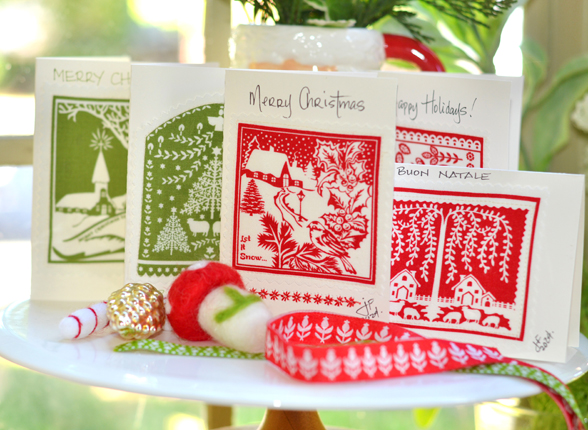
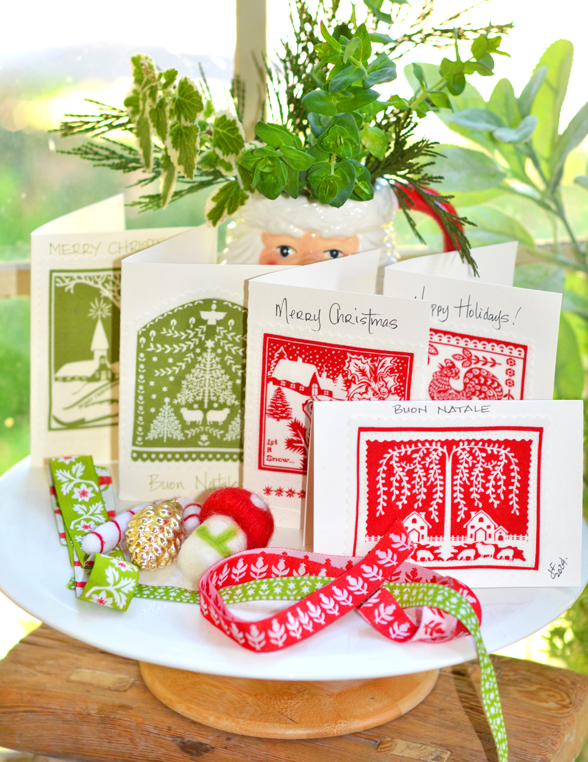
CHRISTMAS CARDS
MATERIALS:
- Blank Ivory Cards
- Coordinating Thread
- Aurifil Red [2250], Green [2888], & Cream [2000]
- Coordinating Pigma Pens
- Black, Red, and Dark Green
- Mounting Spray -or- Fabric Glue
- Temporary Adhesive Spray [MODA # RX TAS72]
- Roxanne’s Glue Baste It – 2 Way Applicator [MODA # RX GL15]
SIMPLE TUTORIAL:
- Decide on your favorite CHRISTMAS CARD images and cut them out.
- We used a pinking shears to add a bit more visual interest to the borders.
- Use mounting spray or a few thin lines of fabric glue to attach your chosen image(s) to the front of the blank greeting cards.
- Stitch around the perimeter of your chosen image with coordinating thread.
- Fold the card and use your Pigma pens to write a holiday sentiment on the outside and inside!
- Better yet… have a Christmas card making party with friends, family members or kids!
……
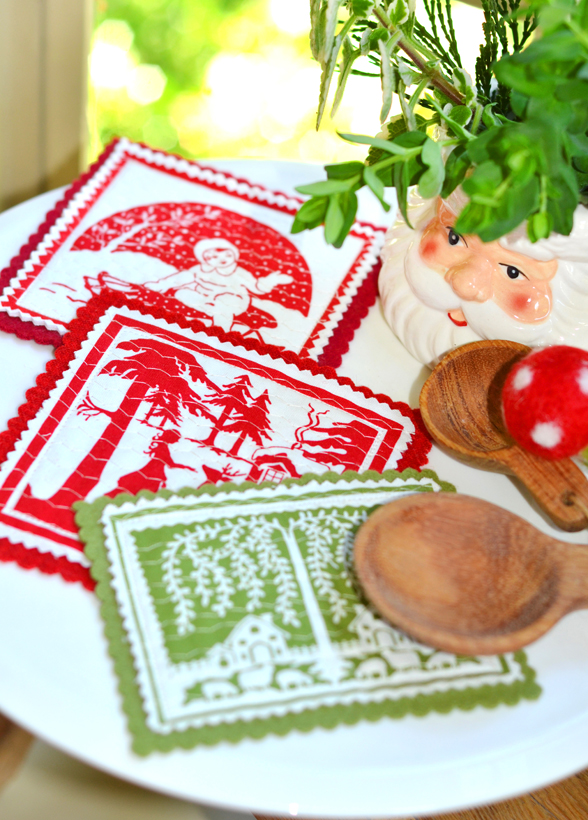
COASTERS WITH FELT

MATERIALS:
- Pellon Fusible Fleece [PELLON 987F]
- Scraps of Wool Felt -or- Craft Felt
- National Non Wovens [MODA] -or-
- Soft Felt Sheets [available from Amazon in all colors]
- Coordinating Thread
- Mounting Spray -or- Fabric Glue
- Temporary Adhesive Spray [MODA # RX TAS72]
- Roxanne’s Glue Baste It – 2 Way Applicator [MODA # RX GL15]
SIMPLE TUTORIAL:
- Decide on your favorite CHRISTMAS CARD images and rough-cut them out. Cut the fusible fleece to match the dimensions of your focus image and iron to the wrong side of your fabric.
- Add a bit of simple quilting to your coaster.
- I used my “go to” ZIGZAG stitch but straight lines or cross hatching would be fabulous as well
- Cut around the quilted image with a pinking shears.
- Cut a piece of felt slightly larger than your quilted center.
- Use mounting spray or fabric glue to attach your quilted center to the felt.
- Alternately, you can stitch around the perimeter of your chosen image with coordinating thread.
- Cut around the wool with a pinking shears to finish. I actually have a pair of “scallop shears” instead of pinking shears [available at most craft stores in the card making area] and used the scallops for the felt to add a bit more charm.
……
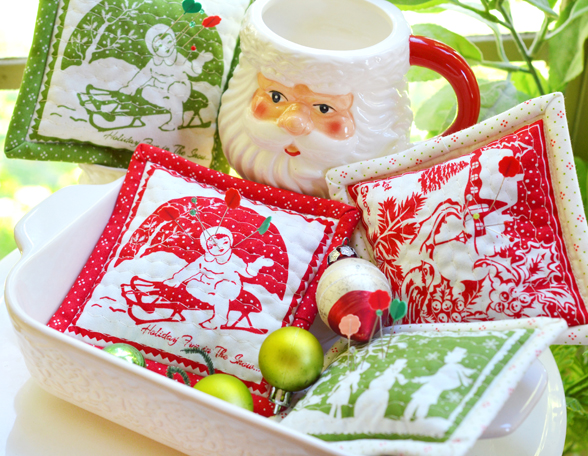
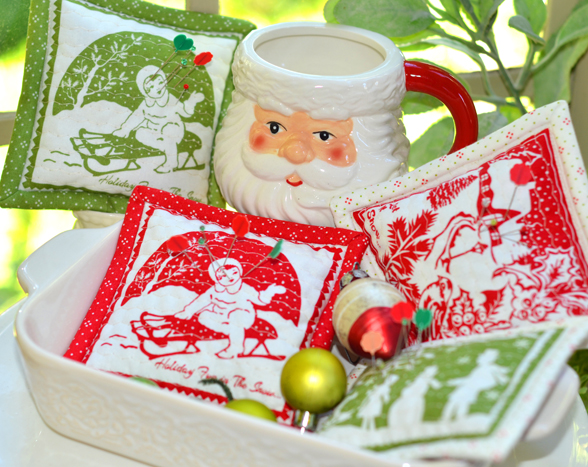
PINCUSHIONS
MATERIALS:
- Eyelet Fabrics for BINDING and BACKING
- Cherry Red [20488-66]
- Pine Green [20488-119]
- Ivory Holly [20488-86]
- Pellon Fusible Fleece [PELLON 987F]
- Crushed Walnut Hulls
- Available in bulk as “Lizard Litter” at the pet store. Yup… this is what I use for all of my pincushions and it is the best filler!
- Coordinating Thread
SIMPLE TUTORIAL:
- We have a great no-binding pincushion tutorial AVAILABLE HERE.
- If you want to add binding:
- After quilting your pieces, layer the front and backing wrong sides together [WST] and sew together all the way around, leaving a small opening on one of the sides. Fill with walnut shells or other stuffing, if preferred. Machine stitch the opening closed and bind all the way around – just as you would a quilt!
- Note that this is a bit tricky and finicky to do with the pincushion already filled but it can be done! I would recommend filling these pincushions on the “soft and squishy” side instead of the super overfilled side so that you can move the filling slightly out of your way while stitching that side.
……
Totally inspired?! WE SURE HOPE SO! And we aren’t done yet….so stay tuned. 😉
Happy Sewing!
-Joanna
Anita | 25th May 25
Such great ideas! I could also see them used as a focal point in a block. Will definitely need to get some!
joanna@figtreequilts.com | 29th May 25
Absolutely!!