
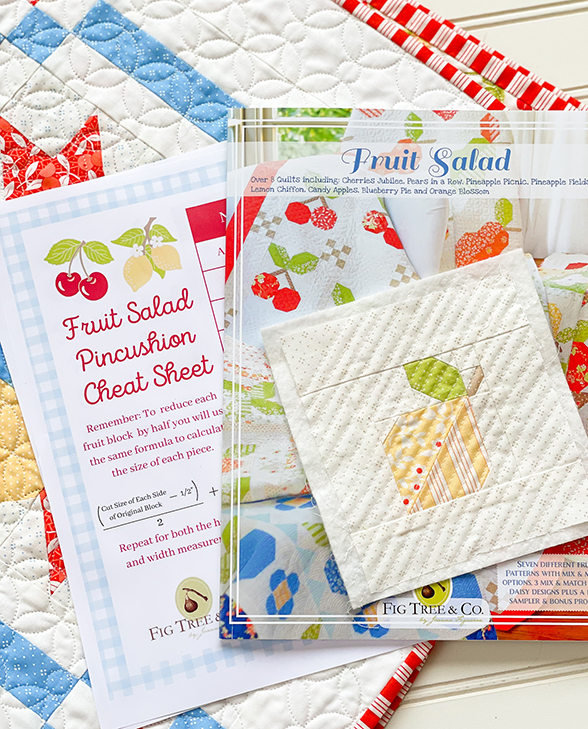
FRUIT PINCUSHIONS: FINISHING HINTS & TIPS
Welcome to Part 2 in the series of “How to turn your Fruit Blocks into Pincushions”.
In Part 1 (here) we talked about how to do some basic “Quilt Math” to resize the fruit blocks found in Joanna’s FRUIT SALAD book [here] to get them to the size we need to make pincushions or bowl fillers. If you have been afraid of resizing blocks in the past, check out the post and give it a try!
You will be surprised at how many full-sized blocks can be easily made mini by cutting them down by half!
BASIC PINCUSHION ASSEMBLY
- Cut a Backing Fabric the same size as your resized quilt block.
- Layer the Fruit block and Backing Fabric right sides together and sew around the four sides, leaving a 2” gap for turning.
- Turn right sides out and fill with your favorite stuffing.
- Hand stich the opening close.
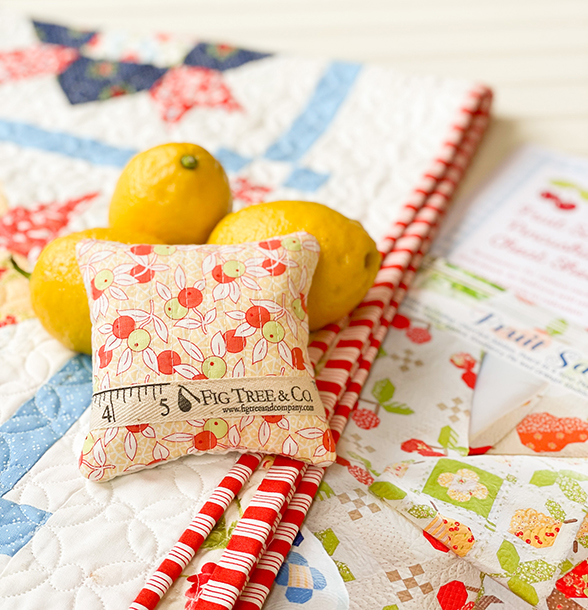
- Viola! You now have a pincushion ready for pins!
Joanna and I wanted to offer a few tips and tricks that we often use to finish off our pincushions/bowl fillers. As you start making some of your own, you will find even more tips and techniques that work for you. Here are a few of our favorites:
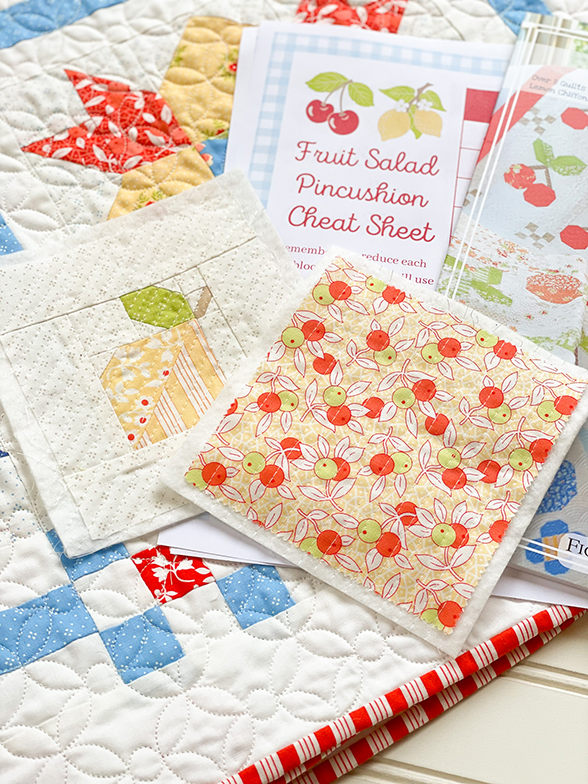
ADD A SMALL BORDER TO YOUR BLOCK
Even if you think your block is big enough as is, add a small border around the entire block. This will make sure that your design is visible in the center of your pincushion, and doesn’t get lost around the edges once stuffed and attached to the backing.
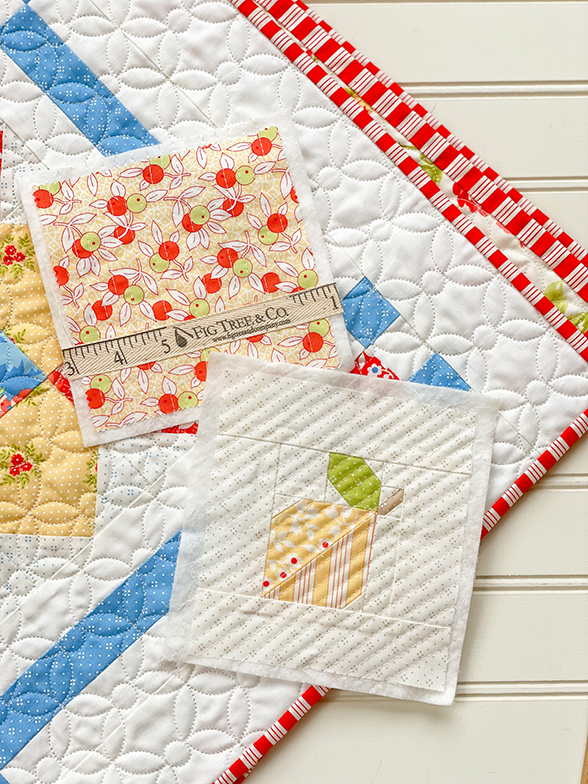
QUILT YOUR BLOCK AND YOUR BACKING TOO!
Adding a thin layer of Fusible batting to the top and backing of your project will not only help your pincushion look smooth and full, it will help protect the stuffing from coming out and to be distributed evenly throughout your pincushion. We like to quilt ours either with straight lines, a cross hatch, or a wide zig zag/serpentine stitch about ¼” apart.
Don’t forget the backing! Trust us, you will love the polished results!
ADD SOME EMBELLISHMENTS
To up the cuteness factor just a little bit, add some big stitch hand quilting, a button or charm accent or a small hang tag. I love to look for trims and antique buttons when I am at quilt shops or antique stores, and have a small stash to pull from. These small details pack a lot of punch!
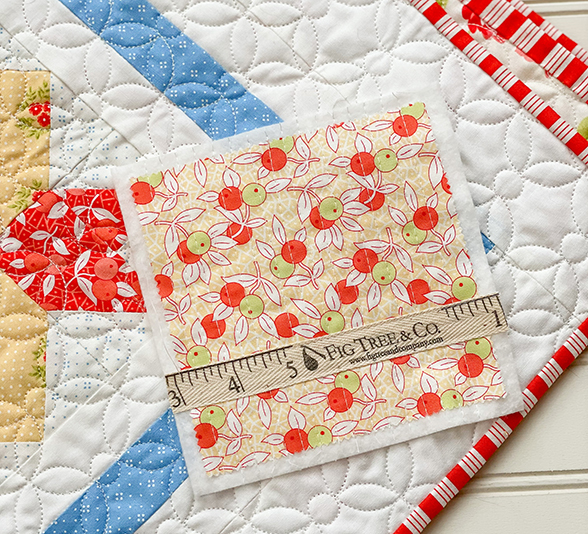
Or the ruler twill tape is also fantastic, HERE.
UP YOUR SEAM ALLOWANCE TO ⅜” & USE THE BACK TRACK ON YOUR SEWING MACHINE
Because I border most of my pincushions, sewing with a 3/8” seam allowance doesn’t alter the design at all, and just reinforces the seams. When starting and stopping, I like to backtrack over my stitches for the first inch or so. This helps keep your stitches from pulling apart when you are trimming. This is especially important when you are working with little pieces like the ones in these pincushions.
CUT THOSE CORNERS & USE CHOPSTICKS OR ANY POINTY TOOL
To keep the corners looking square and not bowed out, you can give the inside corners of your project a quick snip. Combine this with using a chopstick or pencil eraser to poke out the corners, you will have perfect corners. If you have a turning tool, those are perfect!
STUFFING YOUR PINCUSHION
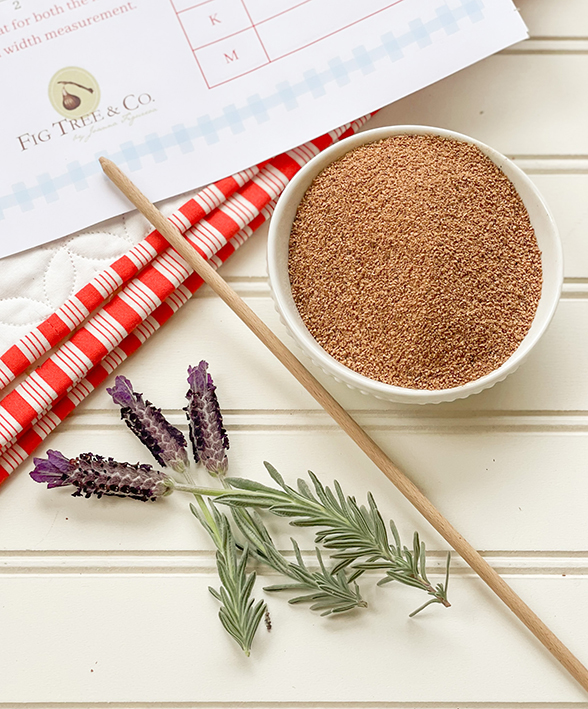
In order to keep the pincushions perfectly plump, I like to fill them with crushed walnut shells often found in pet stores as “lizard litter” or other reptile bedding. I purchased an inexpensive funnel and use that to help me scoop in the filling. Use a chopstick to help you evenly distribute your filling. Sometimes I will even add a small spoonful of dried lavender for an extra special touch. Just before you go to hand stitch your opening, add a small batting scrap or cotton batting. This will help keep your stuffing all in place and prevent it from seeping out.

NOTE: Crushed walnut shells can leave a slight residue on the outside of your pincushion. If you give it a quick dusting right away, it will come right off.
NOTE: Crushed walnut shells are a potential allergen. Please be sure to use a method of stuffing appropriate for your recipient if giving as a gift and adjust as needed.
WATCH YOUR CLOSURE
Spending a few extra minutes to find a matching thread, and hand stitching your project closed with an invisible stitch such as a ladder stitch make all the difference. If you are unfamiliar with a ladder stitch, a quick google search will offer many You tube tutorials.

Watch out! Your pincushion collection just might be getting a bit bigger as once you start making these little projects, you can’t stop! Enjoy!