So you might already know that September is officially our PATCHWORK BAG SEWING month. We will be working through all of our newest bag pattern one by one including DENIM PATCHWORK TOTE, KIMBERLY’S SACK REMIX, BAG LADY DENIM and LITTLE JELLIES. We had a slight hiccup earlier this month due to illness but we are back and ready to go!
For today, I want to talk about materials, hardware, accessories and anything you might need to gather in order to get started…

INTRODUCTION
The bags we will be working on are simplified to begin with on purpose. They don’t have a lot of accessories, pockets, special finishing, etc. They are basic “quilt and sew up” kinds of bags. We are assuming that you are a quilter and that you have basic quilting skills that you are now going to use to make up some bags… and we are here to cheer you on as you do that… especially if you are a first time bag maker! Once you master some of these basic methods, you can go on to make lots and lots of different bags, totes and pouches as your skills and confidence increases.
FAVORITE BAG MAKING MATERIALS
FUSIBLE FLEECE
I use Pellon Fusible Fleece 987F. There are of course a million other stabilizers out there for bags… foams, specialty stabilizers, interfacings, fusible webs, etc.
For me PELLON FUSIBLE FLEECE is my “go to” for a few reasons.
- I don’t want my bags to be totally stiff. I like my bags to be on the softer side, feeling a bit more like a quilt but with a little more structure.
- Since it is fusible on one side, I press it to the fabric that is going to be the outside of my bag and I don’t have to worry about pinning or clipping or anything else. I use my quilting basting spray on the other side to affix my lining fabric [for those bags that will require me to add lining here].
- Some bags or pouches like LITTLE JELLIES, won’t require a lining since lining is added separately in the process so in that case I will just use my outer bag fabric and the fusible fleece and nothing on the backside of my quilt sandwich. This is because that side will end up hidden by fabric later in the process so there is no need to waste a piece of fabric there. If you really want to add something there for a bit more stability, use any scrap or muslin fabric as it literally won’t show.
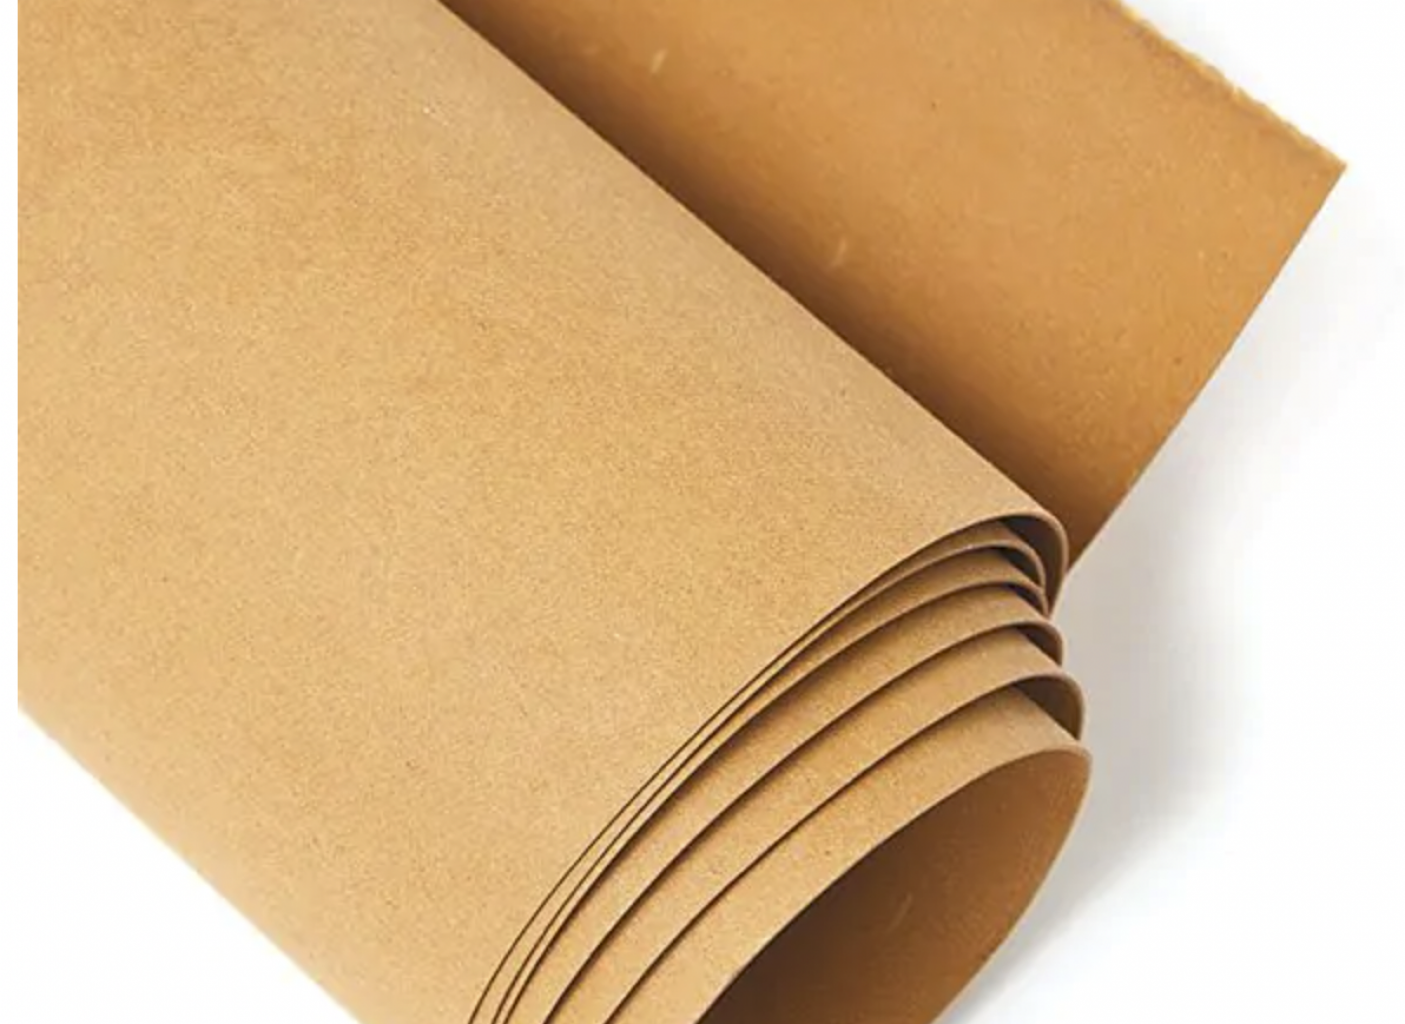
KRAFT TEX PAPER

- I have used and loved my Kraft Tex paper for about 10 years now… or maybe more. It is a product created by my friends at C&T Publishing so if you are ever in need and we don’t have it, or your local quilt shop does not carry it, that would be your first place to look.
- I use it only in the “natural” color since I am using it in place of leather or to mimic leather. It does come in several other colors.
- The beauty of Kraft Tex is that it is a super durable condensed paper product that looks and feels like leather, cuts like paper and can be sewn like fabric. It can be washed, wrinkled, used and it just looks better with age. I have used it for bag accents, folder portfolios, luggage tags, pouches and more!
- To prepare your paper and add to its “leather look”, I wet my paper with warm water, crumple it up in my hand a few times and “wash” in my hands. I then wring it dry [adding more “aging” in the process] and add it to my dryer. I dry the paper a bit [it can be damp when it comes out] and then press it lightly with my iron to flatten. Often I will respray it with a bit of water or flatter and then just press lightly so that it lies flat on my ironing board. You don’t want to “iron out” the wrinkles you have just worked to add but you do want your paper to be flat so you can cut your shapes. Keep spraying or use a steam iron to get a flat paper that has those lovely wrinkles that add so much character to your faux leather!
- There are a few important things to remember when using it: Elongate your stitches a bit! Short stitches will perforate the Kraft Tex just as if it were paper. Use binding clips whenever possible because pins will leave holes. Sew slowly and carefully since it is thicker than fabric and will want to move on its own if you haven’t secured it well.
- If you don’t want to use the Kraft Tex, you can simply omit it altogether or use faux leather, real leather or a different accent fabric for your bags.
QUILTED FABRIC
- For the purposes of this group of bags, we have decided to use the pre printed denim -or- cream “cheater cloth” that I designed to go with my DENIM & DAISIES collection. The beauty of this fabric is that it looks like I spent a lot of time piecing the nine patches to use for my bags. Instead, the reality is that this is a pre printed fabric ready for you to create with! I spent a lot of time designing a fabric that looks like it has been hand pieced from your scrap bin and I am so happy with the result!
- You can of course piece your bags, find orphan blocks and sew them into sections to use, use scraps to make scrappy pieced sections or even use pieces of vintage quilts. Basically anything that can be cut down to the sizes called for in the bags, is fair game!
- If you plan on making several bags from the same fabric [like in the case of those of you who are using our EXTRAVAGANZA KIT], then I would recommend quilting larger pieces that you then cut up to use. I have sometimes quilted larger chunks of fabric [1-2 yards at a time] that I know I will want to use for several different bags and just saved it until the right time. -OR- I have asked my lovely long arm quilter friends to quilt a larger chunk for me… that is the best!
- If you are using my PRE PRINTED CHEATER CLOTH, you might think you need to center patches on the bags but the opposite is actually true. If things are off center or not perfectly aligned, it only adds to the overall feel that your bag is pieced and/or vintage and not a piece of fabric. If for your own sanity you feel the need to line up patches so they are centered, you will need to know that there might not be enough to do all of the bags from the yardage we provided since we did not work that way to make our own bags.
- If you are purchasing the pre printed cheater cloth, it comes in either a denim colorway or a cream one that has touches of orange and caramel in it. Both are so good!
HARDWARE & FABRICS USED
- We are just using basic hardware for these bags. There is a lot of specialty hardware out there and you will find a whole world of options once you branch out into bag making. For these projects, these simple pieces are all that you will need:

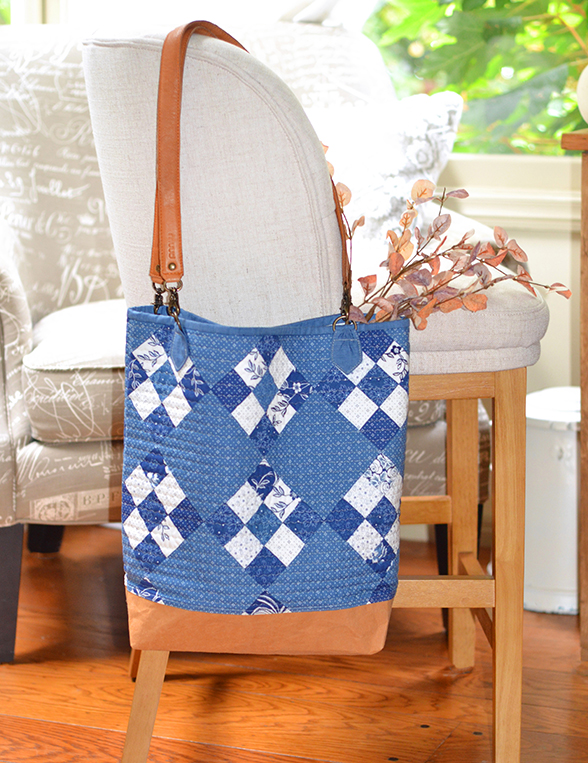
DENIM PATCHWORK TOTE:
- You will need (4) 1″ D Rings. D-Rings come in a variety of sizes and I found that the 1″ is a perfect size for this bag and this size handle/straps. We used “weathered brass” or “antique brass” for ours but silver, black or gold would also look very nice.
- On our sample, I used my favorite leather straps that already come with their own swivel hooks attached so all I needed was the D-Rings themselves. If you are making your own handles out of fabric or using other faux leather handles, you will need (4) swivel hooks to attach to the D-Rings on the bag. Be sure you get them in the same color as your D-rings so that they match.
- For the bag, we used the DENIM CHEATER PATCHWORK in denim, WOVEN FABRIC for the binding and KRAFTEX for the bottom. I used a small ivory print for the lining.

This is what “D RINGS” look like above...

This is what “SWIVEL HOOKS” look like above…

BAG LADY DENIM:
- Since the handles in the bag are fabric, there is actually no hardware needed at all for this bag.
- For the bag, we used the DENIM CHEATER CLOTH in denim, KRAFTEX for the accents and WOVEN DENIM fabric for the straps. I used a small ivory print for the bag lining.

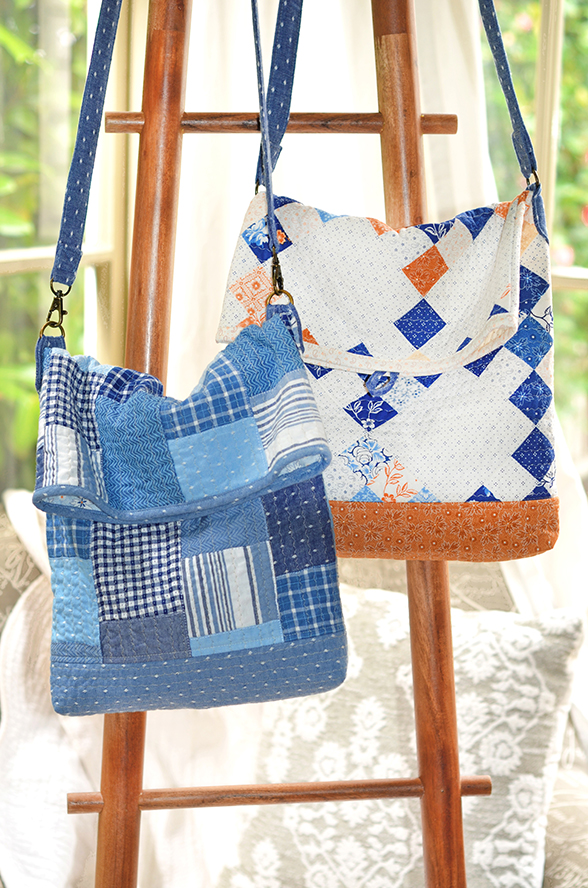
KIMBERLY’S SACK REMIX:
- You will need (2) Swivel Hooks and (2) extra D-Rings [we used the ¾” size for this smaller bag].
- You will also need a button if you plan on closing your top flap of your bag [honestly I hardly ever actually close mine and just let it “flop” over].
- For the fabric we used the CREAM CHEATER CLOTH PATCHWORK, a caramel print from DENIM & DAISIES for the bottom, woven “dobby” print for the handles, cream print for the binding and a small ivory print for the lining. For the second bag, I used the WOVEN DENIM PIECED PATCHWORK, the woven “dobby” fabric for the bottom, the binding and the straps as well as a light blue print from DENIM & DAISIES for the lining.

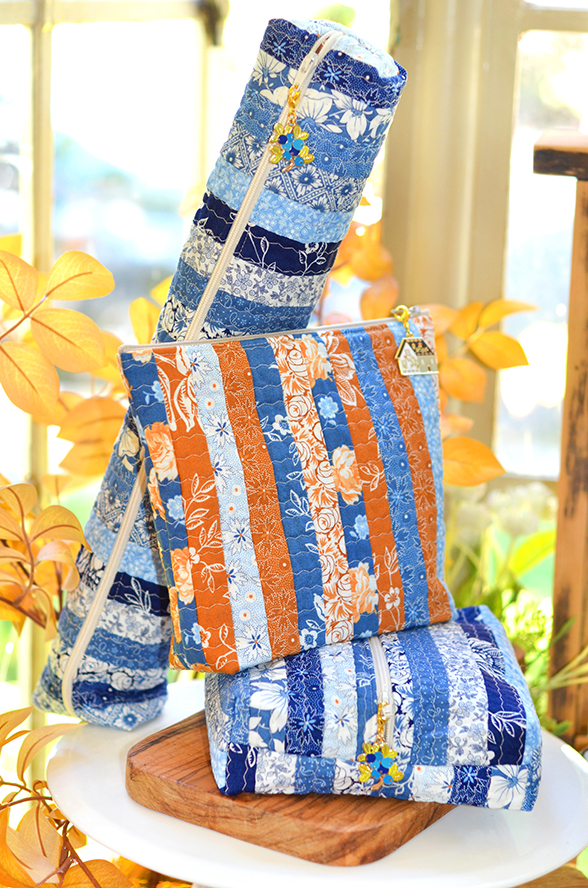
LITTLE JELLIES: You will need any scraps from your previous projects that can include small already quilted pieces or a variety of jelly roll or layer cake leftovers for these handy little pouch projects. These are perfect to try your hand at zippers if you have never done so and such a great way to use up scraps! You will need zippers in a variety of sizes depending on which bags you are making with your leftovers and some fun zipper pulls. Please note that this pattern and accessories are not included in your BAG EXTRAVAGANZA kit and this is an extra project to work on with your leftovers.
EXTRAVAGANZA KIT: If you ordered the special kit from us, you will find that you have some extra goodies included for options and/or for future bags. These include a few buckles and back up small swivel hooks for smaller bags. You also received small metal “handmade” labels that you can attach onto any of your bags if you like the look of them. Lastly, you received a woven “camera strap” that is not needed in any of our bags today but could be used with a smaller version of any of these or other bags to create a wonderful “cross body” bag. Just clip it to D rings attached to your bag and you are good to go!
Here are some of the items noted above that we have available in the shop:
- KRAFTEX HERE
- WOVEN FABRIC FOR BINDING HERE
- MULTI BAG KIT HERE
- DENIM “CHEATER CLOTH” PRE PRINTED FABRIC HERE
- WOVEN & PIECED PATCHWORK FABRIC HERE
- BAG PATTERNS HERE, HERE, HERE and HERE
Join us again early next week for the first step in our bag making adventure!
-Joanna
About The Author
joanna@figtreequilts.com
Related Posts
Patchwork Bag Extravaganza #2: Basic Overview of the Bags
This is a post that I thought I had posted a while back so it…
September 19, 2024Introducing: AUGUST BLOOMS
Introducing my newest pattern, our most recent Little Box of Figs addition, a classic fall…
September 9, 2024