
HONEYBUN MADNESS
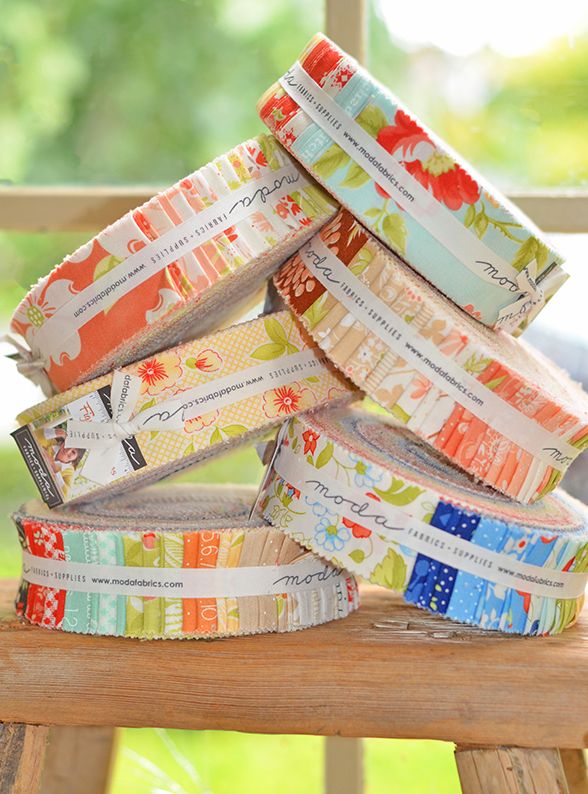
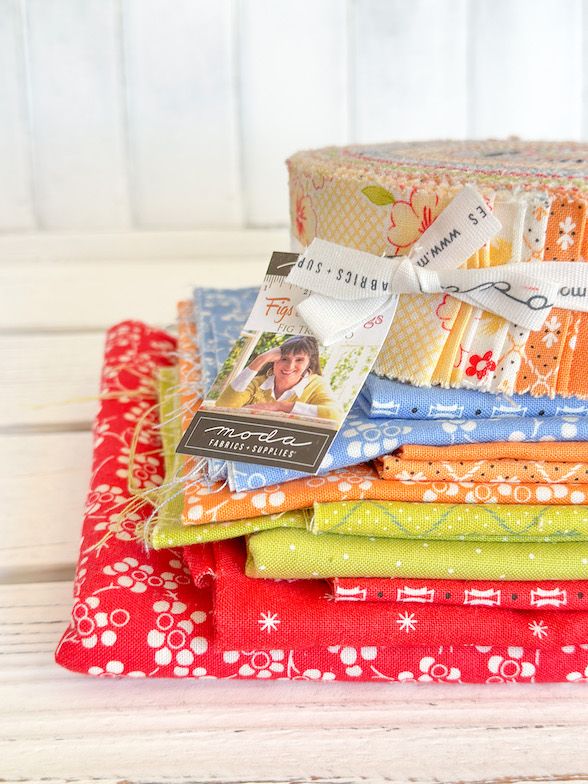
In case you haven’t heard, we are having a HONEYBUN SALE just for fun as we clean up and do some back to school organizing in the studio! We have several collections to choose from, including:
- Fruit Cocktail
- Cinnamon & Cream
- Stitched
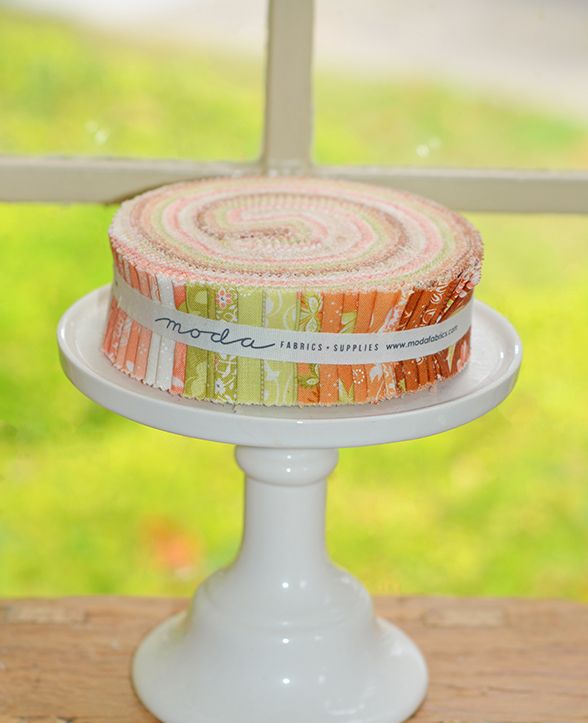
- Fresh Fig Favorites
- Strawberries & Rhubarb
- Figs & Shirtings
- Christmas Figs II
Be sure to check out THE SHOP to see what’s still available!

To celebrate the sale and get those creative juices flowing, we are talking about a few honeybun-friendly quilt ideas to inspire you!
CHECKERBOARDS & STARS
By Susan Vaughan of @thefeltedpear
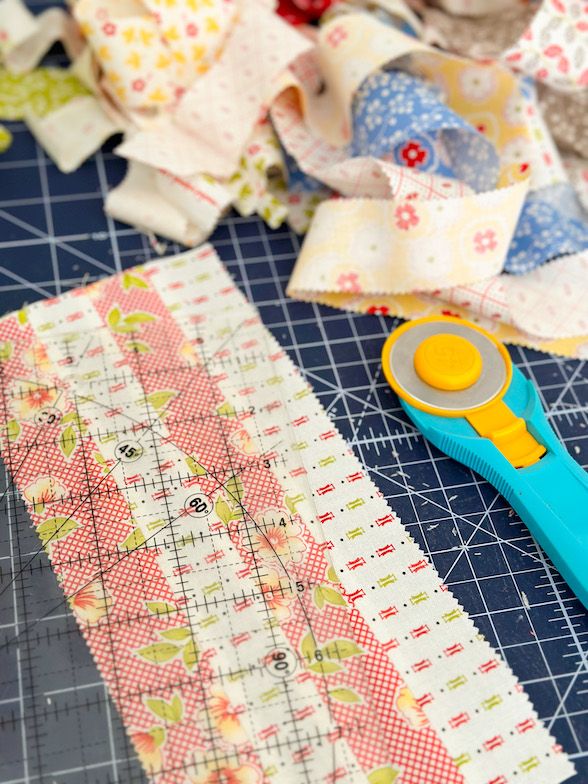
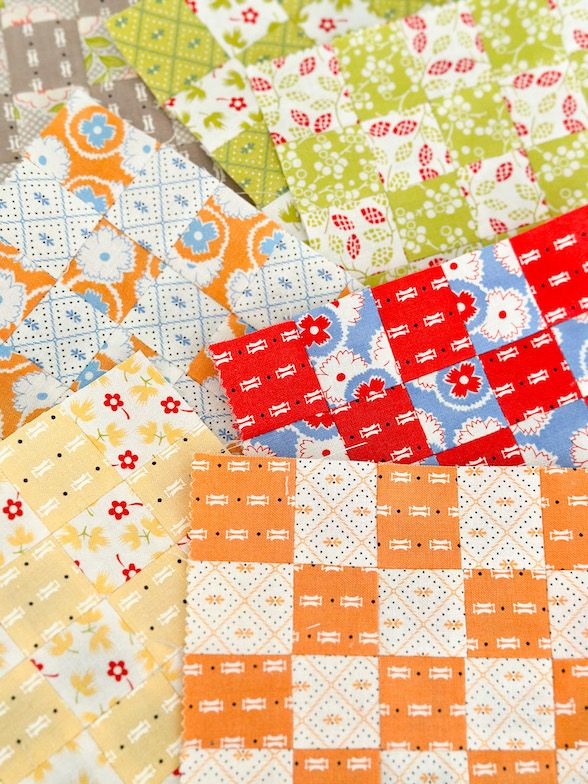
Originally this pattern was created in an orange and black combination for a retro Halloween vibe. But this pattern has SO MANY possibilities and can be made up with pretty much any HONEYBUN or grouping of 1 1/2″ strips.
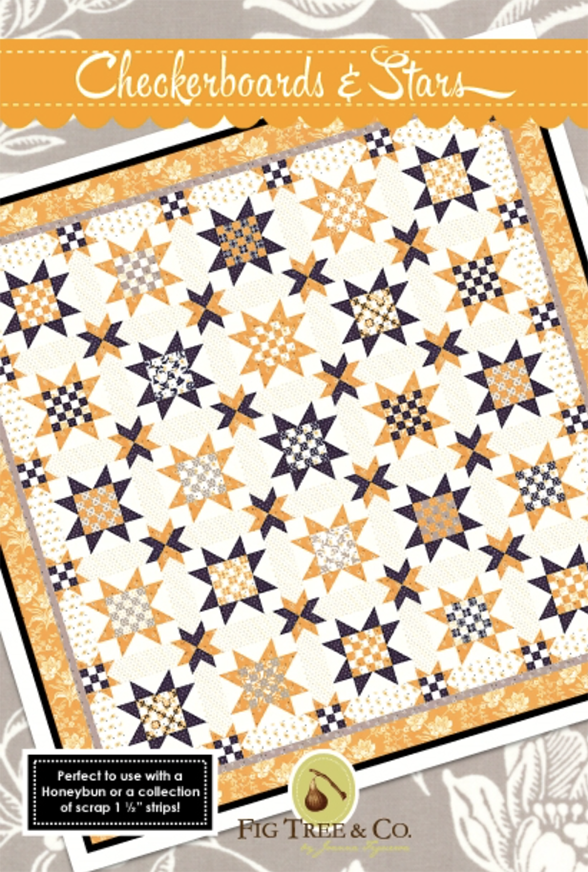
Shown here below are in progress shots of it in FIGS & SHIRTINGS plus scraps from Susan’s stash for some extra color and options!
Available in PAPER or PDF
As Susan continues her block progress, she has a few tips to share with all of you!
- Check where on the precut it is considered the edge. For a honeybun, it should measure 1.5″ across, so check your strips and decide if the “peak” or the “valley” of the pinked edges is more accurate. Believe it or not, it can vary from precut-to-precut or fabric-to-fabric.
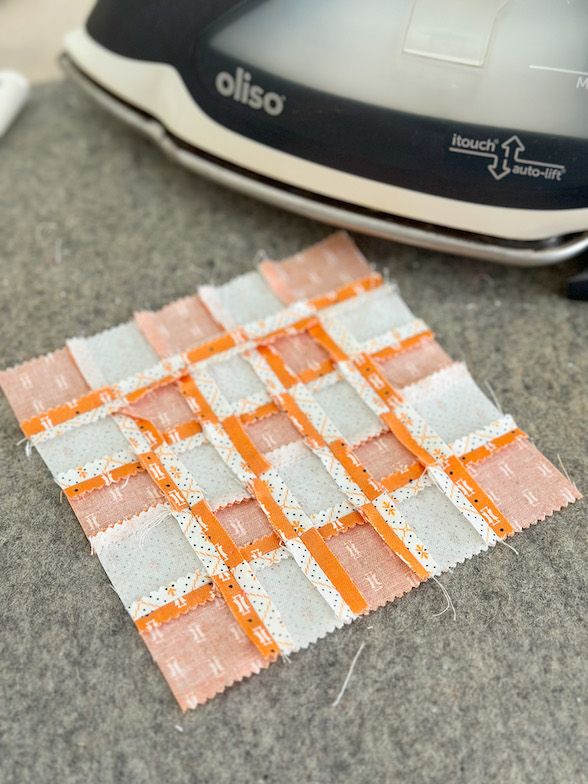
- Make a test block! This helps to check your seam allowances and ensure things are measuring correctly. You may find that you need to adjust your needle.
- I don’t usually square up my blocks (besides trimming HSTs), but I would measure your checkerboard units as you sew them to keep an eye on things. It is easy to go wonky and before you know it, your blocks won’t fit what you need them to.
- Press seams open when you have a lot of seams coming together. For my checkerboards, I pressed the strips in alternating directions so they “nest” as I build the rows, but then I press open. See photo above.
- Strip piecing and strip cutting is a time-saver but be sure to press, not iron, your seams after adding each strip. It is tempting to keep sewing the strips together and press once all the strips are together, but I can promise the results will not be as accurate and, in fact, might be more frustrating.
- If you are using some directional fabrics – and thus sometimes shy away from precuts like honeybuns or jelly rolls, don’t automatically discount a precut project! If it is a pattern where you are building a unit that is square (the same dimensions on each side), then you can simply sew the rows together with the fabrics in all the same direction, whether it is facing correctly or not, and then simple “flip” the block until the directional fabrics are up and down. I hope that makes sense!?
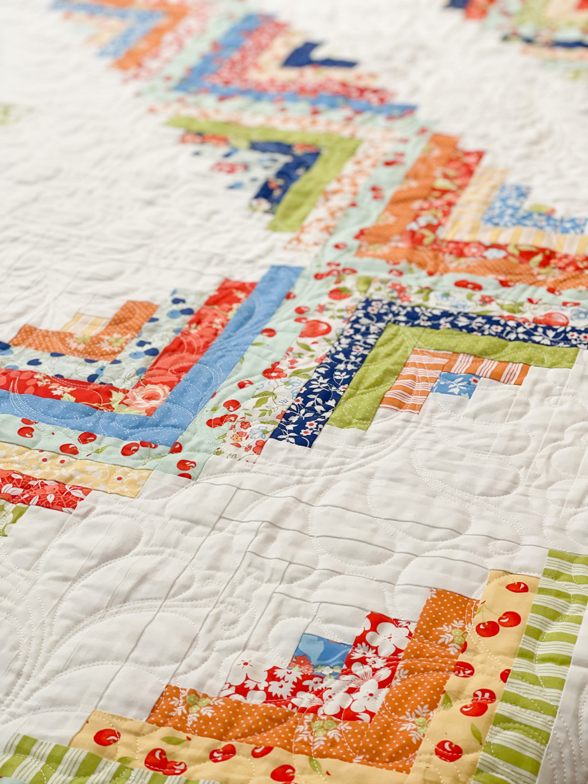
MY LOG CABINS 2 + FRUIT SALAD BOOK MASH-UP
By Lacey Poirier (@laceypoirier)
Originally this pattern was created with a soft autumnal line several years ago called BUTTERSCOTCH & ROSES and it makes such a beautiful project in those colors. However as with CHECKERBOARDS & STARS above, this pattern would look so good in many different color combinations!
This here is a special mashup of the Log Cabin and fruit from FRUIT SALAD. Read more about how Lacey did hers, here below.
Shown here in: FRUIT COCKTAIL
My Log Cabins 2 available in PAPER or PDF
Fruit Salad Book available HERE
For this quilt, Lacey used the BARN RAISING setting and removed the 4 center log cabin blocks (which she set aside to create an accent pillow) and instead, created the FRUIT WREATH PILLOW center (minus the 9-patch borders) from the FRUIT SALAD BOOK – instructions on page 51, using some Fruit Cocktail scraps.
To make it fit perfectly into the center of the MY LOG CABINS 2 ‘BARN RAISING’ setting, she added L/R and T/B borders in the background fabric, until the center measured 19.5″ square – unfinished. This does change the number of SASHING PIECES needed (T, W, Y), and we recommend you have a bit of experience in adjusting patterns/quilty math before attempting this particular mashup. However a full MY LOG CABIN in Fruit Cocktail would be pretty amazing as well.
– – – – – – – – – – – – –
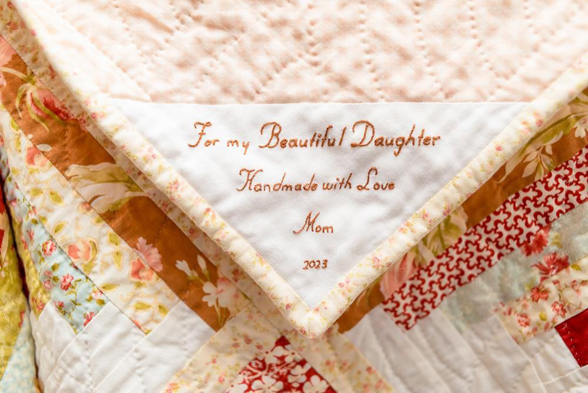
We also wanted to show off one of our Fig Tree Friend’s customer versions of the MY LOG CABINS 2 pattern in the ‘SPARKLING DIAMOND’ setting that she hand quilted just recently for her daughter… wow…and check out that adorable, heartfelt label! <3
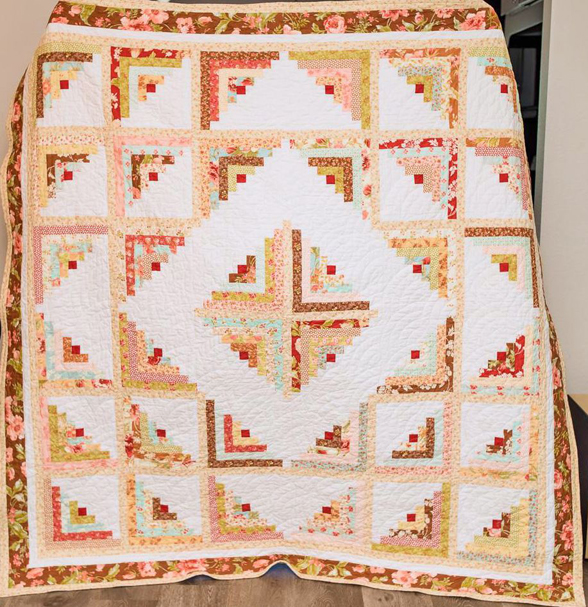
Any way you make it, you can’t argue with a good log cabin quilt…
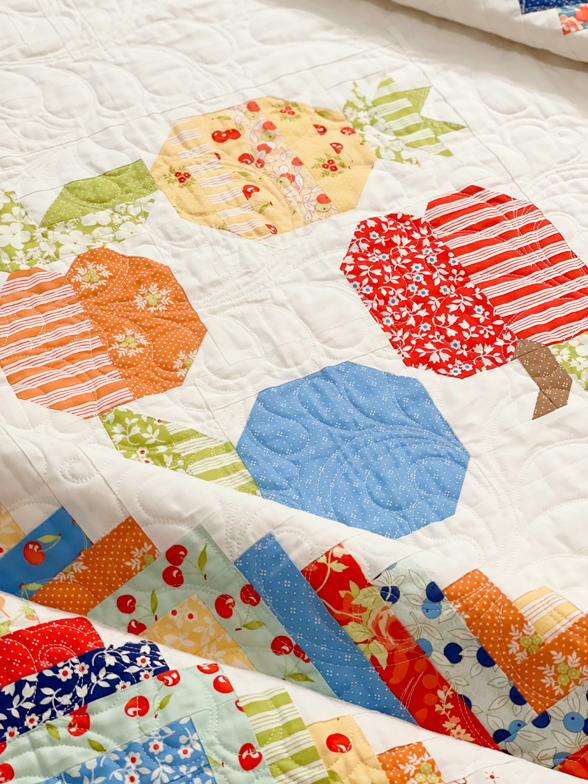
HONEYBUN PUMPKINS
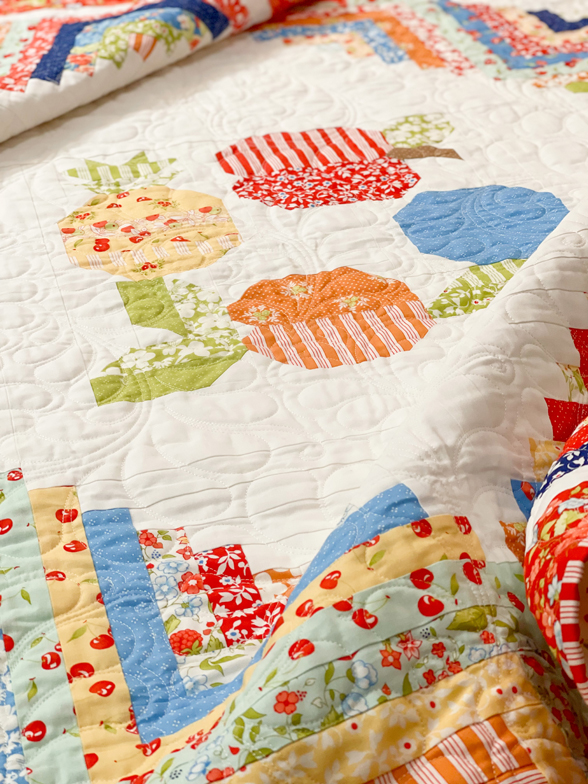
HONEYBUN PUMPKINS is a quilt along that Susan and I held last year for autumn, over 4 weeks on the blog. We had SO MUCH fun making it in PUMPKINS & BLOSSOMS originally. It is FREE here on the blog – and you can find direct links to each week’s blog post below. We think it would look gorgeous in our CINNAMON & CREAM collection, so we just had to do a mock-up. What do you think?!
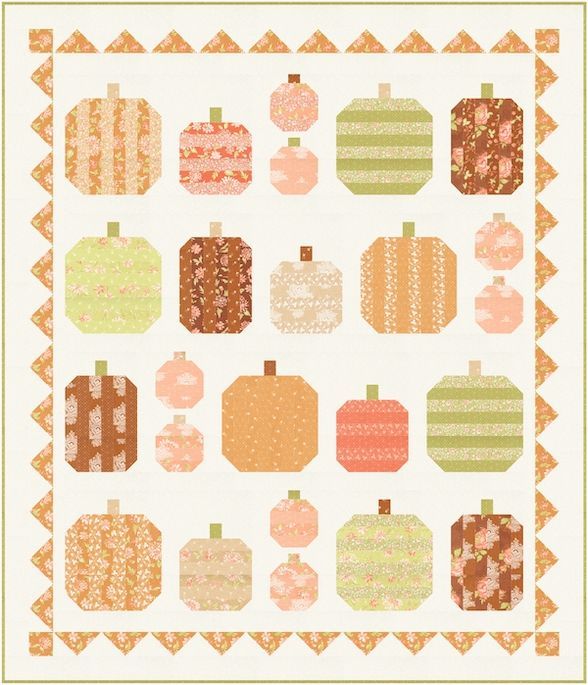
You may need to add some extra fabrics from your stash or get creative in the use of your strips to mimic the above mock-up exactly [since the honeybun strips might not line up identically to the way we mocked it up], but this definitely makes me want to sew it up again!
Just seeing these soft autumn colors on this version are making me smile!
And as promised, here are the links to the [original version] sew along posts:
Week 1 – LARGE PUMPKINS
Week 2 – TALL & SKINNY PUMPKINS
Week 3 – MEDIUM PUMPKINS
Week 4 – ASSEMBLY & BORDERS
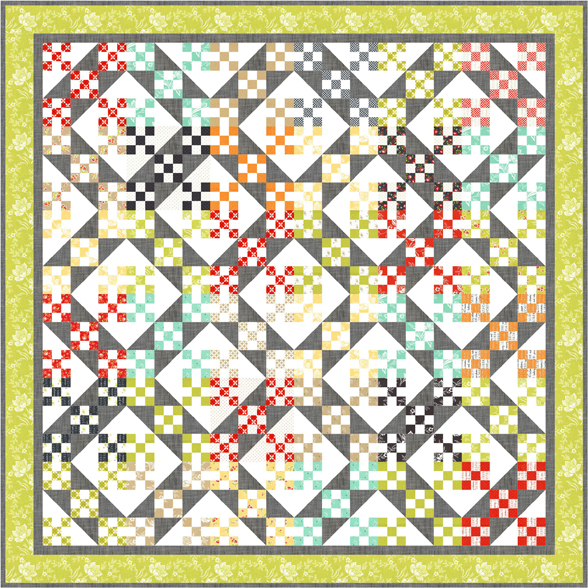
CROSSINGS
This is a new pattern we are offering to celebrate HONEYBUN MADNESS and our SHOP SALE! Introducing…CROSSINGS! We have it mocked up here in FRESH FIG FAVORITES, but it would look equally lovely with so many other honeybun choices. Just use any accent color/fabric that compliments your honeybun. In this case we used our favorite BLACK CROSS WEAVE fabric that we often use for background when we want a little pop.
Specially priced and available as a special LIMITED TIME pattern sheet especially as some inspiration for our HONEYBUN MADNESS sale, GRAB THE PATTERN SHEET HERE from our shop!
We have many more fun pattern options for honeybuns in our shop! Check those out HERE. I’ll be waiting to see what YOU all create with these great honeybuns!
-Joanna
Susan Tracey | 31st Aug 23
Awhile ago Figtree what a table topper made with Catalina prints that used 6 inch pineapple paper it was a perfect project made with I believe one honeybun.