
PROJECT IDEA #1: SUMMER’S END CHEATER PRINTS – THROW QUILTS
Welcome back to our summer series of quick and satisfying project ideas! If you are anything like me, summertime means a bit more chaos but also a bit more time here and there. A quick and fun finish is what I am often hoping for in between keeping up with my BOM projexts and other long term “pick at” projets… you know what I mean?
If you haven’t read over our INTRODUCTORY SUMMER’S END CHEATER PRINT BLOG POST, be sure to visit that first for this fantastic “cheater print” inspiration, fun facts, and a few project ideas.
Also, be sure to visit the FIG TREE & COMPANY YOUTUBE CHANNEL where I showcase both colorways in case you have never heard of this fabulous “cheater patchwork”…
……
SUMMER’S END – IN STORES NOW
Now that SUMMER’S END fabric is in stores, specifically the “cheater prints”, we wanted to dive in just a bit deeper on some of the projects talked about in the introductory blog post and YouTube video above…and maybe add a few more ideas we’ve come up with while we waited. 😉
Today we are going to talk about simple throw ideas – one standard and one a tiny bit more personalized with some rounded corners and bias binding.
Stay tuned to the blog over the coming week for more in-depth patchwork cheater fabric tutorials on pillows, project bags, totes…and more!
……
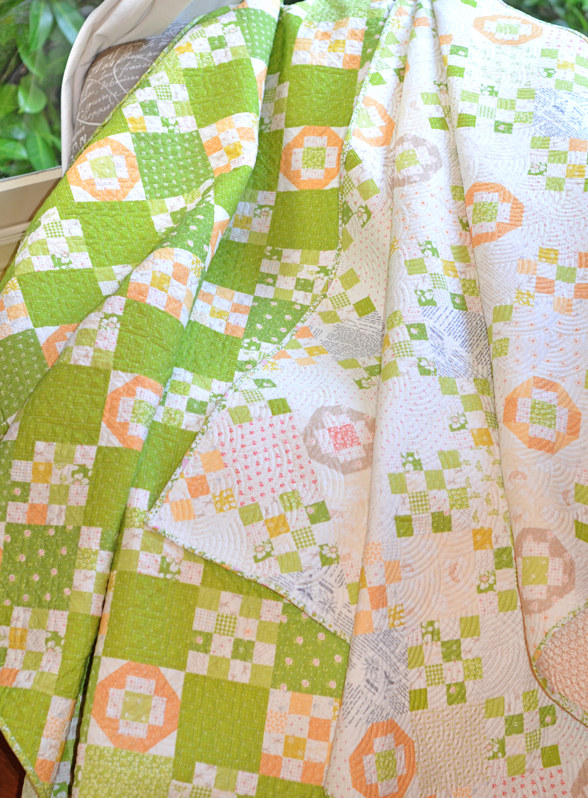
SIMPLE THROW
Perhaps the simplest of ideas, but also such a great use of this cheater print, it’s a simple throw showcasing the cream colorway! I know it feels like it might be too easy… but honestly this is what gets thrown in the car to go to the beach or the park or to sit on in the garden since it wasn’t a lot of work but still looks SO GOOD!
For this one, we used 1 1/2 yds of the CREAM PATCHWORK CHEATER FABRIC for the quilt FRONT and 1/2 yd binding [I used one of my very favorite prints called CLOVER GARDEN BOUNTY (SKU 35430-19)].

This quilt will finish at approximately 52″ x 60″. Susan quilted with a classic BAPTIST CLAM pantograph and bound with (6) 2 1/4″ binding strips.
……
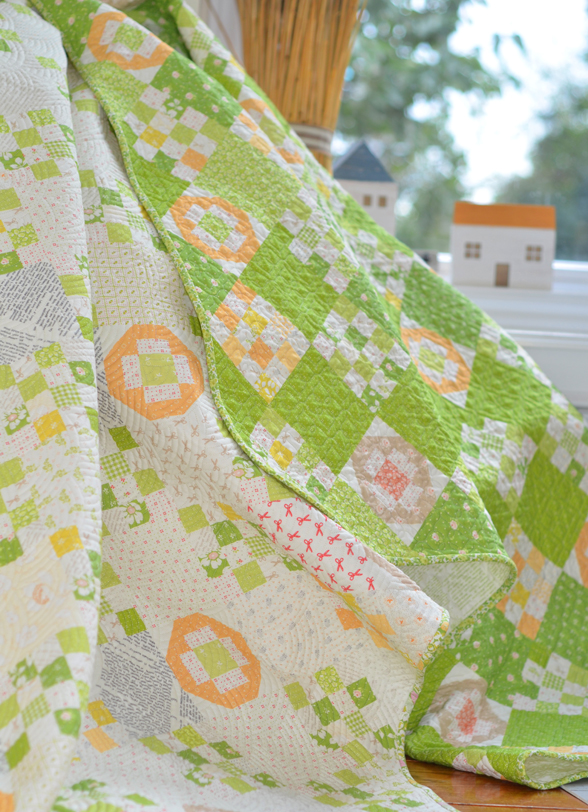
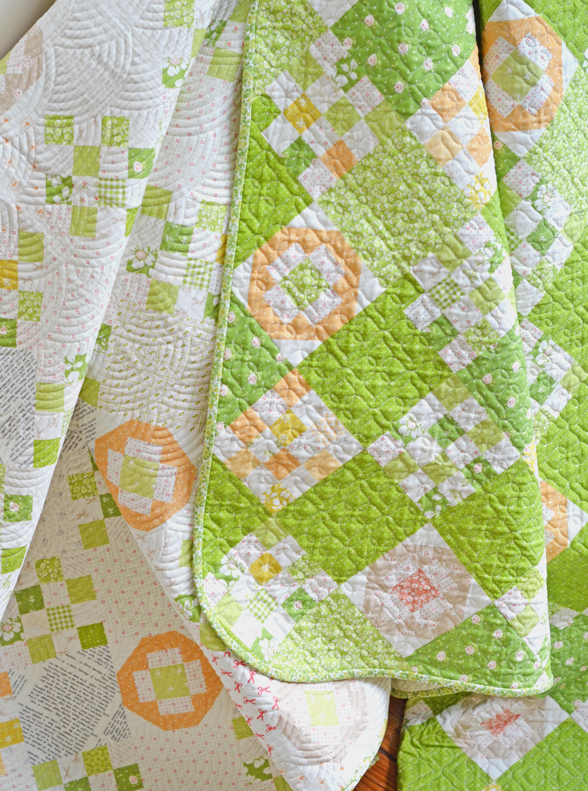
THROW WITH ROUNDED CORNERS
Next up – we decided to use the green colorway in a slightly different way, adding some rounded corners.
If you’d like to follow along with our rounded corners version, you will need 2 yards of the GREEN PATCHWORK CHEATER FABRIC and 3/4 yd. for binding [I used the Summer’s End GRASS MEADOW print (SKU 35436-28)].

This quilt finishes at approximately 60″ x 70”. Susan quilted it with one of my very favorite pantographs – one I lovingly call “biscuit”, but it’s proper pantograph name is STARLIGHT.
Once you receive your quilt back (or after you’ve quilted it yourself), you will then round each of the (4) corners. To do this, I used a standard dinner plate and lined it along the corner edges, marking with a FRIXION pen and cutting the curve with fabric scissors. Repeat on the other (3) corners.
NOTE: The size of your plate will change the size of your curve. The bigger the plate, the “softer” and more subtle the curve. The smaller the plate, the “tigher” and smaller the curve. This can be a totally personal choice – using a FRIXION pen to draw your line can help you imagine what the curve will look like before you cut into your quilt top. Feel free to experiment and do what looks best to you!
When you create your binding, you will want to make sure you do BIAS binding. Doing so will help the fabric lay nicely along those curved edges, creating a nice smooth binding all around.
If you’ve never calculated bias binding – here’s your info… [NOTE: This is if you are making the quilt in the same dimensions as our sample]:
- Bias Strip Width to Cut – 2 1/4″
- Bias Strip Length Needed – 286″ (allows for overage for joining strips, etc.)
- Fabric Needed – 26″ square
……
……
IN THE SHOP
Check with your LQS to see if they are carrying the cheater cloth. Or Click the below links to be taken to the FIG TREE SHOP for purchasing your Summer’s End CHEATER PRINTS in your preferred colorway – or maybe both?! 😉

……
Happy Sewing,
Joanna
April | 19th Jun 26
Ohhhhh, love love the rounded corners. Would you please show us how you cut, fold, apply the binding with finished ends. Pleaseeeeee. So beautiful ❤️
Lisa chatham | 20th Jun 26
What did you use for backing on the summers end cheater cloth quilts? ty