
PROJECT IDEA #2: SUMMER’S END CHEATER PRINTS – PILLOWS
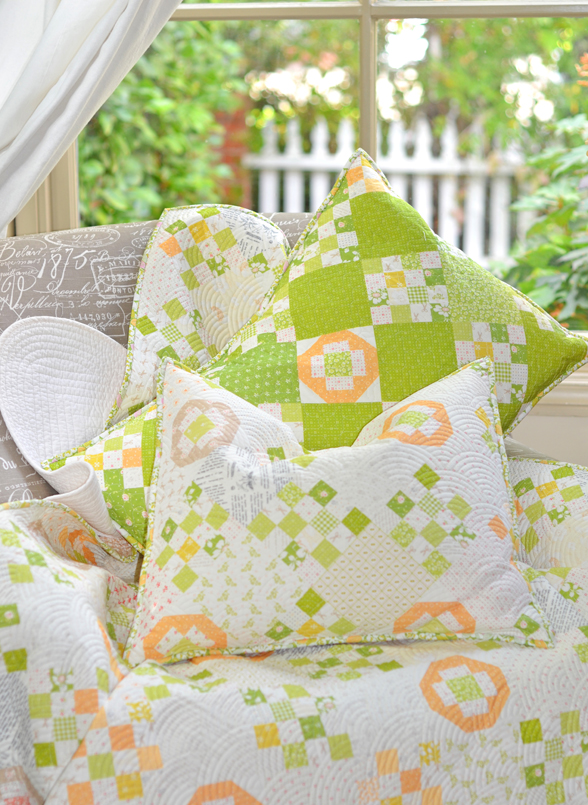
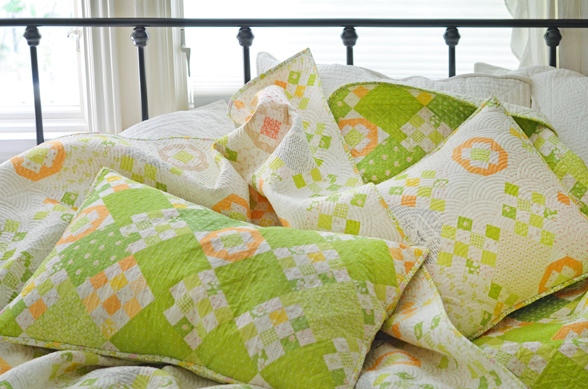
Today we are going to talk about PATCHWORK CHEATER FABRIC pillows – with a multitude of shapes and sizes to be had. Truly, the world is your oyster with these!
In case you missed our previous blog post, which re-introduces you to our PATCHWORK CHEATER FABRIC and our first project tutorial [QUILT IDEAS] check that out HERE.
Stay tuned to the blog over the coming week for more in-depth “cheater print” tutorials on project bags, totes…and more!
……
PATCHWORK PILLOWS
Pillows are a great way to showcase fabric and create an instant room refresh without a lot of work. I’m not sure I should admit just how many I have made over the years…who’s with me?!
……
HINTS/TIPS TO GET STARTED
- You can make these pillows ANY size you want! If you already have pillow forms [or pillows you don’t mind covering up], just use those dimensions and create personalized pillow decor in a flash.
- You can always add a pillow form that’s just slightly larger than your finished pillow front for a nice full feel. A good rule of thumb is to stick to 2″ larger in both length and width.
- Ex. If your pillow front finishes at 20″ square, I will usually try to find a pillow form around the 22″ square size.
- If you are in a pinch, you can also “fix” a mismatched pillow form using a few different techniques:
- For pillow forms that are TOO SMALL:
- Try wrapping the pillow form in batting scraps (or)
- Cut a small hole and add more stuffing.
- For pillow forms that are TOO LARGE:
- Cut a small hole in the back of the pillow and remove some of the stuffing.
- For pillow forms that are TOO SMALL:
- You can also make your own pillow forms with scrap fabric and a zipper! Personally, I have limited time and have splurged on a few down pillows [IKEA is my go-to option if you’re curious!] and work to interchange them.
- And last but CERTAINLY NOT LEAST…If you love this PATCHWORK CHEATER PRINT fabric and see yourself creating more than one project from it, I highly recommend buying a larger piece and having your quilter do an overall pantograph of the entire thing. You can then cut from it for all of your subsequent projects.
- I had Susan [@thefeltedpear] quilt up a larger piece of each of the colorways and first cut to create the throw quilts (discussed in THIS BLOG POST), then used the extras for the rest of the projects – pillows, totes, project bags, etc.!
FIND THE CHEATER PRINTS IN THE SHOP:
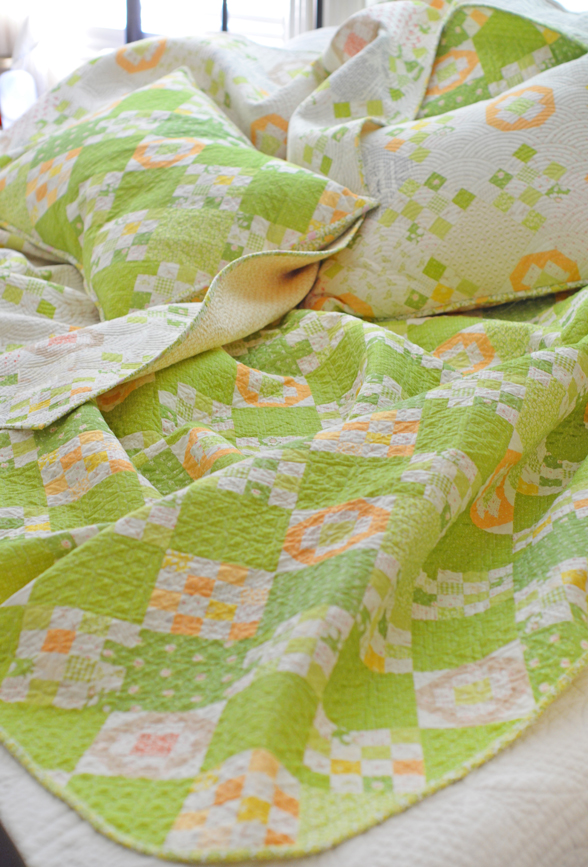
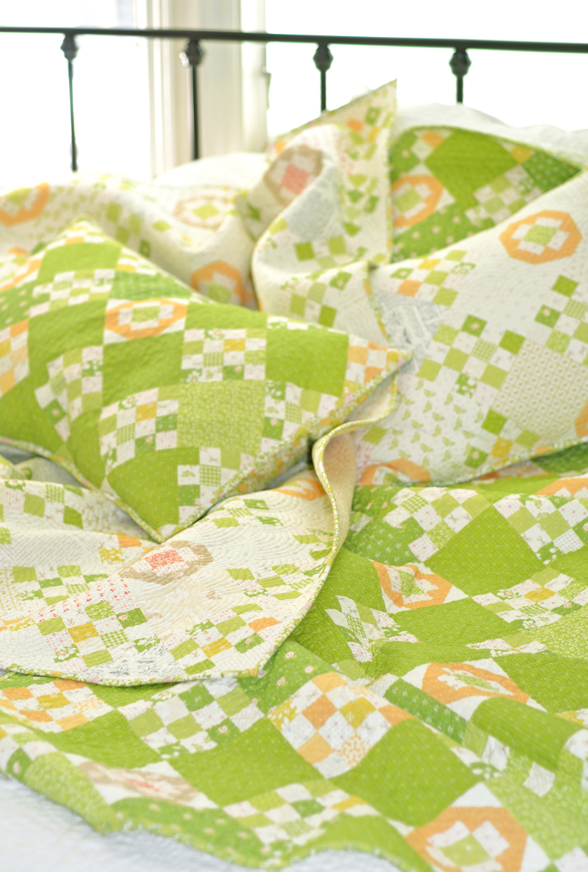
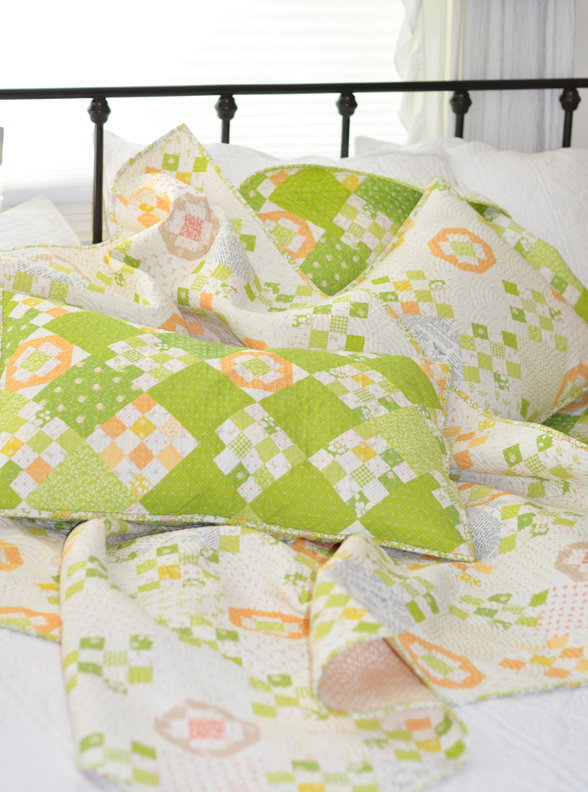
For the following tutorial, we are going to focus on a SMALLER PILLOW (sample made in the cream colorway) and a LARGER PILLOW (green colorway). So let’s get right to it!
……
SMALLER PILLOW (Approx 17″ x 20″)
For this pillow, I’ll be honest…I probably used a 20″ square pillow form and squished it in there! We do what we have to, right?!
- From your quilted fabric, cut a rectangle 17″ x 20″ for your pillow FRONT.
- For the pillow BACK, we prefer to do an envelope-style finishing. Cut (2) rectangles 17″ x 26″.
- Fold both backing pieces in 1/2 RSO [each will be app. 17″ x 13″]. Press well. Add a stitch line to each folded edge for a more finished look. Place the folded pieces on the back of the pillow top. Line up the raw edges of both back pieces with the raw edges of the pillow top. Overlap the (2) sides in the center, app. 3″. Pin/clip in place to prevent shifting and baste in place with less than a 1/4″ seam allowance.
- Bind the raw edges with standard binding.
……
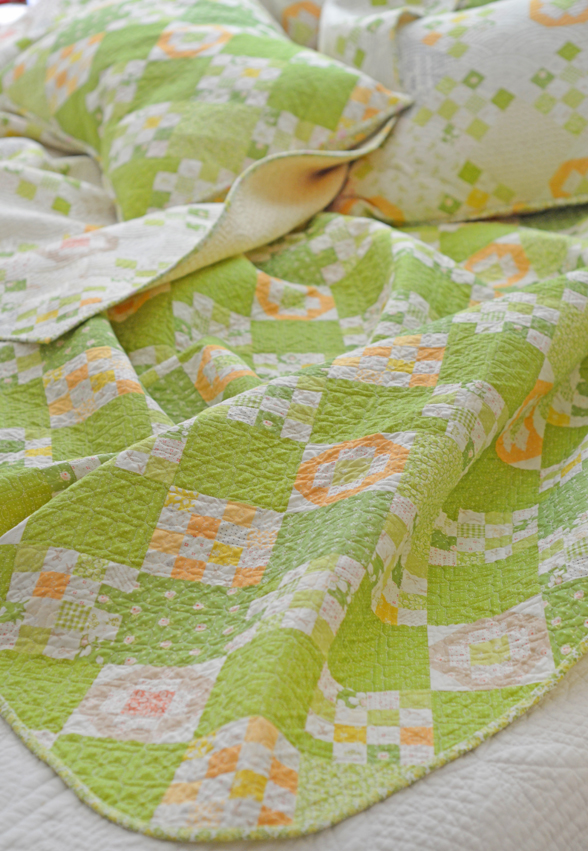
LARGER PILLOW (Approx 18″ x 26″)
For this pillow, I used a standard pillow form, stolen from my bed…literally! This is a really easy place to start since most of us already have standard bed pillows in the house that we can “borrow” for this project.
- From your quilted fabric, cut a rectangle 18″ x 26″ for your pillow FRONT.
- For the pillow BACK, we prefer to do an envelope-style finishing. Cut (2) rectangles 18″ x 32″.
- Fold both backing pieces in 1/2 RSO [each will be app. 18″ x 16″]. Press well. Add a stitch line to each folded edge for a more finished look. Place the folded pieces on the back of the pillow top. Line up the outside raw edges of both back pieces with the raw edges of the pillow top. Overlap the (2) sides in the center, app. 3″. Pin/clip in place to prevent shifting and baste in place with less than a 1/4″ seam allowance.
- Bind the raw edges with standard binding just like you would a quilt.
- Just for reference, you are not turning anything here, just making a regular “sandwich” and binding it all the way around and then inserting the pillow.
……
Happy Sewing,
Joanna
About The Author
