
Starch Method of Applique: The Perfect Way to Get Your Shapes!
Every time we start a new Sampler BLOCK OF THE MONTH program or a new series, some of the first questions I always get : “Will there be any applique?”, “I can’t do applique, so will you do alternatives?” and my favorite of all “If there is any applique in it, count me out”. I have to tell you that I COMPLETELY UNDERSTAND your trepidation. I have been quilting for a really long time and I still don’t love applique. I think most of that has to do with the fact that it just takes more time and you have to slow down to do it. Well… I am not very good at slowing down :-). When I start working on a quilt, I want to see progress and I want to see it fast :-). And applique… well it slows me down!
When I look at the quilters that love applique, they generally love to slow down too. And I admire that. I definitely could use a bit more slowing down in my life… for sure!
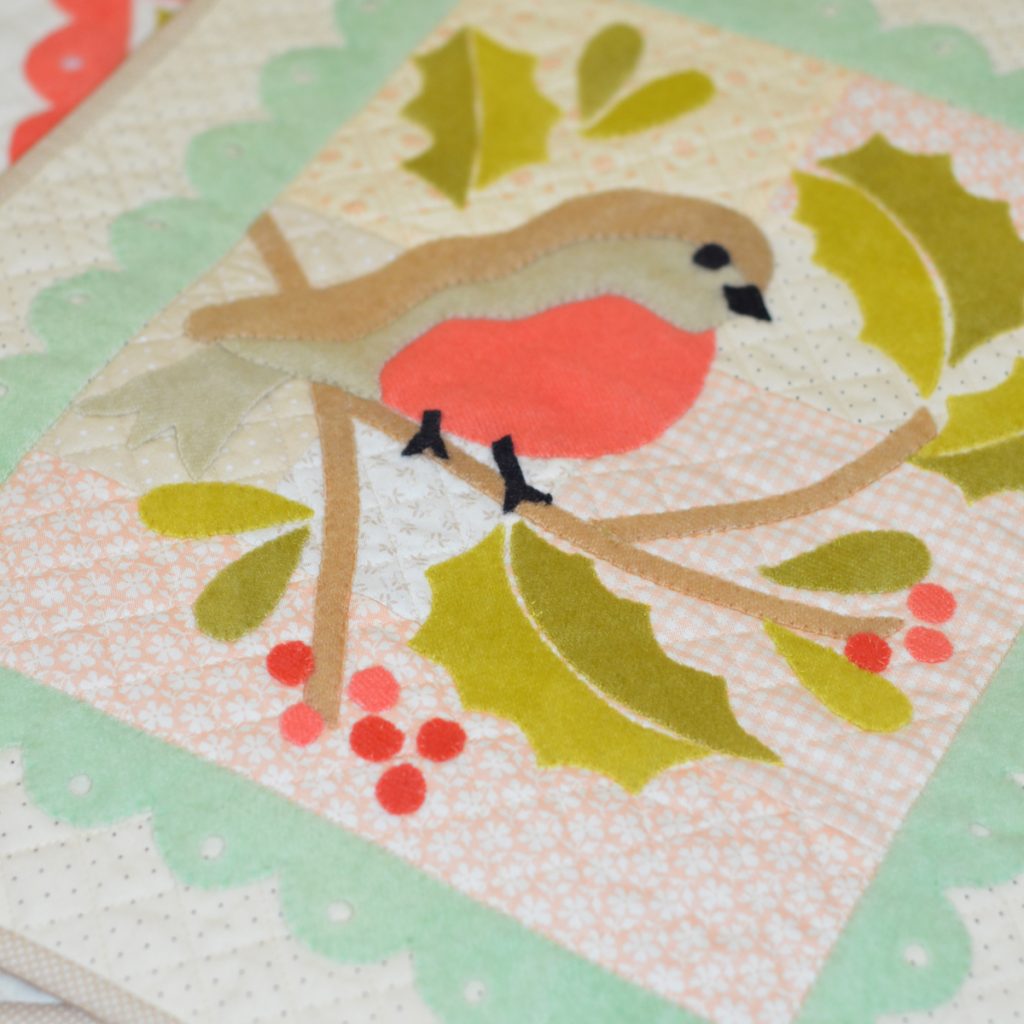
Over the years I have also come to love applique as an addition to a piecing project. Sometimes a little bit of applique adds such a wonderful element to a project… something that more piecing just couldn’t add. So over the years I have tried many, many different methods of applique.
I started by learning the fusible web method of applique [this means that you cut the shape out exactly as is with some kind of fusible product on the back and that you affix it to the background with the raw edges]. This is a great place to start! I focused on larger, simple shapes and I stitched them to my quilts, finishing off the raw edge shapes with my favorite finishing stitch # on my Bernina. I likde the shapes but I didn’t love the stiffness of the shapes and the fact that the shapes looked too “crafty” for me. After all of that work, I knew that these shapes wouldn’t hold up over the years and I couldn’t get past all of those exposed raw edges!
Next I tackled learning needle turn applique [that means that you cut your shape plus a 1/4″ seam allowance, and you turn the edges under with a needle as you hand stitch the shape to your background] from many different teachers with different techniques and methods. Lines on the back, lines on the front, freezer paper on the top, basting and not basting and more! I took classes from those that were experts at the time, Robin Pandolph, Mary Lou Weidman and many others. This time, I struggled with my applique because I could never get the shapes that I wanted. The process took too much concentration for me and then I didn’t love the result. So I started to give up, I was close to the camp of “I hate applique, don’t even talk to me about it :-)”. I called it “the A word”!
And then I discovered the freezer paper method of applique and I was in love from the first attempt. It was one of those moments when I knew I found something that worked for me and my personality!!
The upsides of this method:
1-You get the exact shape that you cut out. So basically if you can cut the shape, you can get the shape.
2- All of the prep work is up front. So for someone who likes to keep their hands busy, all I need to do is grab a pre-prepped block and all I need to do is mindlessly whip-stitch shapes to my background. I have gotten a lot of applique done while at a soccer game in my life!
3- Very simple to lay out a block because the shapes are all the final shape and you can easily see where everything goes.
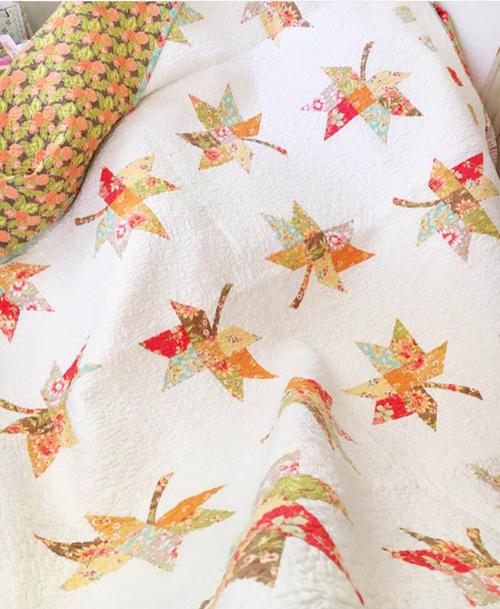
4- You can reuse the same shapes over and over. I have been known to use the same leaf shape 20 times before it falls apart.
5- You can hand stitch the final shapes or machine stitch them and I use both methods interchangeably.
The downsides of this method:
1- You are adding the extra step of having to add the freezer paper to the back of your shape.
2- You need a few extra tools to really perfect it like a small iron with a good tip, a stiletto and some starch. The rest of the supplies are fairly basic and include freezer paper and a permanent marker.
Maybe there are others, but since I love it so much, I am not sure what they are!
HERE ARE MY FREEZER PAPER APPLIQUE METHOD TIPS AND HINTS.
If you want to print out the information, I am also linking it here as a PDF. We have this same thing included in many patterns and any of our BOM programs that use even a few leaves of applique.
SUPPLIES FOR THE STARCH METHOD OF APPLIQUE
If you think you are going to want to try our favorite method of applique on small portions-such as basket handles, stems and leaves, block circle, etc- that are going to be applique in a larger project, the following is our list of basic and optional supplies that you might want to have on hand. Start off with the necessary and if you love the method, add in the optional.
NECESSARY SUPPLIES: Can of spray starch, small craft brush, freezer paper, thin permanent marker, Paper Scissors.
OPTIONAL SUPPLIES: Stiletto or other sharp pointed object such as a good seam ripper, Straw #10 or #11 needles, complimentary threads to your project, Roxanne’s Glue Baste It & most importantly, a travel iron with a good tip.
THE STARCH METHOD OF APPLIQUE
Step 1: Trace your appliqué shape to the shiny side of a piece of freezer paper. Press that piece of freezer paper onto a 2nd piece of freezer paper so that you are working with a double piece- dull side to shiny side so that what you are left with is a double piece with one side shiny and one side dull. This will help prevent your templates from curling. Your marked line will now be inside the templates.
Step 2: Cut the shapes out on the line.
Step 3: Iron the freezer paper templates to the wrong side of the fabric. Cut a scant ¼” seam allowance around the fabric shape. Clip into the curves and around the points. Remember that sharp curves will need more clips & soft curves will need less. For inner points, cut a few threads shy of the template.
Step 4: Leave the paper in place & paint starch onto the backside of the fabric seam allowance with a small paintbrush. [**spray some starch into a small jar or into the cap for it to “defoam” before use.
Step 5: Press the seam allowance back onto the freezer paper shape, taking care around corners & curves. A stiletto is very helpful in pulling the points all the way in as you are ironing down your seam allowance and in generally assisting you with the movement of the fabric as you press. In the absence of a stiletto you can use the tip of sharp scissors or a seam ripper.
Step 6: If you have excess fabric on an outer point, trim it down after you have starched down one side of the point. If you ever press more than you needed, simply reapply starch to the portion that you need to re-press down.
Step 7: Once the 1/4” seams are all ironed down, pull out the freezer paper along a straight away & what you have left is a perfect shape. You can reuse that same paper shape many times.
Step 8: Glue your appliqué shape down onto your background, using pin dots of the glue baste-it on the back of the starched down seam allowance. When done you now have a perfectly turned appliqué image ready for whatever kind of applique- hand or machine.
Many of you probably already know all of this info, but I thought I would add it here to the blog in case you don’t. If applique is something you have wanted to try but haven’t been sure or if you have tried it and haven’t found a method that works for you yet, I really encourage you to try this one… and then tell me what you think!
If you want to know more about how we do WOOL APPLIQUE specifically, then look for the special series HERE.