
TUTORIAL: GOOSE GARLAND
Hello Goose Lovers!
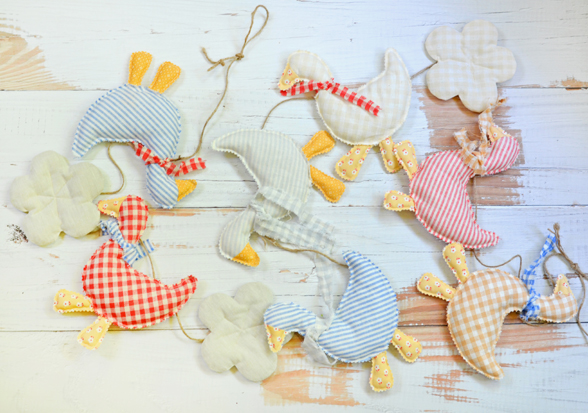
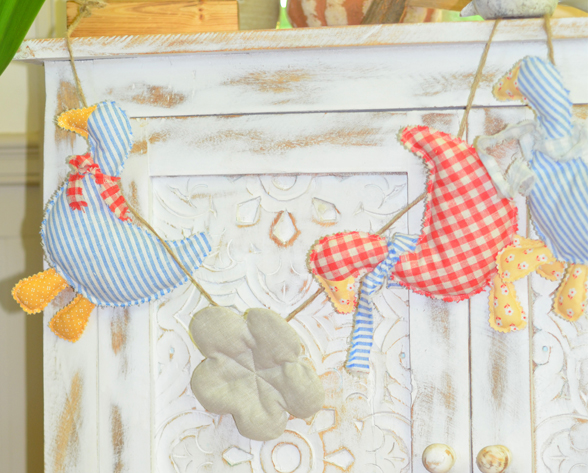
Recently we went to an industry trade show, H&H, in Chicago and as a part of our booth display, I made this sweet little goose garland to decorate the walls.
I got SO MANY requests for a tutorial about this garland that I could’t resist working up a super simple HOW TO for you guys.
If you are a store and use this in your shop display, hopefully you will tag me or send me a pic so I can enjoy the loveliness!
This is definitely a simple process since the geese are not turned right side out (RSO), not looped in any way, and basically made in a fairly “rustic manner” for a quick fun decoration.
……
HERE ARE SOME BASIC SUPPLIES
- Linen/fabric pieces app. the following sizes for each part:
- 9″ square for the geese
- 2” x 2” pieces of gold fabric for the beak
- 2” x 4″ pieces for each of the feet
- 6 1/2″ square for the flower
- 2 1/2″ square for the flower center
- Other Supplies:
- scraps of fabric for the neck ties
- 9 ft. of twine (for this size)**
- fusible interfacing such as Wonder Under
- stuffing
- small straight pins or safety pins to secure shapes to twine
- pinking sheers
**NOTE: I made (7) geese and (3) flowers for a garland that was app. 9 ft. long from end to end. This is just for reference…obviously you can make your garland as short or long as you want! Don’t forget to calculate twine space between each shape and for a potential loop at each end for easy hanging.
……
HERE ARE SOME QUICK STEPS
FOR THE GEESE:
1. Print out the templates (link below) and make sure that your printer does not “shrink to fit” and prints them at the correct size.
**GRAB YOUR FREE DOWNLOADABLE GOOSE/FLOWER TEMPLATES HERE!**
2. For the geese, you will need the goose body and goose feet templates. [More on this below but for the flower, you will need the flower shape. Keep the circle until the very end, used for closing the flower on the back].
3. Cut the paper shapes out on the line.
4. Next, you will want to sew a scrap of gold fabric on the TOP LEFT side of your goose square piece. Line up your template so that the gold fabric lines up along the dotted line for the beak and trace the shape. You only need to do this for the front. The back of the goose is all one fabric to keep this little guy simple to line up and assemble. Check out the following video for more details on this step:
5. Place the goose front and goose back fabrics together RSO [so the side of fabric you want to show is facing out for both fabrics]. Pin together so the fabrics don’t shift. Sew on the line all the way around, leaving an opening where the red lines are on the goose body template (bottom). Be sure to backstitch on each side to keep your seam from coming out during stuffing.
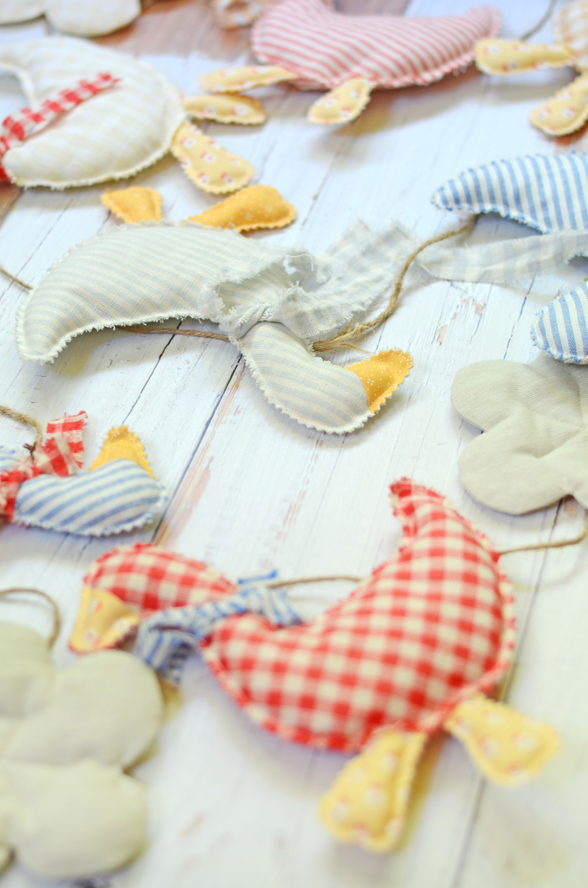
6. Using pinking shears, cut a ⅜” seam all the way around the goose and the feet. No turning is involved with these shapes, just the pinked finished edge all the way around.
7. Loosely stuff the goose with stuffing, just enough to get a little bit of “squish” evenly spread throughout. Note that you are not stuffing this like a pincushion or stuffed animal. Just a few puffs of stuffing tucked around to give the goose a bit of depth.
8. Next loosely stuff each foot with just a tiny bit of a piece of stuffing as well.
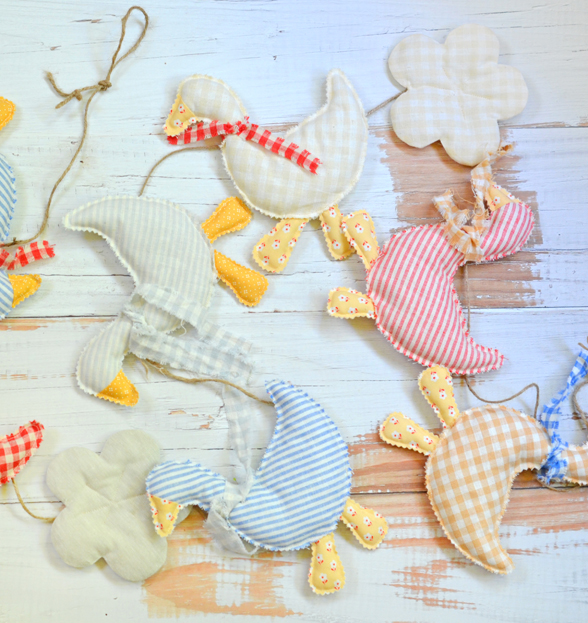
9. Tuck in as much of the feet as you would like and pin in place so they don’t shift. Position them in different directions for a little whimsy if you want!
10. Making sure your stuffing is tucked all the way in, complete the stitch line that you left open for the stuffing and legs. This will close the goose belly and sew in the feet all in one step.
11. Add the neck ties for a fun little accent.
FOR THE FLOWERS:
1. For these shapes, sew the 2 squares of fabric right sides together (RST) this time.
2. To make it easier on yourself, sew completely all the way around, clip the inner points and outer curves, cut a slit in the back and turn the shape inside out.
3. Shape the flower well with a point turner or other pressing object so that your petals are nice and round. Press the flower well.
4. Lightly stuff the flower, as well – using the slide made in the back.
5. Add a bit of fusible to the 2 ½” square. Cut and trace the flower circle paper template to the fused fabric and cut out on line. Fuse the circle to your opening on the back of your flower to close the opening.
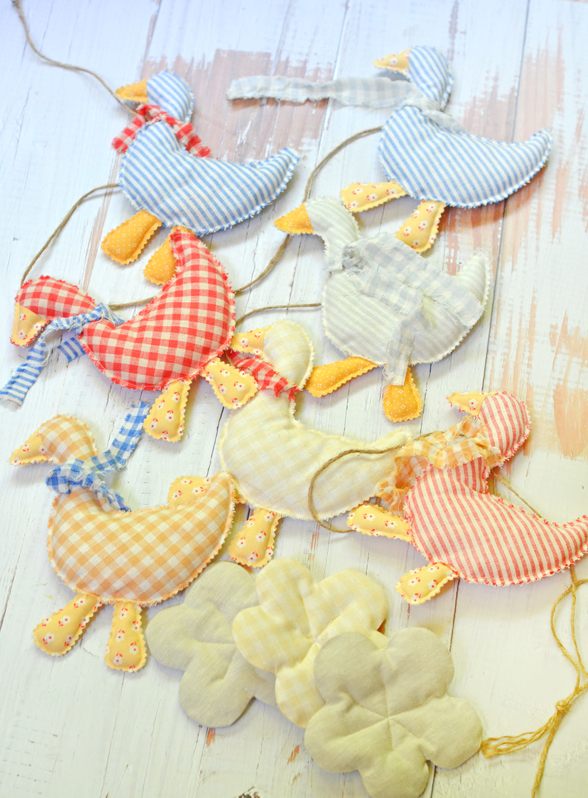
6. As a final quick accent for your flowers, I stitched 3 lines in the center to mimic the middle of a flower [look at the photos for reference]. Check out the following video for more details on this step, as well as a look at the final steps of the geese:
FOR THE GARLAND:
1. Intersperse your shapes as you would like. I kept about 6” or more in between them.
2. Keep the last 16” or so at the ends for loops and tieing up.
3. Pin your shapes to the twine so that you can move them up and down along your string even once you have hung them.
4. VOILA! All finished and ready for decorating!
……
Happy Sewing!
-Joanna
Jeanie | 12th Jun 26
These are SO charming! Thanks for the pattern and instruction:)