
CROCHET SEW-ALONG: MAKE A BLOCK
So at this point in the game I can see that many of you have already made a block… or several… or for a few over achievers who I won’t mention, have made the whole quilt. Geesh! But for the rest of you who sew in between the other crazy bits and pieces of life and are moseying along at a summertime feeling pace :-)… here are some tips on sewing your blocks!
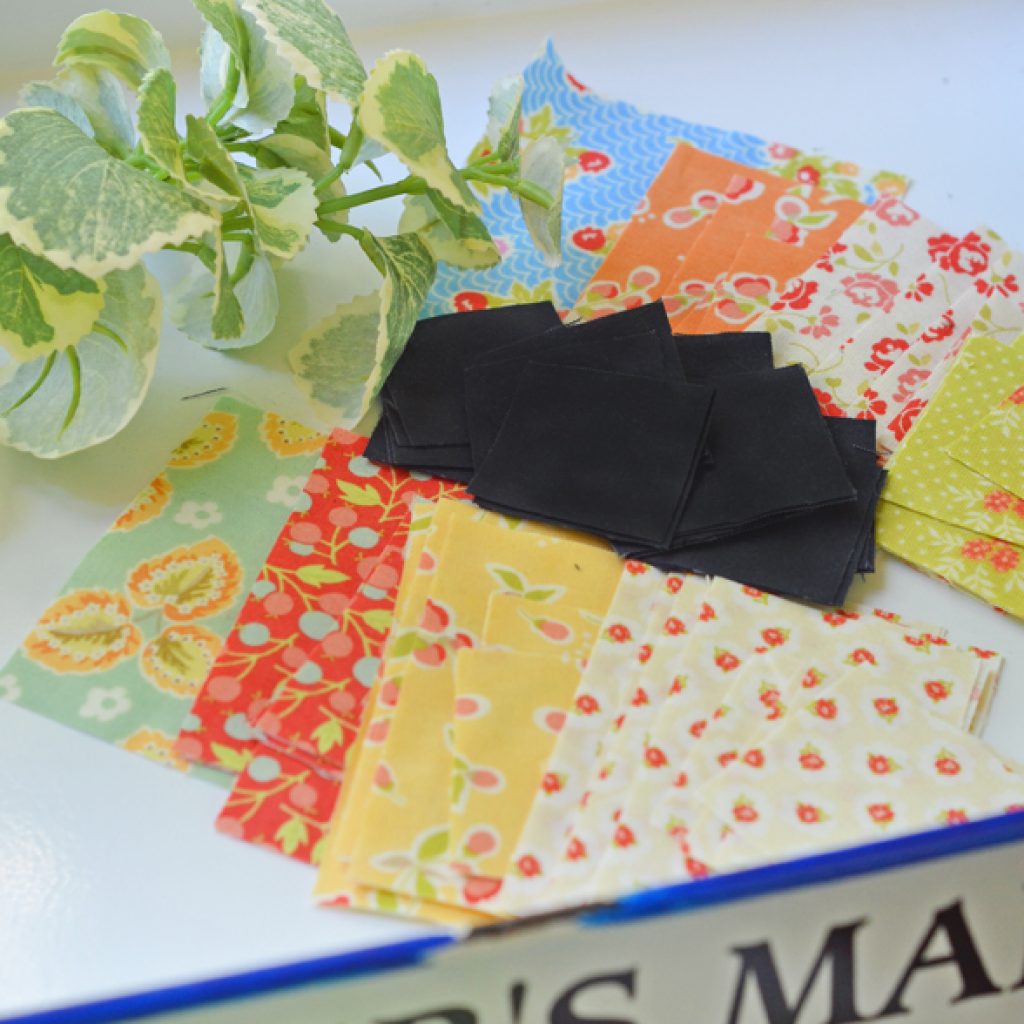
1- Once you have chosen your center and 3 rounds, start to make your Unit #1 and #2 for each round. Each round has a different amount of Unit #1, more units as it grows toward the outside of the block, but always the same (4) of Unit #2.
2- If you are new to our favorite SEW AND FLIP method, I hope you like it as much as we do. It is the most simple way to get a variety of shapes in quilting without having to use templates, bias or odd shaped pieces. It is my all time most utilized piecing method. Over the years as a teacher, I have found that it gets the best results for the largest group of people.
3- Remember that you have a choice here in terms of cutting out the back piece depending on the color of your background color. If your background [the color that is your quilt background, in the case of this unit, it is the piece on top] is dark you can choose to leave the back of your block intact, giving it a bit more stability and accuracy when joining pieces. If your background is light, you have to cut out both pieces. HOWEVER, having said that, given that these pieces are small and you might not want to deal with the bulk, you might want to trim out both pieces anyway. The choice is yours of course, I just wanted to explain the process in general. When the pieces are larger, we most definitely leave the background intact sometimes, but in this case it is totally your call.
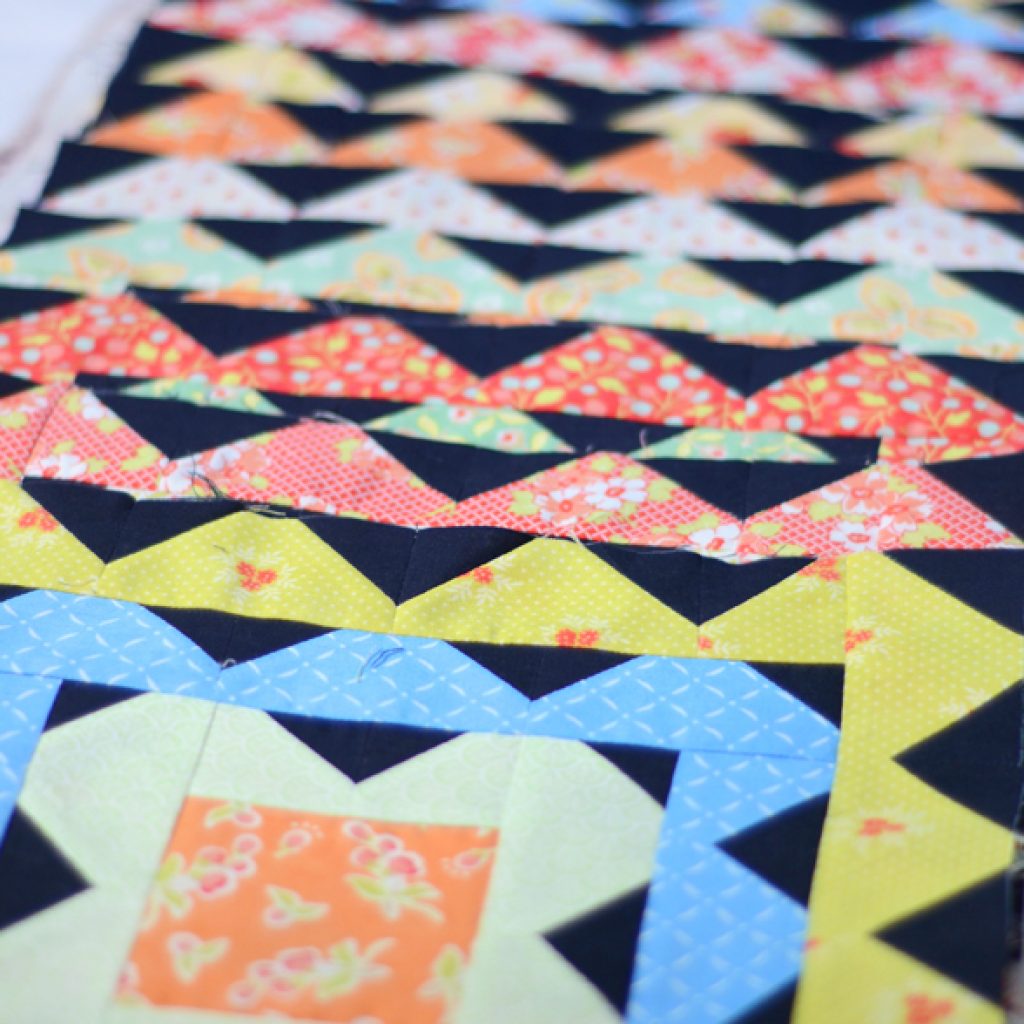
4- Once you have sewn and trimmed off your corners, you are ready to start joining your pieces. Where these join, in the “valley” so to speak, is the only place that you should pay attention to your point matching. Sew a bit slower, pin if you are a pinner [you can even leave the pins in if that does not give you a heart attack and your pins are small and thin like my favorite Little House Pins], glue if you are a gluer [i have many quilter friends who swear by the method of using a tiny spot of Sewline Glue stick to keep their pieces aligned!], use your finger or whatever method you use to align points. All that to say, these little valleys in each round, are the only place where aligning matters in this block! And if they don’t quite match up completely… let it go I say! It will be very hard to see it. If you take a close look at some of our “valleys”, you will see that they are not all quite so perfect after all! 🙂
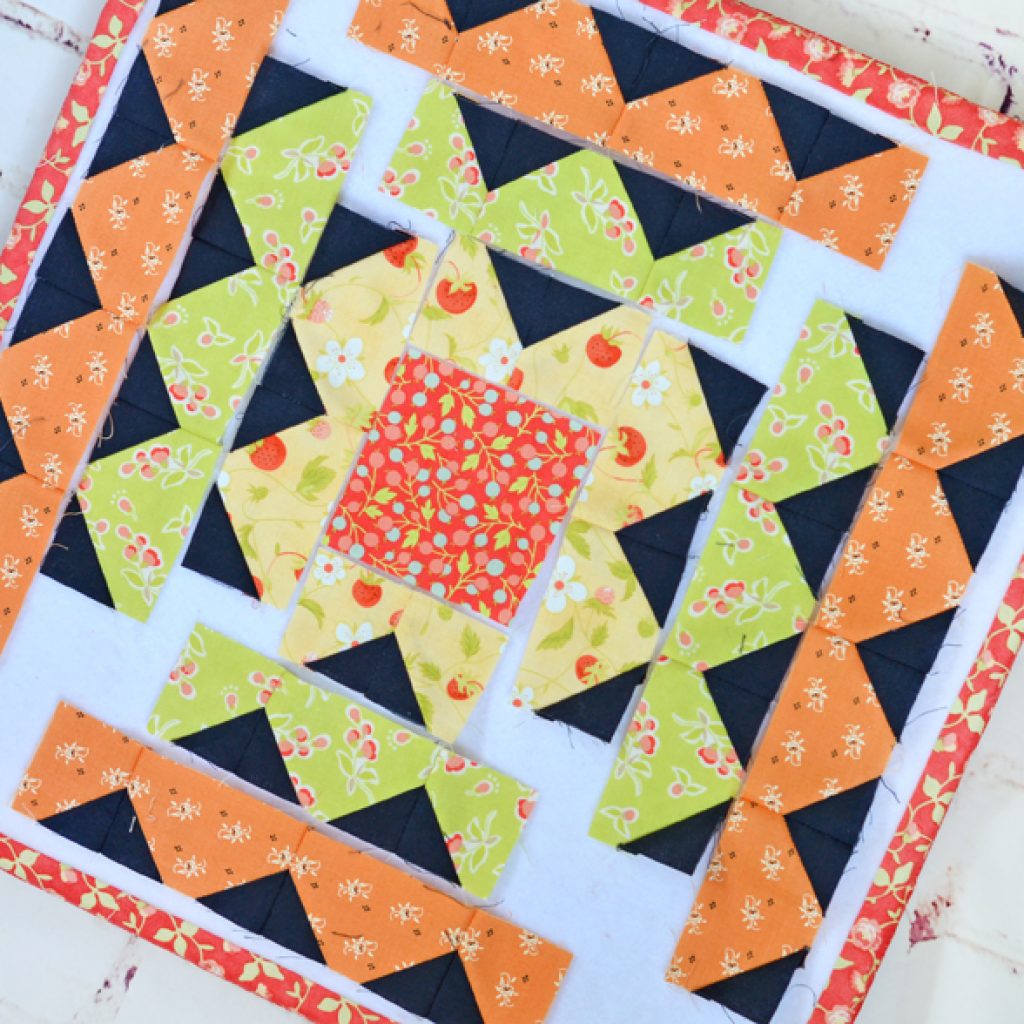
5- Sew the sections of your round together and lay them out if you want to make sure you are going to like the finished product. Sometimes you might find that you are not crazy about how one round looks right next to another one. That’s okay… just save that round for another block and substitute another fabric for this one. That is the beauty of these blocks, you can audition the rounds as you go to make sure you love your block before you put it all together.
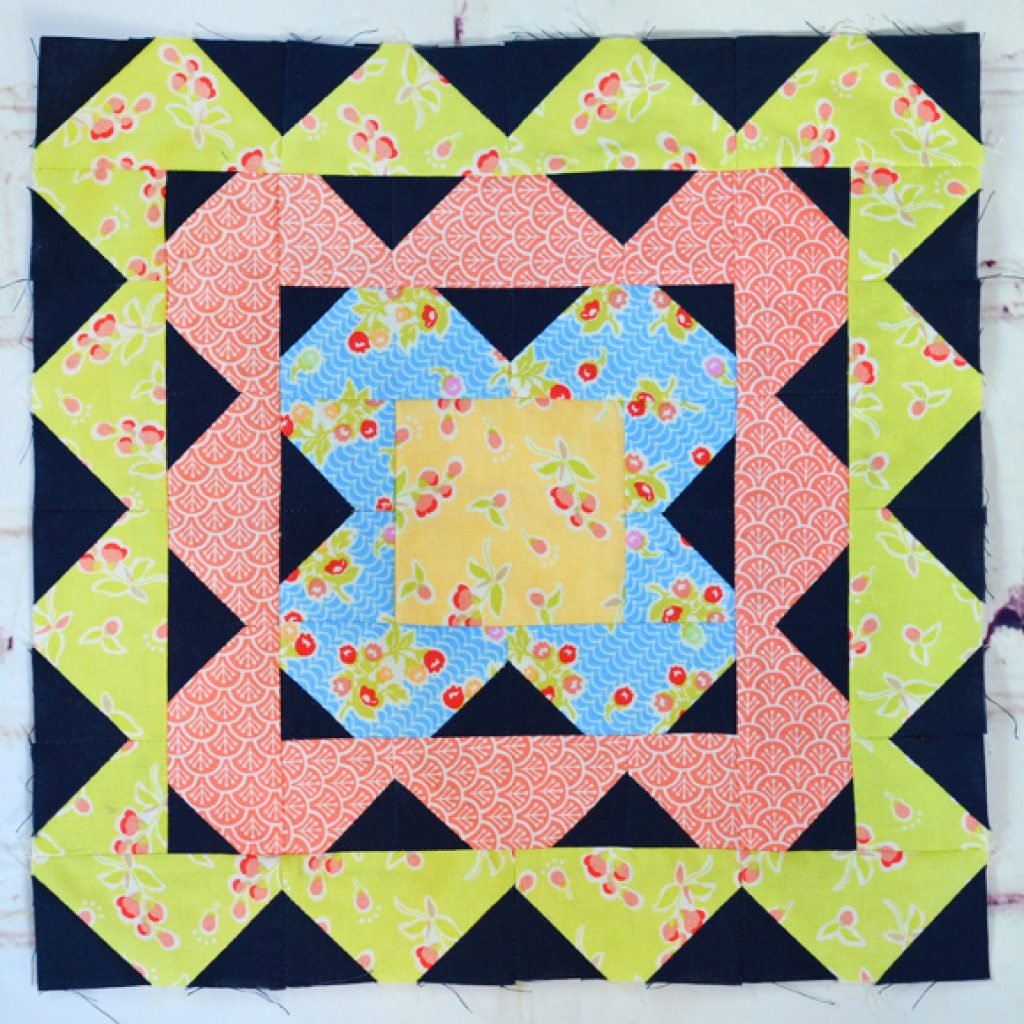
6- Press the whole block well, one round at a time as you go and then again at the end.
7- Make a couple more if you think they are addictive like so many of us do!
And don’t forget to post your progress on the #crochetsewalong hashtag on instagram to be eligible for the prizes. This weeks winner will be announced by noon today! Next week’s prize: $100 worth of Fig Tree patterns and goodies bundle!!
Kelly Kiel | 14th Jun 19
I love your idea of sewing the sections of each round first, then laying them out to audition them before sewing them together!Thank so much for the great tip!
Traci Slomba | 14th Jun 19
Very good tips as always! I love that you can audition fabrics as you go and use them in another block! I have been pressing my seams open when joining my units, then pressing my rounds outward and my blocks have been pretty flat. I’m enjoying the process so much. Next weeks prize is a biggie, who wouldnt love a figtree goodie bag!!!!! I’m crossing all my fingers and toes and everything in between!!!!
Karen | 14th Jun 19
Loving the tips you post! Very helpful and how do people sew so quickly?! Loving this pattern
Veronica | 17th Jun 19
Thank you for some great informative tips. Sewing the sections of the rows together for auditioning is such a great idea. I plan to try it on my next blocks. I love reading your blog. It is so helpful.
Lois | 23rd Jun 19
I really want to make this larger that will fit a queen size bed. Can you give some suggestions on how to increase the size so it will look awesome on the bed.
joanna@figtreequilts.com | 6th Aug 19
Each block is 12″ and the sashings are 2″ finished, so basically every time you add another row, you are adding 14″ total. So you can figure that depending on what size you want your finished quilt to be. A border could also be made bigger to be a part of your overhang. Hope this helps!