
GUEST TUTORIAL: PATCHWORK EASTER EGGS
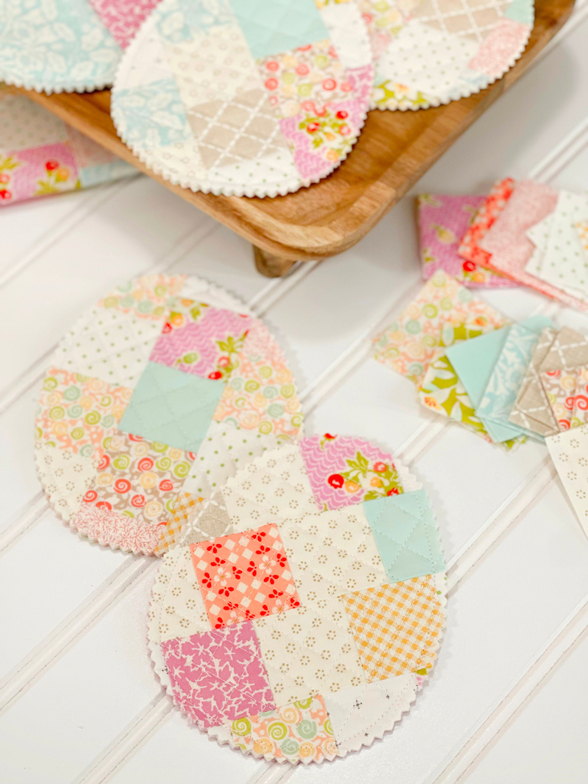
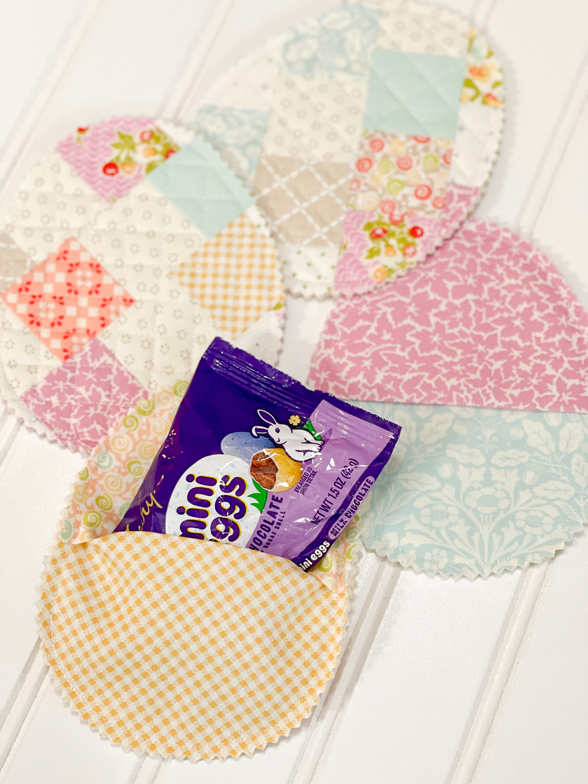
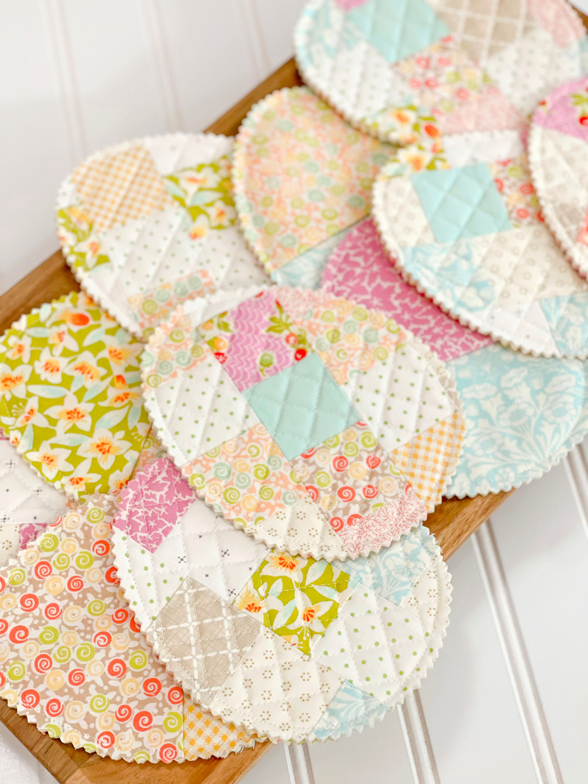
Hello everyone! I am Lacey Poirier (@laceypoirier on Instagram) and I am happy to be here on Joanna’s blog to feature these fun PATCHWORK EASTER EGGS! I am loving how these came out! Perfect for seasonal home decor and gift giving. They are also great for eggs hunts, of course!
I love the oversized egg shape for more storing space. At their widest points, they measure 4.5″ x 5.5″. They are a great weekend project and I hope you enjoy making them as much as I did!
……
CUTTING INSTRUCTIONS
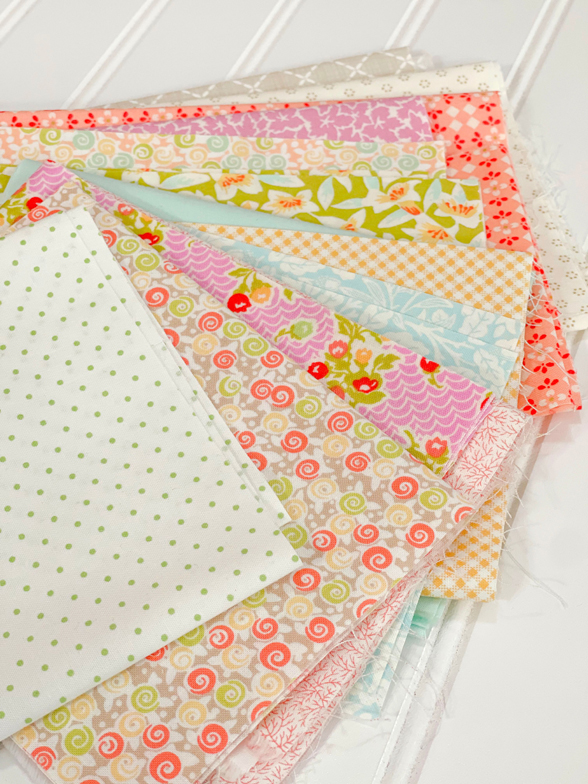
The fabrics I used happened to be from a Spring-inspired bundle Joanna put together a few years ago. I was hoarding for just the right project!
……
- For patchwork panel [use a variety of Spring-y colors and prints mixed with low volume creams for a super scrappy look]:
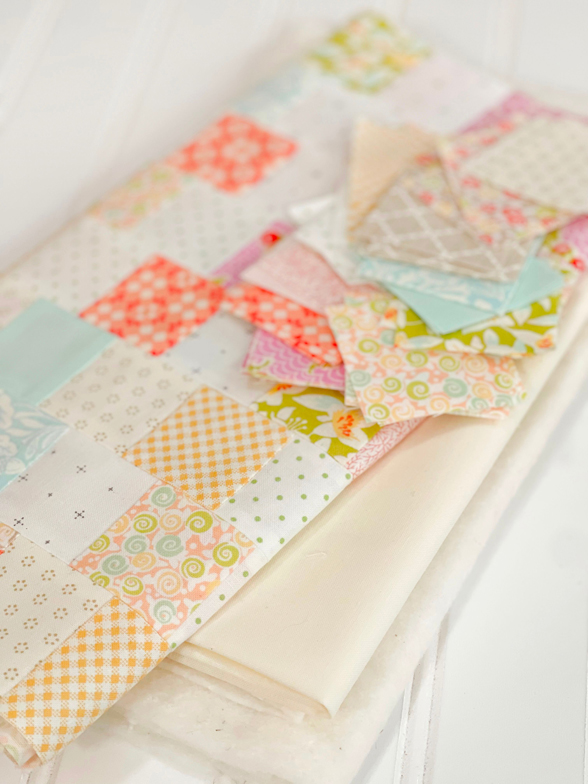
Cut (160) 2” squares. This yields a panel large enough to make a perfect dozen (12) patchwork egg “front” pieces. - For patchwork panel backing [optional – this will only be seen when opening the egg for treat retrieval]:
Cut (1) 18” x 26” rectangle. - For individual egg envelope backings [choose to make them uniform – or use up your scraps and mix and match]:
Cut (24) 5 ½” x 6 ½” squares.
……
ADDITIONAL MATERIALS
- Batting
- Basting Spray or Pins
- Heat-Erasable Marking Pen [Frixion]
- EASTER EGG TEMPLATE <– CLICK HERE!
- Paper & Fabric Scissors
- Pinking Shears
- Binding Clips
……
PIECING INSTRUCTIONS
Step 1: Piece your 2” squares together into rows of (16). Continue sewing to create (10) rows total.
Step 2: Offset the rows on one another (they will be slightly different lengths on the ends) and piece the rows together. Mainly, this is so you don’t have to spend so much time lining up each intersection, but do whichever method you prefer! ALSO: don’t worry too much about your prints touching one another within the rows. In the end, you will be cutting the egg shapes from this panel and it won’t be as noticeable as you think.
……
ASSEMBLY INSTRUCTIONS
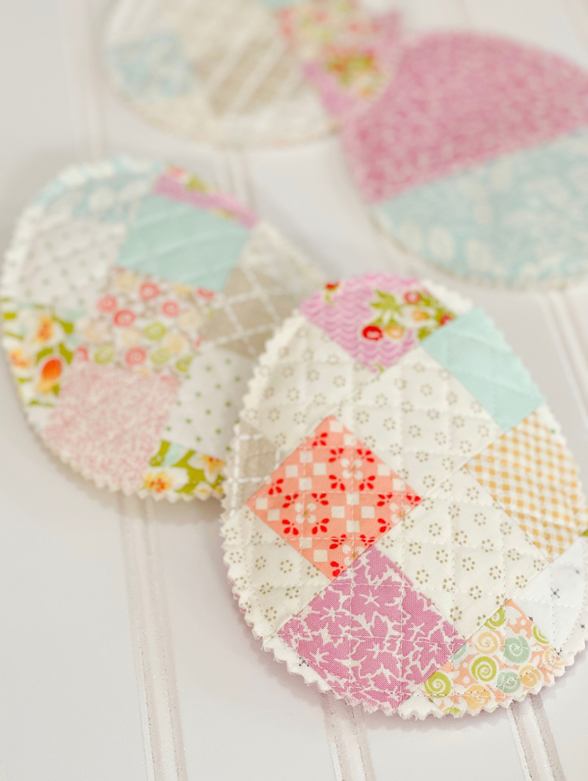
Step 1: Make a quilt sandwich with your patchwork, batting, and the [optional] panel backing, just like you would a quilt. Add simple quilting, such as a large zig zag (TUTORIAL HERE), straight lines, or a diagonal crosshatch.
Step 2: Cut out your egg template with paper scissors. As this is not a complex shape to trace, I did not create a sturdier template than the printer paper itself. Lay the template onto the patchwork panel and trace you egg shape using a heat-erasable marking pen. Be careful to leave at least a ½” between the shapes for finishing your edges with the pinking shears. I chose to angle the template to get the most use from the panel and vary the patchwork look. I was able to get (12) egg shapes from (1) panel.
Step 3: Using your fabric scissors, roughly cut around your egg shapes, leaving at least a ¼” outside the drawn lines – remembering that you will ultimately use the pinking shears to finish off your edges.
Step 4: Take your envelope backing rectangles and press in half, creating (24) rectangles that are approximately 3 ¼” x 5 ½”. Each egg will use (2) rectangles to create a horizontal envelope back, much like in the construction of a pillow backing.
Step 5: On your cutting mat, lay an envelope back rectangle down with the raw edges towards the top of your mat, and the folded edge closer to you. Lay a second rectangle down, overlapping the prior rectangle by ½”. This time the raw edge will be closest to you, and the folded edges will be together in the middle. Again: think about pillow back construction! Use Wonder Clips to hold the sides together where they meet. This unit will measure approximately 6” x 5 ½”. Make (12).
Step 6: Fold your paper egg template in half. On each quilted egg “front”, use your heat-erasable marking pen and the folded template to mark a small line, indicated the egg “middle” on both L/R sides. Place your quilted (and now marked) egg “front” pieces on top of the envelope back units from Step 5, using the side markings to center the egg onto the overlapped backing pieces. Remove and replace the Wonder Clips to gather all fabric layers together. Continue for all (12) eggs.
Step 7: On your sewing machine, sew along the egg shape lines, ending by backstitching or overstitching to secure. As this will be your finishing, it is best to lower your normal stitch length to ensure the eggs hold up to all the goodies you’ll be stuffing them with! Continue for all (12) eggs.
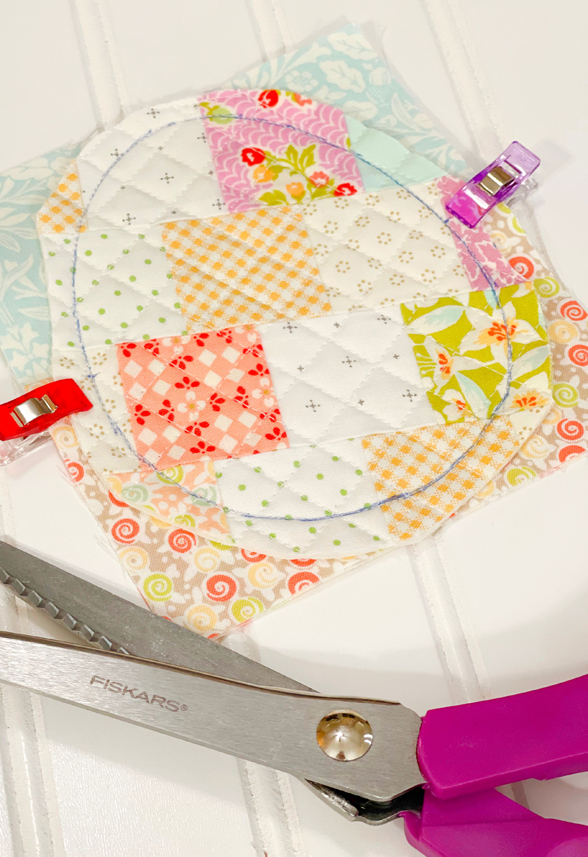
Step 8: Using your pinking shears, cut around the eggs to finish, being careful not to cut through the seam line done in Step 7. Note: If you do small patchwork, and dense quilting, you will want to ensure your pinking shears are nice and sharp to alleviate hand stress during this step.
Step 9: Press the eggs with your iron to remove the marking pen lines. Then fill and ENJOY!
……
[OPTIONAL] IDEAS
- I loved using the patchwork for a vintage feel, but if you are short on time, you could always use a single print for your egg “front” pieces.
- EMBELLISHMENTS…I love adding in little extras! You could go all out by adding ribbon, lace, buttons, or even embroidery! Be sure that you do this prior to adding your envelope backings [at Step 3].
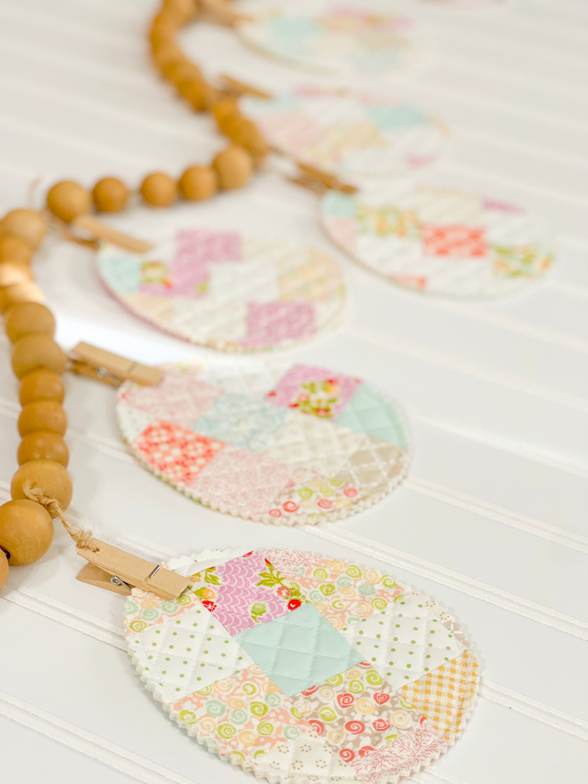
- Kids/grandkids too old? Use some twine and clothespins and make an Easter-inspired garland…or stuff with a little Poly-Fil and place in a basket or bowl!
……
……
Enjoy!
-Lacey Poirier
Stacy Lindblom | 13th Mar 24
These are so cute! I’ve made a bunch of different holiday mug rugs for my hubby to take to his workers. He works in high-tech and the people there love them. I can’t wait to make a batch of these so he can hand them out. Thank you for the adorable idea and pattern!
Hilary | 15th Mar 24
Thanks for sharing! Such a cute idea, and great for all those scraps