
FAIRYTALE PUMPKINS SEW ALONG – WEEK 4
If you’ve been able to stay on track with our schedule (shown below), you will have officially completed all of your various pumpkin blocks! Woohoo!
If not, don’t worry! These posts will stay here for you to refer back to and we will ALWAYS be ready to cheer you on. 🙂

DIAMOND SASHING
To finish off our quilts, we are working this week on the DIAMOND SASHING.
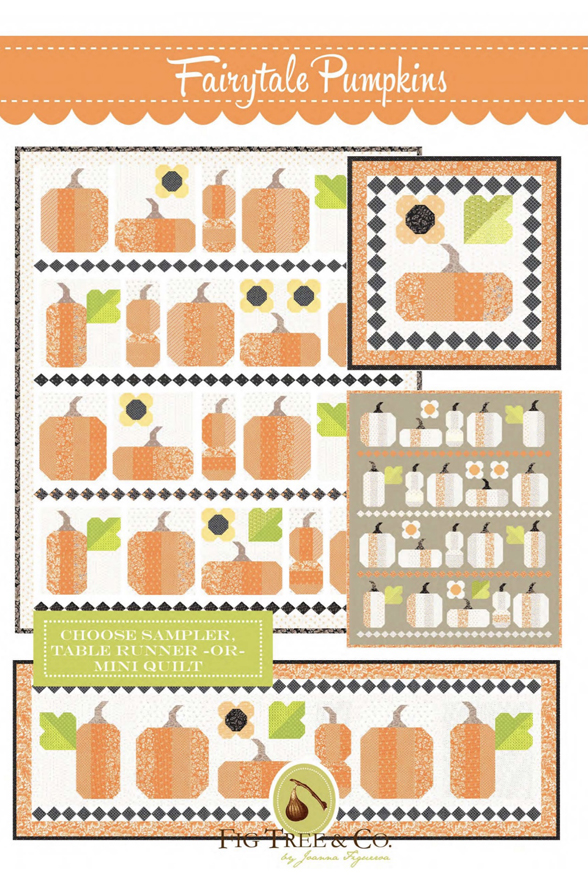
- If you are making the “day”/”night” sampler, you will need to make 112 total diamonds/square-in-a-square blocks.
- If you are doing the cream/”day” sampler, these will be from (4) black prints (28 diamonds each).
- If you are doing the grey ghost/”night” sampler, these will be from (2) orange & (2) cream prints (again, 28 diamonds each).
- If you are making the table runner, you will need to make 68 total diamonds.
- If you are making the mini quilt, you will need to make 32 total diamonds.
As mentioned in week 2, Susan of the @thefeltedpear had a great tip/suggestion for working on these blocks as a “leader and ender” project. In case you missed it, you can find links to the previous sew along blog posts at the bottom of THIS post. She also talks about “fixes” if your diamonds are not quite working out how you had hoped in our Facebook Group so come on over and check out those tips too.
A few more tips this week:
- As you begin sewing your DIAMOND SASHING blocks together into rows, press open. With all those seams, this will assist in an overall flatter quilt top.
- Check your 1/4″ seam allowance early on! Because you will be sewing numerous blocks together to create your sashing rows, you may notice it isn’t measuring quite the same as your pumpkin rows when you start assembly (in week 5). Depending on how far off you are, there are several ways to remedy this:
- Pin the DIAMOND SASHING row well to the pumpkin row and ease it in.
- Remove a diamond unit per row.
- Center the DIAMOND SASHING as best you can and trim off overage.
- Adjust the pumpkin row sashing strips – make larger/smaller to account for the difference.
- For the sampler or table runner, this is the [ff] sashing strips.
- For the mini quilt, this is the L/R inner border and BOTTOM inner border.
NEXT WEEK
Next week is our FINAL week, and we will be assembling our quilt tops! We are soo close!
P.S. We may have something *else* in store for you sson as a special surprise…be sure to check back! 😉
Reference Blog Posts:
FAIRYTALE PUMPKINS Pattern Official Intro…and a SEW ALONG!
Fairytale Pumpkins Sew Along – Week 1
Fairytale Pumpkins Sew Along – Week 2
Fairytale Pumpkins Sew Along – Week 3
-Joanna