
INTRODUCING THE LARKSPUR LINENS: How to Work With My Linens and Some Project Intros
Welcome back to another post talking a bit about my newest upcoming collection, LARKSPUR & LINEN. This time I am focusing on the linen side of things and I am so excited to share more about these lovelies with you.
Designing and working with quilting cottons is, of course, my first love. However, over the years, I have worked with lots of different substrates [that is a fancy industry word for the type of “base” fabric you are working with] including various wovens, flannels, corduroys, seersuckers, snuggle/minky and others. Somehow, I have never created a line of linens.
Until now.
This newest collection LARKSPUR & LINEN, has a coordinating group of (12) linens that compliment and coordinate with the LARKSPUR prints. The linens consist of this scrumptious little grouping pictured below and has (5) buffalo checks, (2) pinstripes and (5) solids. The colors range from the softest cream and grey to denim blue. I think they are really quite amazing. Even though it sounds kinda funny to say that about something that I made, I am just so pleased with how they turned out, how they feel and how versatile they are.
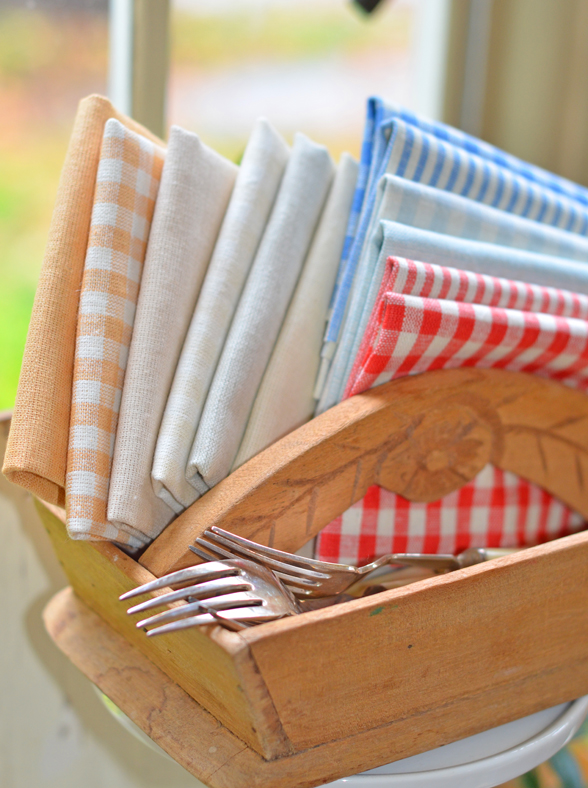
So let me share a bit more about them:
- They are a blend of 75% cotton and 25% linen and that is just enough linen to give them an incredible “hand” to work with and to wear, and yet keep the cost more manageable than if it included more linen.
- Speaking of cost, they are just about $2 more a yard than our quilting cottons which is really such a great price for a linen blend fabric.
- They are on a regular bolt and 45″ wide.
- They are beautifully woven by our MODA friends in India and I could not be more proud with their work.
- They will arrive at the same time as the LARKSPUR prints which are perfect to interchange with one another.
- Like I mentioned above, they come in (12) different options and they are ALL my favorite so don’t even ask me to pick one! 🙂
*SHIPPING JANUARY 2027*
NOTE: If you are a shop and want to carry the linens and have any questions about how to use them in projects or any other questions, keep reading to see if your questions are answered below. If you still have more questions, please reach out to me at joanna@figtreequilts.com and I will try to answer anything else I have forgotten.
……
PREPARING LINEN
So if you are feeling these LINENS on your salesman’s samples or you are in the shop feeling them on the bolt, you will notice a bit of lovely linen texture. That is one of the best parts about the linen, it adds a bit of softness, texture, and natural-feeling quality to any of your projects.
The second thing you might notice is that they might feel a tiny bit stiff and that is because of the finish that is a part of the manufacturing process. If you are going to use only linens in your project, you are good to keep them as is as they will shrink at the same rate as one another after piecing. The slightly stiffer hand of the linen straight off the bolt will actually help you in the piecing process in keeping your fabric easier to work with.
If you are going to make garments, you will 100% want to wash the linen ahead of time. Although I would suggest doing that with cotton that is intended for a garment, as well (so that is not really any different than my standard).
However if you are going to mix the linens with cottons, like I did, -OR- you want to see how the linen will feel and act before sewing with it, I would recommend a quick wash, see more below.
Here’s how I prep my LINENS:
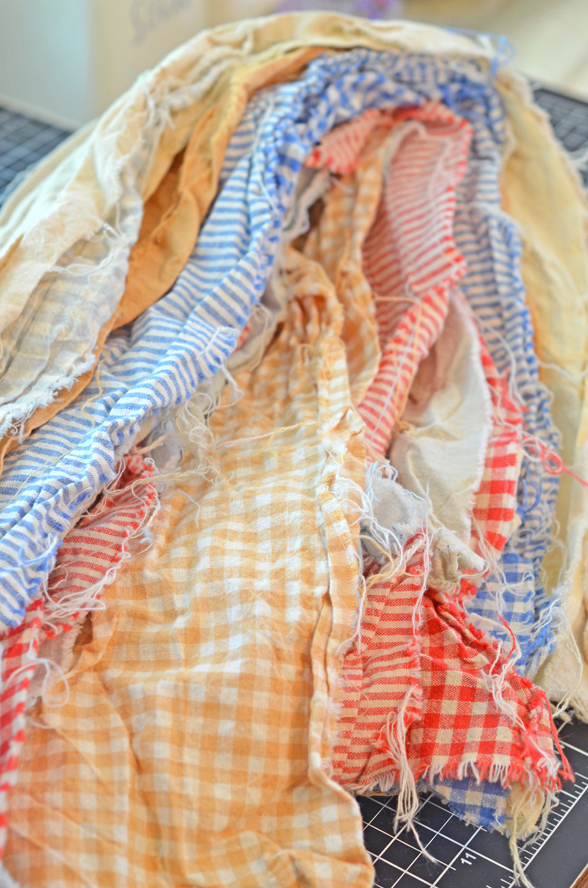
- See comments above to determine how you are using it first. In case you want to wash, I would expect a bit more shrinkage than with 100% cotton so cut your yardages a tad bigger than needed accordingly and wash on warm and dry no higher than light or warm setting.
- They will come out looking like the linen that you are probably expecting with a fair amount of fraying on the cut ends.
- I recommend a light spray with starch [just enough to get a bit of structure back in but not so much that you lose the lovely feeling of the linen] and a good press.
- At this point, your linens should be ready to use and still have that lovely linen “hand” while you are working.
- If you are mixing cotton and linen, you will need to make a decision on whether or not you are washing your cottons to match. To be completely honest, I washed my linens but did not wash my cottons borders on my quilt so I guess the jury is out on what will happen there. Normally I do not wash my cottons since the shrinkage is fairly minimal. If I had to make a formal recommendation for you guys, I would recommend washing both if you are at all concerned with uneven shrinking later on in washing. The quilt project I am talking about below has 3-4 cotton fabrics added in to the linens so it wouldn’t be that much extra washing and you could definitely do them all together.
……
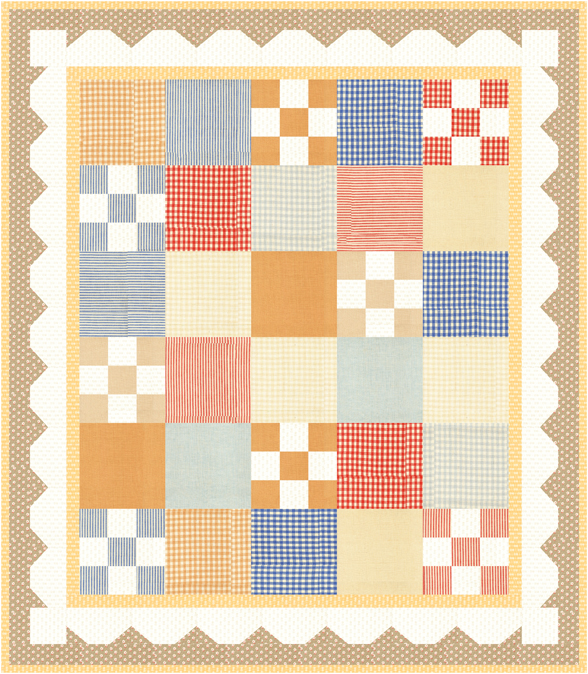
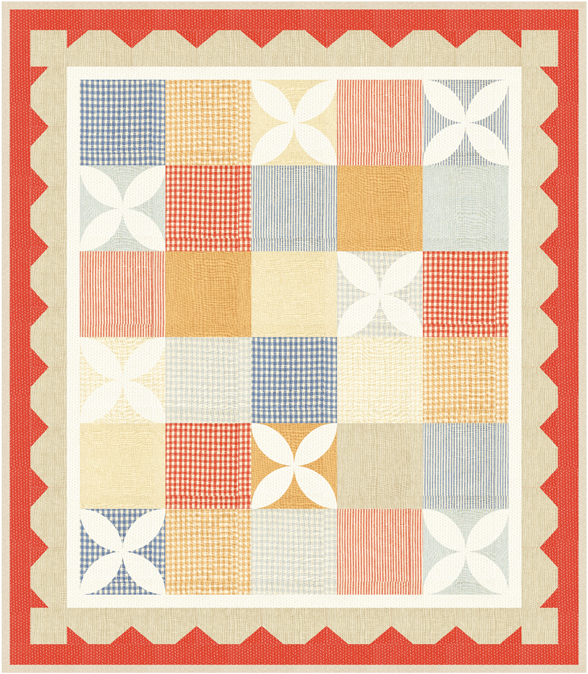
FIG 1, 2, 3: HANKIES
I knew I wanted to make something simple, that felt very homey and “cottagecore” as its called these days with these linens… something I would want to snuggle under and use every day!
And it didn’t take me long to realize that I already had the perfect pattern for it in my Fig Tree line up.
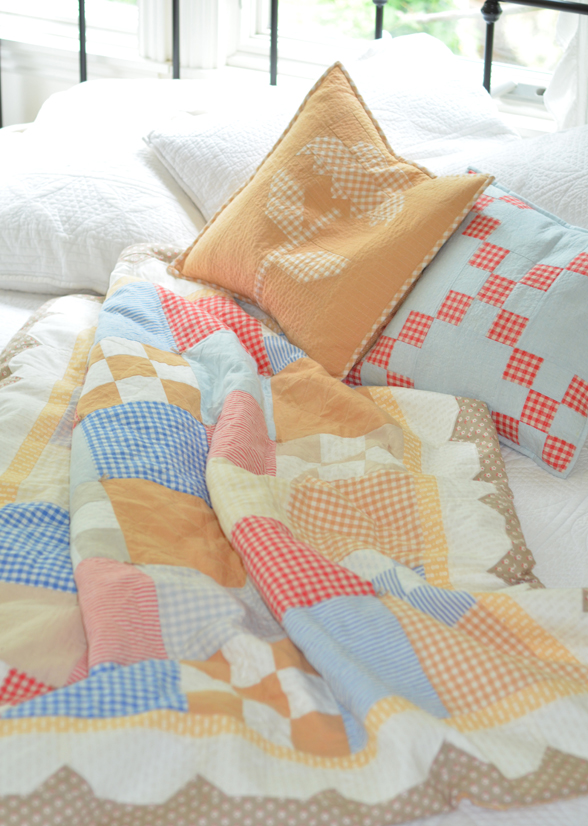
The FIG 1, 2, 3: HANKIES pattern (available in PAPER and DOWNLOADABLE PDF) is the perfect pairing for these linens and I am OBSESSED with how it turned out. I have to tell you that I made it from beginning to end in one weekend [quilting included] and it was the most fun I have had making a quilt in a long time!
Originally created with my Chantilly collection, but now newly updated to make as a linen duvet cover from the new LARKSPUR & LINEN collection… I think you are going to love this mashup as much as I do.
This is a great beginner-friendly pattern in general, but an even better pattern for your first attempt at sewing with linens!
A couple of things to think about:
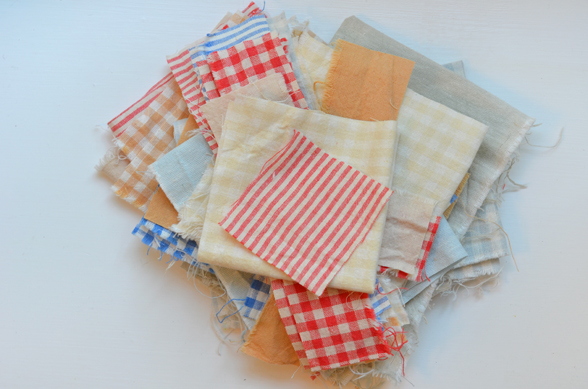
- Pick your favorite linen designs for the larger blocks and save the solids for the patches.
- If working with the stripes and buffalo checks, line up the design on your first cut to help you get straight/even pieces cut. Woven fabrics tend to move around a bit so you will want to pay attention to this instead of just cutting strips.
- When piecing, alternate the direction of the stripes for a more organic, cottage feel.
- Use cream print scraps for the nine patch backgrounds. Since we are 100% going for a “cottage” feel, the more ivory/low volume scraps you mix in here the better.
To turn this into a duvet cover, follow the below steps:
- I quilted my finished HANKIES throw to pieces of Pellon Fusible Fleece that I had from a bolt on hand. This is the same fleece I use for all of my pillows, runners, tote bags and pouches since I do not love the feel of foam. I honestly have a full bolt of it so I can use it for all of the above.
- You can also use batting too… you will just need to affix it to the back of your quilt top with either basting spray or safety pins, etc.
- Once I pressed the fleece to the back, I quilted an oversized cross hatch on the entire quilt using the nine patches as my guide for size and position. I did “draw” a few lines here and there as I went with my Hera marker to keep me even. A good seam tape or guide on your machine would help, painters tape on the quilt if you don’t want to mark. As you quilt from one diagonal mark to another, you will find sometimes you will need to mark a few more lines to keep yourself sorted and sometimes you will have enough lines already quilted around it that you can follow those… I basically just started from one side and quilted to the other, turned and did the next line. If I missed a line, I just went back to it at the end. The entire process took me maybe 2-3 hours from beginning to end. Using the squares and patches themselves as my guides for my oversized cross hatch saved me a lot of time since the marking was few and far between.
- Once I had the entire thing quilted, I stay stitched around the outside to make sure all was good and secure.
- I found a twin size goose down feather or down alternative duvet insert. Look for one LIKE THIS ONE or THIS ONE that is considered light weight or thin and that has the quilted partitions in it so keep the down from completely shifting around.
- You will then want to piece your backing and “envelope” your quilt top as the top, backing as the backing and your down insert in the middle of your sandwich.
- I highly recommend sewing the 4 corners secure so there is no way your duvet can escape and shift around on you. Once you have secured the 4 corners, just envelope your 3 layers, leave an opening at least 2 feet long on one side for easy turning and then turn the entire thing right sides out.
- Close the opening by hand or by machine.
- Lay it all flat and then “tie baste” the quilt with a long doll needle and a skein of any coordinating floss. I used a tan/taupe color. Cut 2 footlong pieces, thread your needle, find a spot where your squares intersect and sew down through all the layers, come back to the front and tie your floss leaving at least a few inches. Double knot and tie securely. Trim your floss to about 1″ on each side and fray the threads with your fingers. You will tie this in all the main center (20) locations but not on the outsides.
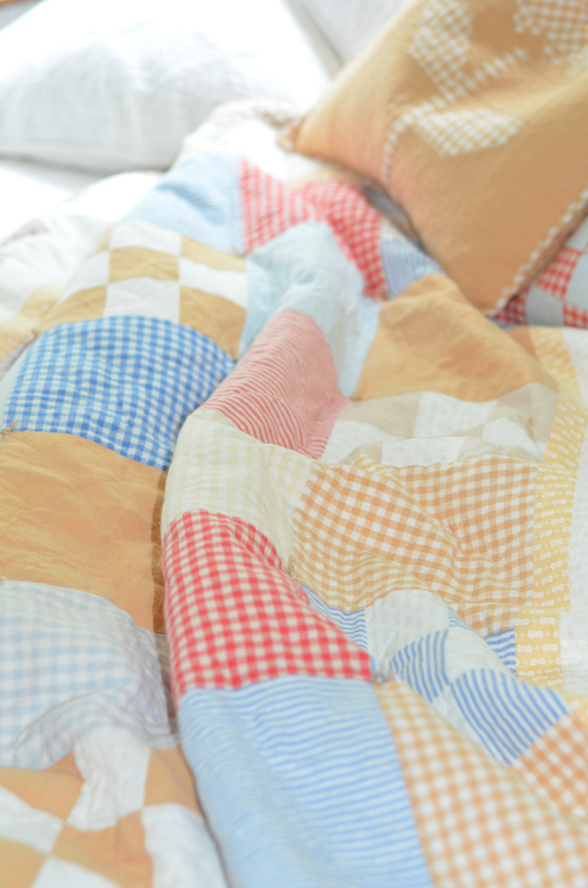
- The combination of the linen quilted “top”, the softness of the down insert and then the tying up of the blocks is the perfect trifecta of making this the perfect squishy soft, cottage inspired couch throw that I guarantee will be the one that everyone reaches for time and time again… at least it has already become that in our house!
……
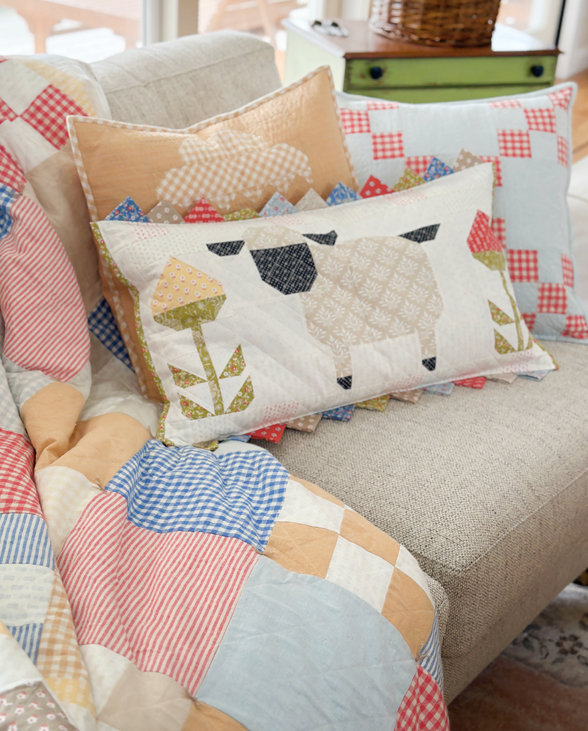
AND MORE
We have more projects to share including a tote bag, pouches, scarves and more. I plan to take you guys along as I make some curtains, possible tablecloths and gasp… perhaps even some garments. Stay tuned for the fun!
Happy Sewing!
-Joanna
Christa Harrison | 4th Jun 26
Love all these colors for Larkspur and Linen collection. Will you be doing a BOM with them?