
MODA BLOCKHEADS 5: GROUP 2 – WEEK 3
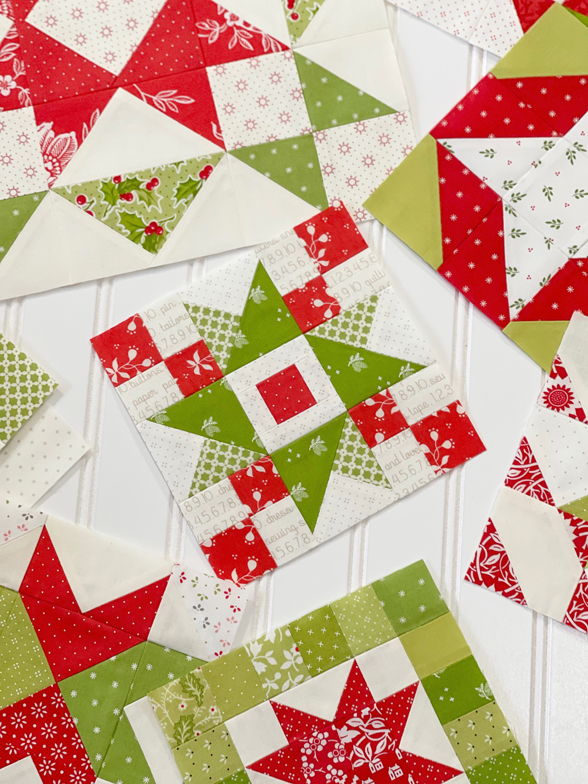
This week’s designer is April Rosenthal and her block is called SHIMMER STAR. Be sure to check out her WEBSITE, where I’m certain she will have all the details and tips on her lovely block.
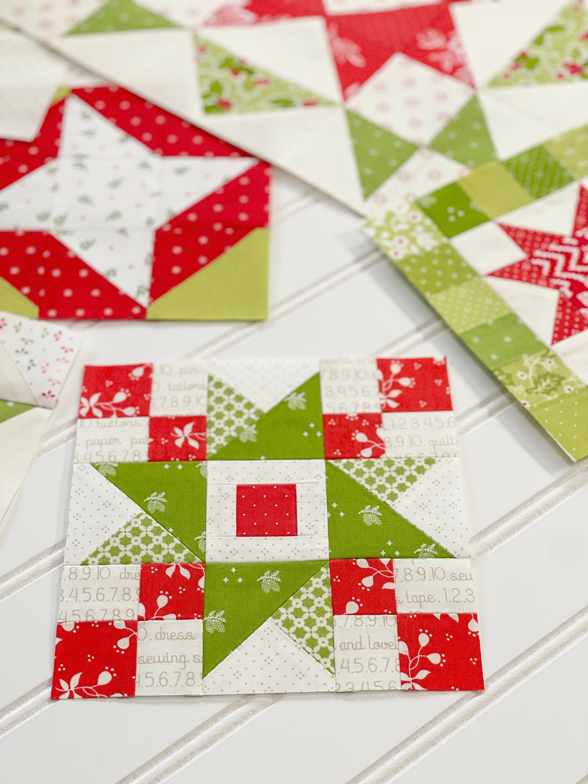
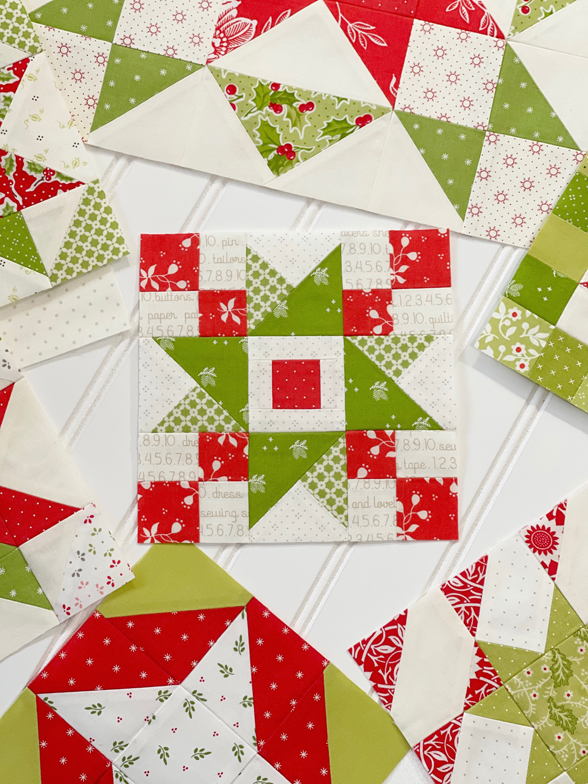
OUR BLOCK #3: SHIMMER STAR (6″ Finished)
PIECING INSTRUCTIONS:
This week, I am showing you an alternate way to make the split quarter square triangles (QSTs), from steps 2 & 3 of the MODA pattern sheet. If you’ve followed me for awhile, you already know that I often use the SEW & FLIP method for half square triangles (HSTs), flying geese units, etc. to avoid a lot of bias edges. I have a similar “go-to” for QSTs after many years of trying LOTS of different methods!
For 6″ Block –
- Cut (1) 3 1/4″ square from both the cream and accent green [D & E from the MODA pattern sheet].
For 12″ Block –
- Cut (1) 5 1/4″ square from both the cream and accent green [D & E from the MODA pattern sheet].
Cut these squares in ½ on each diagonal, to end up with 4 triangle pieces from each, then make (4) D/E units. This method ensures you have no bias along the block edges.
When working with bias, you want to:
- Have as little of it as possible [whenever you have the choice, that is].
- If you have to have it, make sure it is on an “inside” edge or seam and not along the outside of your unit or block.
- Handle it as little as possible until it has been pieced in.
- Be sure to “press”, not “iron” it to avoid any stretching.
For the reasons above, I will always opt for this QST method when having this kind of a pieced unit, instead of just cutting the square in half and having that bias edge exposed on the outside of my block.
All other cutting directions are as indicated in the MODA pattern sheet, and you will still have room to trim down to correct size! Line up your quarter square unit on the large triangle [C] as directed in step 3, centering if it is a bit larger, sew, and then trim down to 4 ½” [for the 12″ block] or 2 ½” [for the 6″ block].
And an extra tip/hint to file away…
The formula for cutting HSTs is always 7/8″ more than the finished size. For me, I ALWAYS do a full 1″ more than the finished size and then that gives me just a little bit to trim down to the perfect HST!
The formula for cutting for QSTs is 1-1/4″ larger than finished size. And if you want trimming up space, then even a tiny bit more than that would be recommended.
……
For a helpful diagram of QST assembly, be sure to visit our BLOCK 2 BLOG POST from part 1 of the MBH5 series. NOTE: placement is slightly different for this block. The larger triangle [C] is to the RIGHT, where the previous GALAXY STAR block has the larger triangle facing to the LEFT. This makes the stars “twinkle” in opposite directions!
……
FABRIC COLLECTIONS:
- Cream Eyelet: EYELET BASICS
- Cream Text: FRESH FIG FAVORITES
- Red Dot: FRESH FIG FAVORITES
- Red Floral: SCARLET & SAGE
- Green Pinecone: CHRISTMAS STITCHED
- Green Lattice: CHRISTMAS FIGS
MODA QUICK LINKS
For ALL the details and specifics on Moda Blockheads 5, I encourage you to visit these useful resources:
MODA BLOCKHEADS 5 FAQs AND FABRIC RECOMMENDATIONS
INTRO TO MODA BLOCKHEADS 5 LIVE VIDEO [REPLAY]
BLOCKHEADS LIVESTREAM RECAP BLOG POST
MODA BLOCKHEADS FACEBOOK GROUP
And last, but certainly not least, the MODA BLOCKHEADS 5 BASIC PAGE – this is where ALL the block patterns will be saved for easy reference as we move forward!
Happy sewing! See you back here next week!
-Joanna
About The Author
joanna@figtreequilts.com
Related Posts

VINTAGE BOWTIE SEW ALONG… STARTING NEXT WEEK!
In case you missed it (ICYMI) – the long awaited STRAWBERRY GARDEN book has arrived…
May 8, 2024MODA BLOCKHEADS 5: GROUP 2 – WEEK 19
This week’s designer is Sarah Thomas of SARIDITTY and her block is called…
May 8, 2024
Lynn L Young | 18th Jan 24
Thanks for giving instructions to avoid bias edges! Nice, clear, insteuctions! This needs to be in the basic techniques for everyone, thsnks for going over it again!
joanna@figtreequilts.com | 20th Jan 24
You are so welcome!