
SCRAPBOOK OF QUILTS PILLOW ALONG: Week #3
Welcome to the THIRD OFFICIAL week of our SCRAPBOOK OF FRIENDS PILLOW ALONG and our second week of projects! Be sure to check out what my partner in crime, Carrie [HERE on Instagram] has to add to the festivities too.
Carrie and I love working together and have really enjoyed collaborating on this book project over the last couple of years but we pretty much always do something a bit different so you will ALWAYS get two perspectives to everything if you follow along with us both! Also you will definitely want to see the MODA Blog Post HERE.

– – – – – – – – – – – – – –
WELCOME SPECIAL GUESTS:
KIMBERLY JOLLY AND GREG JONES AND SUSAN VAUGHAN are all joining us again this week and I CAN’T WAIT FOR YOU TO SEE THEIR FABULOUS PILLOWS!
– – – – – – – – – – – – – –
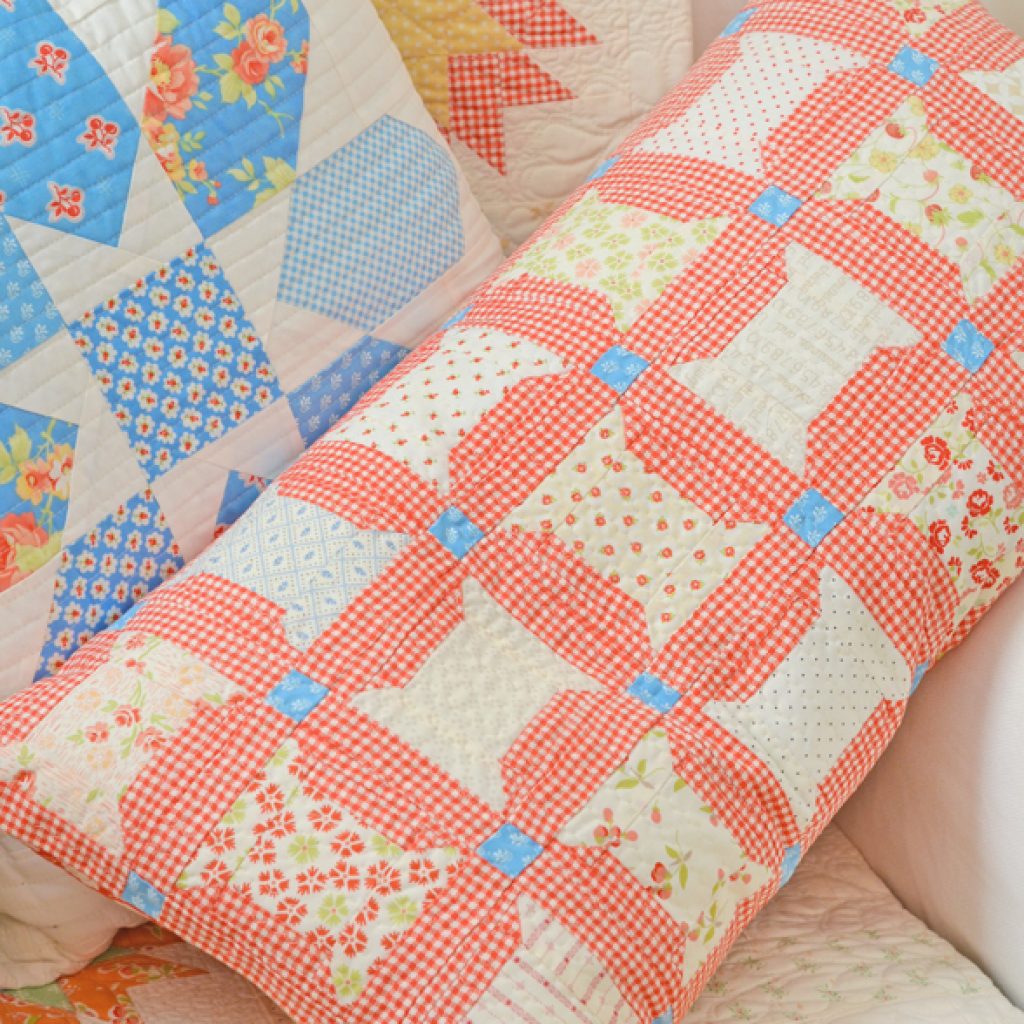
THIS WEEK’S THEME AND PILLOW:
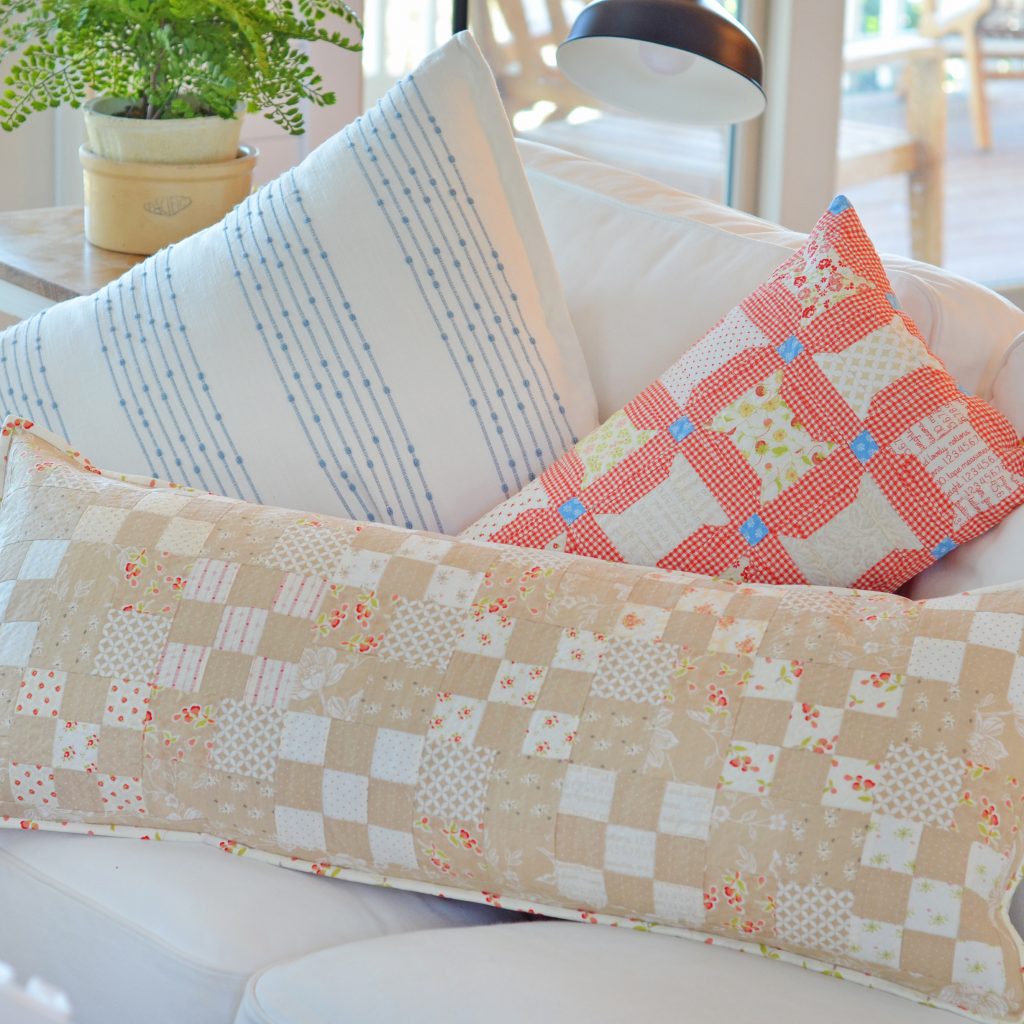
Our theme is NEUTRALS and I love that everyone interpreted this a little bit differently! What I would consider a NEUTRAL pillow is one that you can pair with other things, other seasons and that can be brought out anytime.
It is also low volume or neutral in color. Cream tones, greys, tans, or any mix of those with snippets of other colors even would work in my opinion.
I definitely don’t think that any of the lovely books in the book would qualify as neutral as we used so much fabulous color so we thought it would be nice to mix in some neutral options into the mix this week.

- To see Kimberly’s pillow [Click HERE or HERE]
- To see Susan V’s pillow [Click HERE].
- To see Greg’s pillow [Click HERE].
As a quick SUMMARY reminder of how this is working each week:
- We are working from our brand new book A SCRAPBOOK OF QUILTS and each week we are featuring one of the blocks in the book through a PILLOW ALONG, where we [and a few of our friends] each sew a different version of a pillow using that week’s block and theme as a way to inspire you to sew some pillows of your own along with us this summer!
- Each week Carrie and I will both post a new pillow design or idea on Instagram.
- Each week I will also post mine here on the blog and in my Facebook Group.
- If you want to see the goodies the above mentioned designers have done, you will need to go to their IG feeds as that is where they are sharing. So excited for what everyone will share each week!
– – – – – – – – – – – – – –
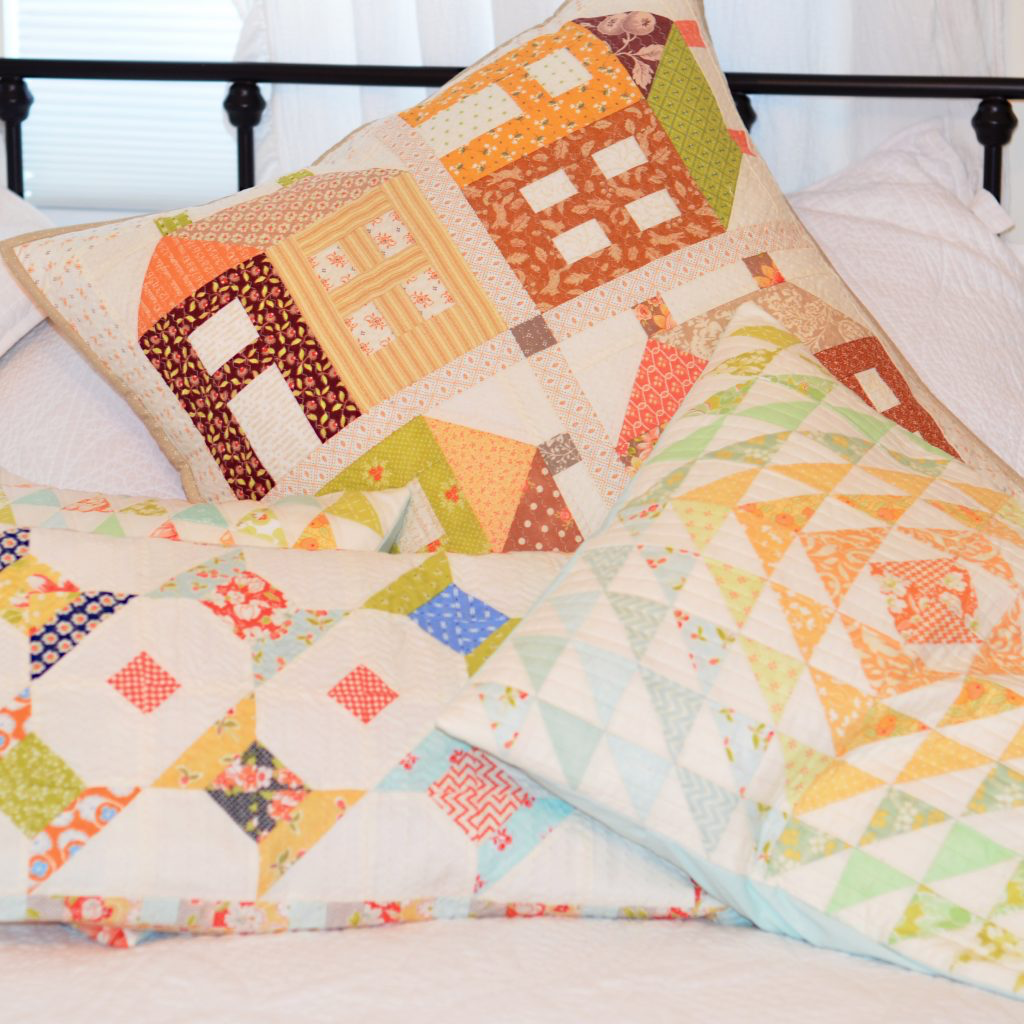
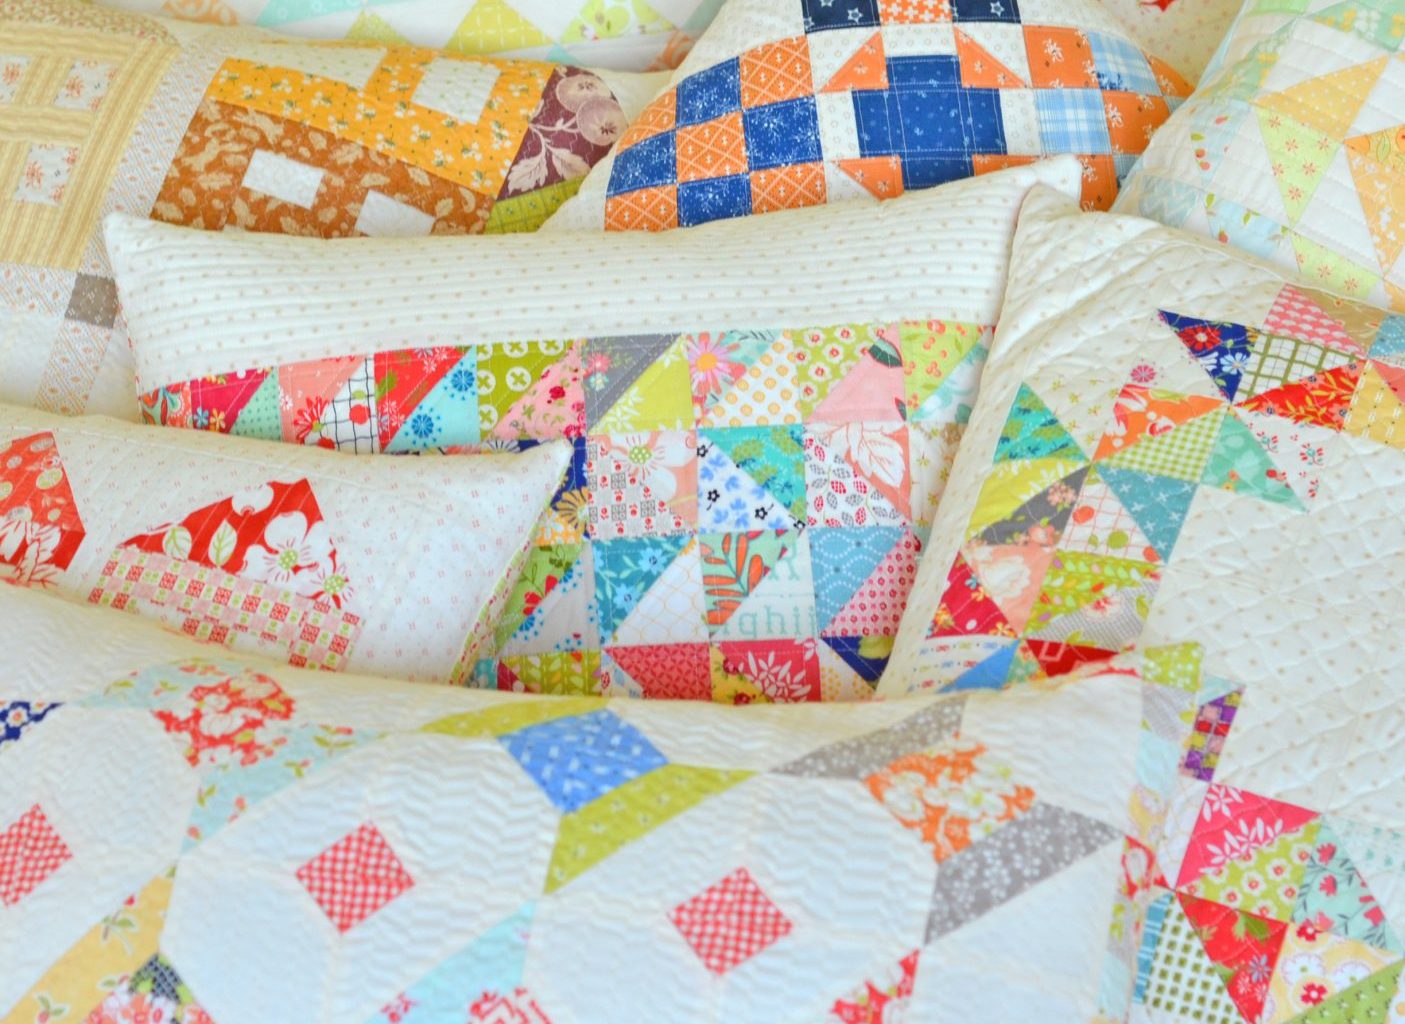
MY PILLOW CHOICE & PATTERN FOR THIS WEEK
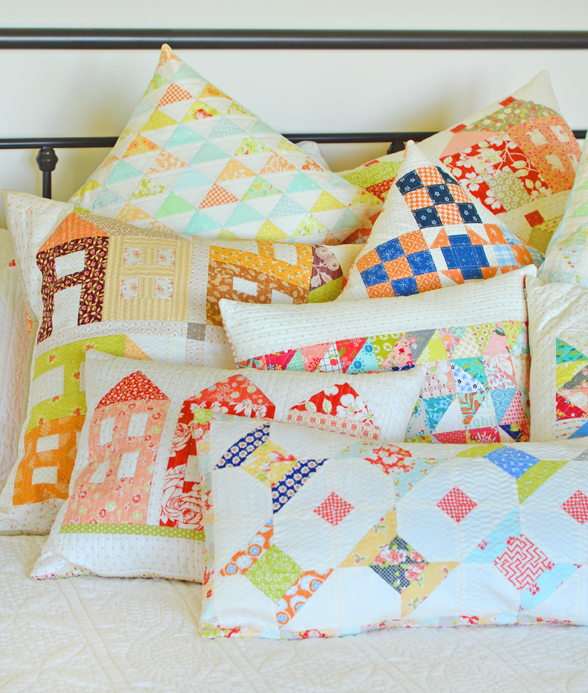
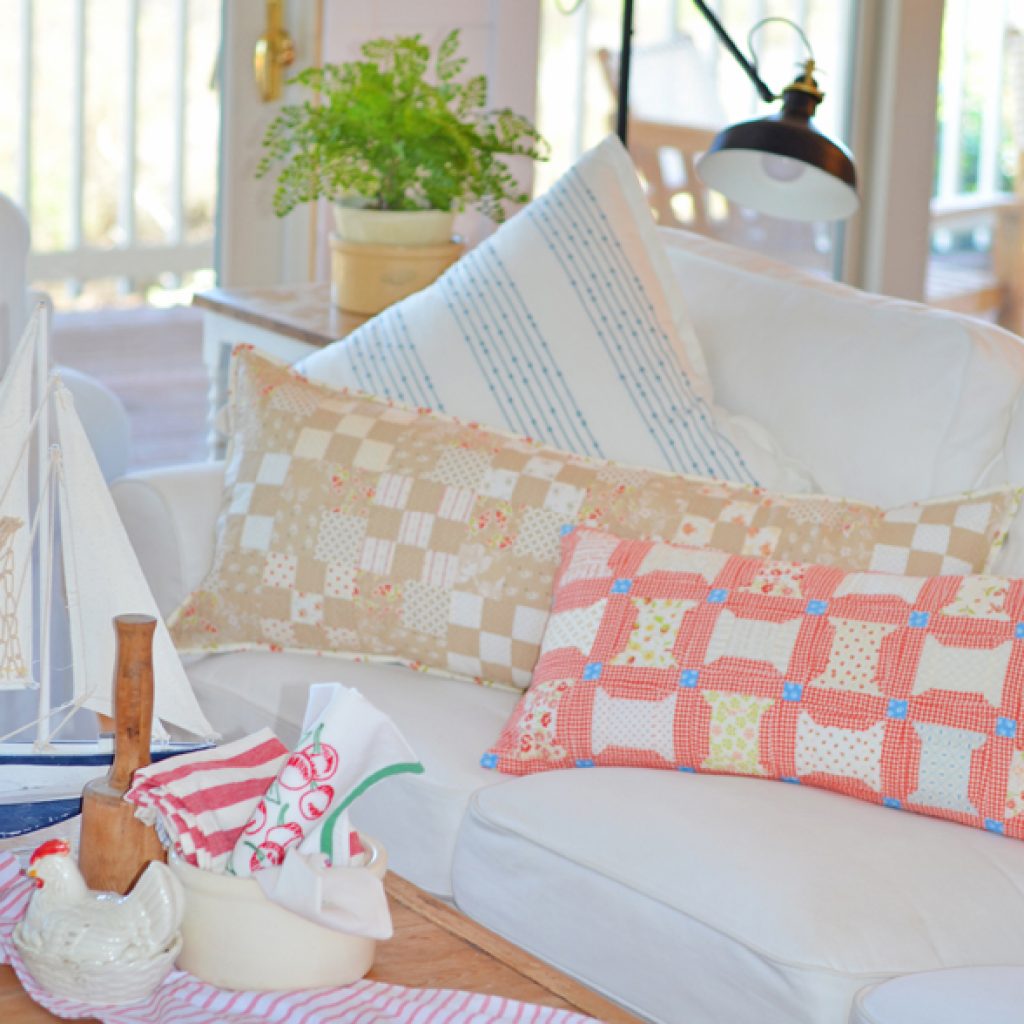
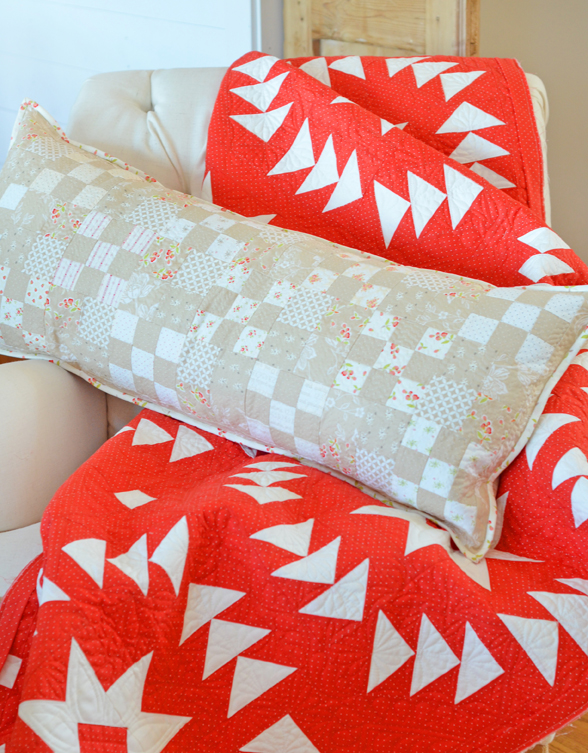
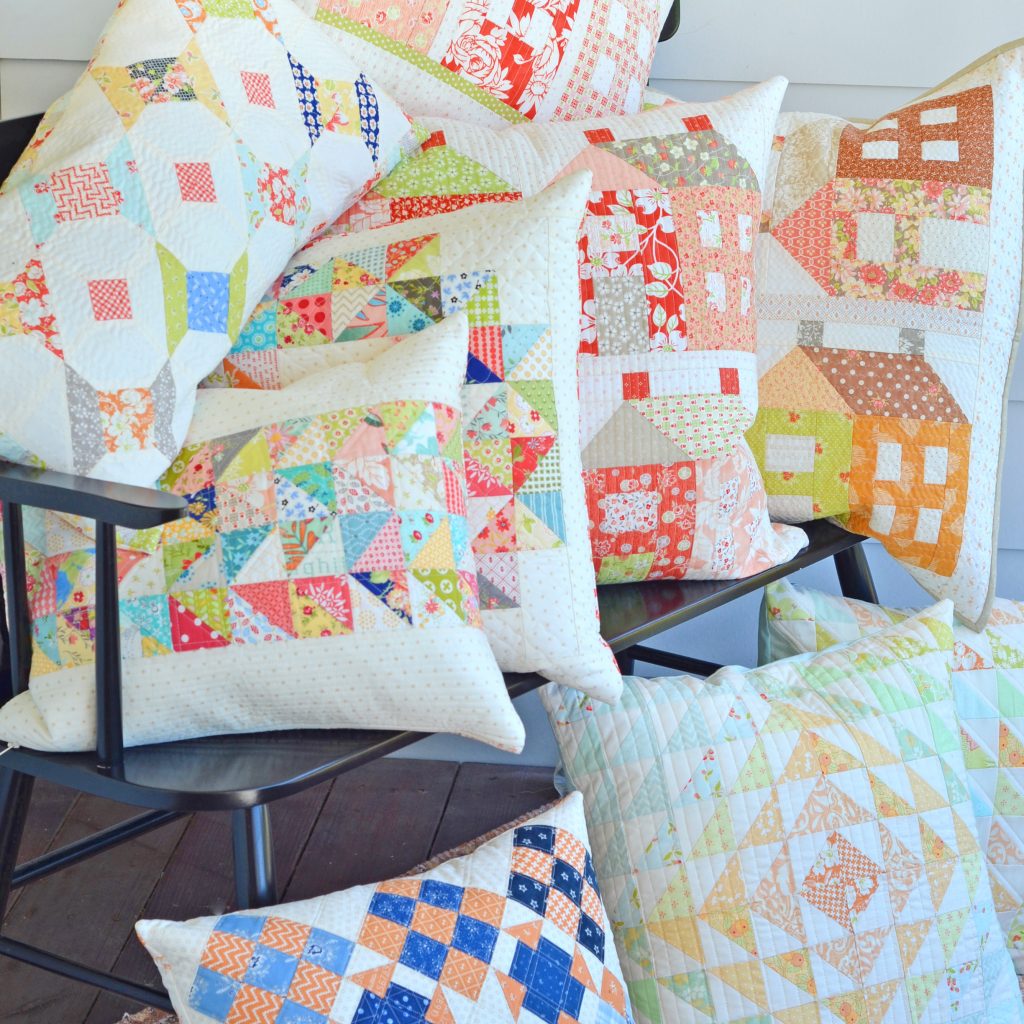
I decided to go very simple and basic for this one. I just used the nine patch block from the quilt design this week. I love the button block a lot but just thought I would go basic.
- I used the same size as the pillows in the book for this one and made (12) nine-patch blocks using as many different cream scraps as I could find. Believe me… cream scraps are not hard to come by around my studio.
- I used a tan pindot for the background of all of those blocks just to add a bit of uniformity.
- I then made (12) scrappy tan four-patches for the alternate blocks. Each square in the 4-patch is cut 2 ¾” x 2 ¾”.
- I used a variety of tan fabrics from my upcoming Fresh Fig Favorites collection just because I am currently finding that this tan is my current favorite neutral!
- I joined the blocks into 3 x 8 and just made sure that I liked the balance of scrappy creams throughout.
- I added a 1 ½” cut borders around the outside because I needed the pillow to be just a tiny bit bigger to fit the form I wanted to use for a nice long pillow that measure about 15″ x 38″. I love how it turned out!
- I added an envelope backing and bound the pillow with a small cream floral. Binding is basically my way of adding a little bit of extra detail to a pillow without a ton of extra time or work. For pillows, I always machine bind so it is much faster than my normal hand binding.

– – – – – – – – – – – – – –
PILLOW TIPS & HINTS FOR THIS WEEK
PILLOW SIZES & SOURCES
What size of insert for size of cover?
This is one of the places where Carrie and definitely agree… we both prefer a slightly smaller cover to the pillow insert. Why, you might ask? Because most good inserts are very “squishable” and very forgiving and the pillow looks much better if it is full and can be squished. I know, I know… that is a very technical description 🙂 but that is really what it is all about. The worst thing is to make a pillow and then have the cover not make it all the way into the corners. I have even been known to wrap an insert in more batting in order to get it more full.
My [JOANNA] favorite size: Long and skinny :-). It really doesn’t matter which size but I find that I always have plenty of square sizes, 20″ x 20″ and 24″ x 24″ or even smaller laying around my house or in the closet. So when I am making handmade pillows, I will almost always go for a rectangular size of any kind to have a bit more variety on the couch or the bed.
CARRIE says: “The pillow sizes I make most are 20″ x 20″, 16″ x 20″, 16″ x 26″, 12″ x 24″, 22″ x 22″ and 24″ x 24”.
That said, the pillow covers themselves aren’t always that size, I like a cover that fits a bit tight, and feather/down pillow inserts are very, very forgiving. So “close enough” works for me. Some designs will become a rectangle instead of a square because the setting is closer to one size of insert over another. So some of the pillow sizes are dictated by the sizes of the inserts I can find”.
CARRIE on cover size. If the top is entirely pieced, then there is less leeway in having a form that is smaller. E.g., 5″ blocks set in four rows of four blocks each is going to measure 20 1/2″ x 20 1/2″. With a 1/4″ seam allowance, it’s about the same size as the insert. Washing and shrinkage will help. But a design that has borders will be trimmed to 20″ x 20″ after quilting, it finishes at about 19 1/4″ x 19 1/4″.
For 22″ and 24″ finished pillows, I like using a 26″ x 26″ feather insert. (More on that in a moment.)
RE-PURPOSING:
JOANNA: 100% for sure. I go into my “craft closet” [you might be scared at the state of this closet], look around for a favorite insert or pillow or a pillow I have previously made that still has a different cover on it from the last time I used it and grab the one I want. I then adjust the pillow cover to that insert as much as is possible. I add borders, make more blocks, add sashing, etc. If I can’t make it work, I might go grab another pillow!
CARRIE: “I have drawers and shelves with empty pillow covers. Seasonal covers are kept together, the rest are sorted by size. Mostly. Kind of.
Have I ever made a pillow to fit an insert? Yes. 14″ x 36″. They look cool on a bed. And it was a challenge to see what would work.
SOURCES:
CARRIE: “While I have used the polyester inserts that are easily available, I prefer the feather and down inserts because they hold up better, and they’re more “squishable.” And depending on where you buy them, they can be more economically appealing.
IKEA – the Fjadrar Feather inserts. There are three sizes – 20″ x 20″, 16″ x 26″ and 26″ x 26″. They range in price from $5.99 to $9.99. They come in a vacuum-sealed bag so storage is… easier.
I can use the 20″ x 20″ form in a 16″ x 20″ finished pillow.
Garnet Hill and Pottery Barn also have very nice feather and feather/down mix pillow inserts, and they have a bigger variety of sizes. They are a bit more expensive, but that’s what sales are for.
I particularly like the lumbar insert options – 12″ x 24″, 14″ x 20″, 14″ x 24″ and 14″ x 36″.
JOANNA: Carrie was a wealth of information here above. I use all of the IKEA INSERTS and have several of each of the sizes and have also shopped at other places but not often. Another thing I love to do is get a good pillow at HOMEGOODS or TJMAXX [my favorite places to shop for home products hands down], make sure it has a zipper or an envelope so I can remove the cover and then reuse the insert for other pillows.
At those discount places, a beautiful designer pillow will usually cost me $19.99 and I will have a great insert to use for other pillows at the same time. Win, win :-).
GENERAL “HOW TO SIZE SOMETHING FOR A PILLOW” ADVICE
JOANNA: I mentioned a little bit about this above already but making a pillow cover with new or orphan blocks is a bit like a little puzzle for me. To be honest, I usually start with the pillow and work on the cover to make it work. I think that is the way my mind works.
CARRIE: One word… Borders. Plain and pieced, keep adding until you get to a size that works for a pillow. Or close enough. A 20″ x 20″ form from IKEA works in a 16″ x 16″ pillow. Really.
WEEKLY PILLOW GIVEAWAY:
Come check out my INSTAGRAM page to follow along on the #pillowalong hashtag and see the announcement of last week’s winner today! Each week, anyone who posts a photo with some portion of what they are working on for the pillow along and uses the #pillowalong hashtag, will be entered to win a “pillow care package” from Carrie and I.
– – – – – – – – – – – – –
– – – – – – – – – – – – –
THINGS TO EXPECT EACH WEEK
- Weekly inspiration by theme. NEUTRALS THIS WEEK.
- Weekly hints and tips. WE WILL TRY TO GO IN THE ORDER YOU WILL NEED TO KNOW ALL THE THINGS IN MAKING A PILLOW. SO THIS WEEK, WE ARE TALKING HOW WE SIZE COVERS AND INSERTS
- Weekly prizes. We will have a prize each week on INSTAGRAM and a few here on the BLOG too so stay tuned!
- Weekly friendship as we sew pillows together! Since they are pillows and they are small, you can actually finish a pillow each week and have a fabulous collection by the time you are done… really!!
Sounds like a perfect way to spend the summer, don’t you think?
A FEW FAQ THAT I HAVE GOTTEN SEVERAL TIMES SO HERE ARE THE ANSWERS:
How do I enter the GIVEAWAY?
See above for more info. But basically all you have to do is be working on the pillow for that week in some way, post a photo and use the hashtag
Do I have to make pillows to join?
No! if you want to work on one of the quilts in the book as we work on pillows… GO FOR IT and as long as you post to the hashtag, you can still be entered in our weekly giveaways.
What are the hashtags?
If you want us and others to see what you are working on [any progress shots are fine… and of course finished pillow tops or pillows too], then use the hashtags #pillowalong and #scrapbookofquilts
I don’t have the book yet. Is it too late?
No at all. Grab a book and join us. We will have so much time left… we are only on project 2 out of 6!
Join our FACEBOOK GROUP if you haven’t already [CLICK HERE] as we will be working on it there as well as here on the blog each week.
See you next week with the second set of pillow inspirations and pillow hints and tips.
Joanna and Carrie too… along with Kimberly, Susan, Susan, Anna, Greg, Chelsi and Melissa
Scrapbook of Quilts Pillow Along:
Week 1: Set Up
Week 2: Patriotic
Week 3: Neutral
Week 4: Two Color
Week 5: Autumn
Week 6: Halloween
Week 7: Christmas
Nicki | 7th Jul 21
I’ve always been of the opinion that green is a neutral; it is everywhere in nature and recedes into the background to allow the showier colors to shine. Love all the tan, cream, grey and smudgy colors and the ultra soft pastels that I’ve seen this week, and can’t wait to see more.
Good to know about Ikea feather/down inserts. I haven’t been in an Ikea in over a year and a half, so this is a good excuse to make a trip. 🙂
Thanks for the tips!