
WINTER WALK IN THE WOODS: WEEK #4
Susan and I Welcome You Back to the Winter Walk in the Woods Sew Along Week #4!
Thanks so much for joining us as we work our way through this Winter Walk adventure over the next few weeks.
From Susan:
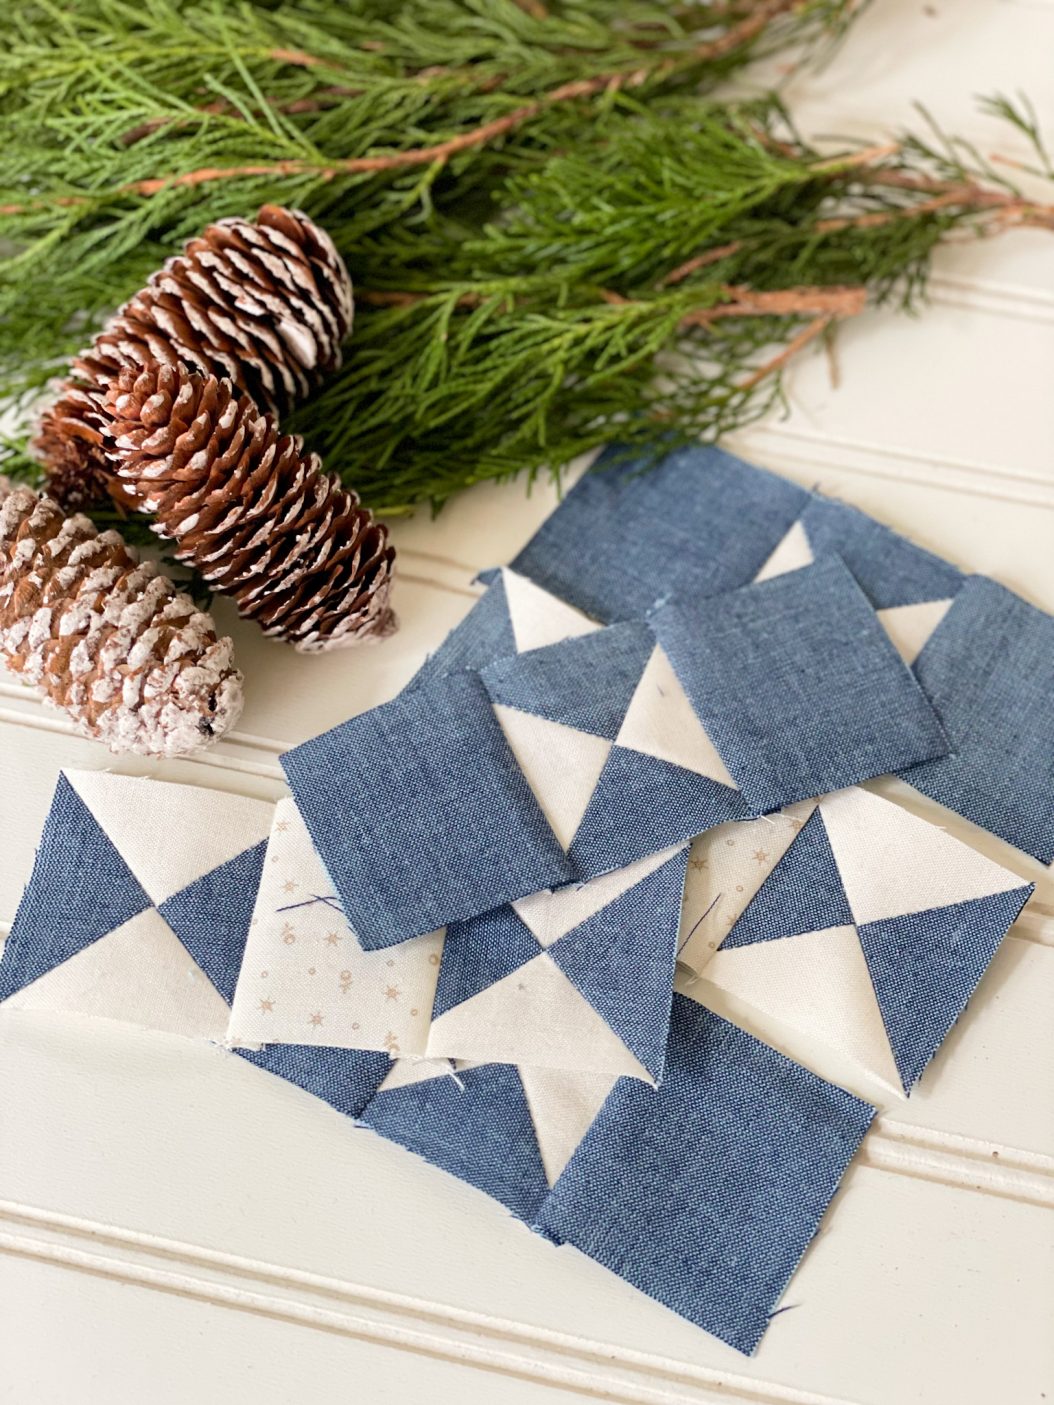
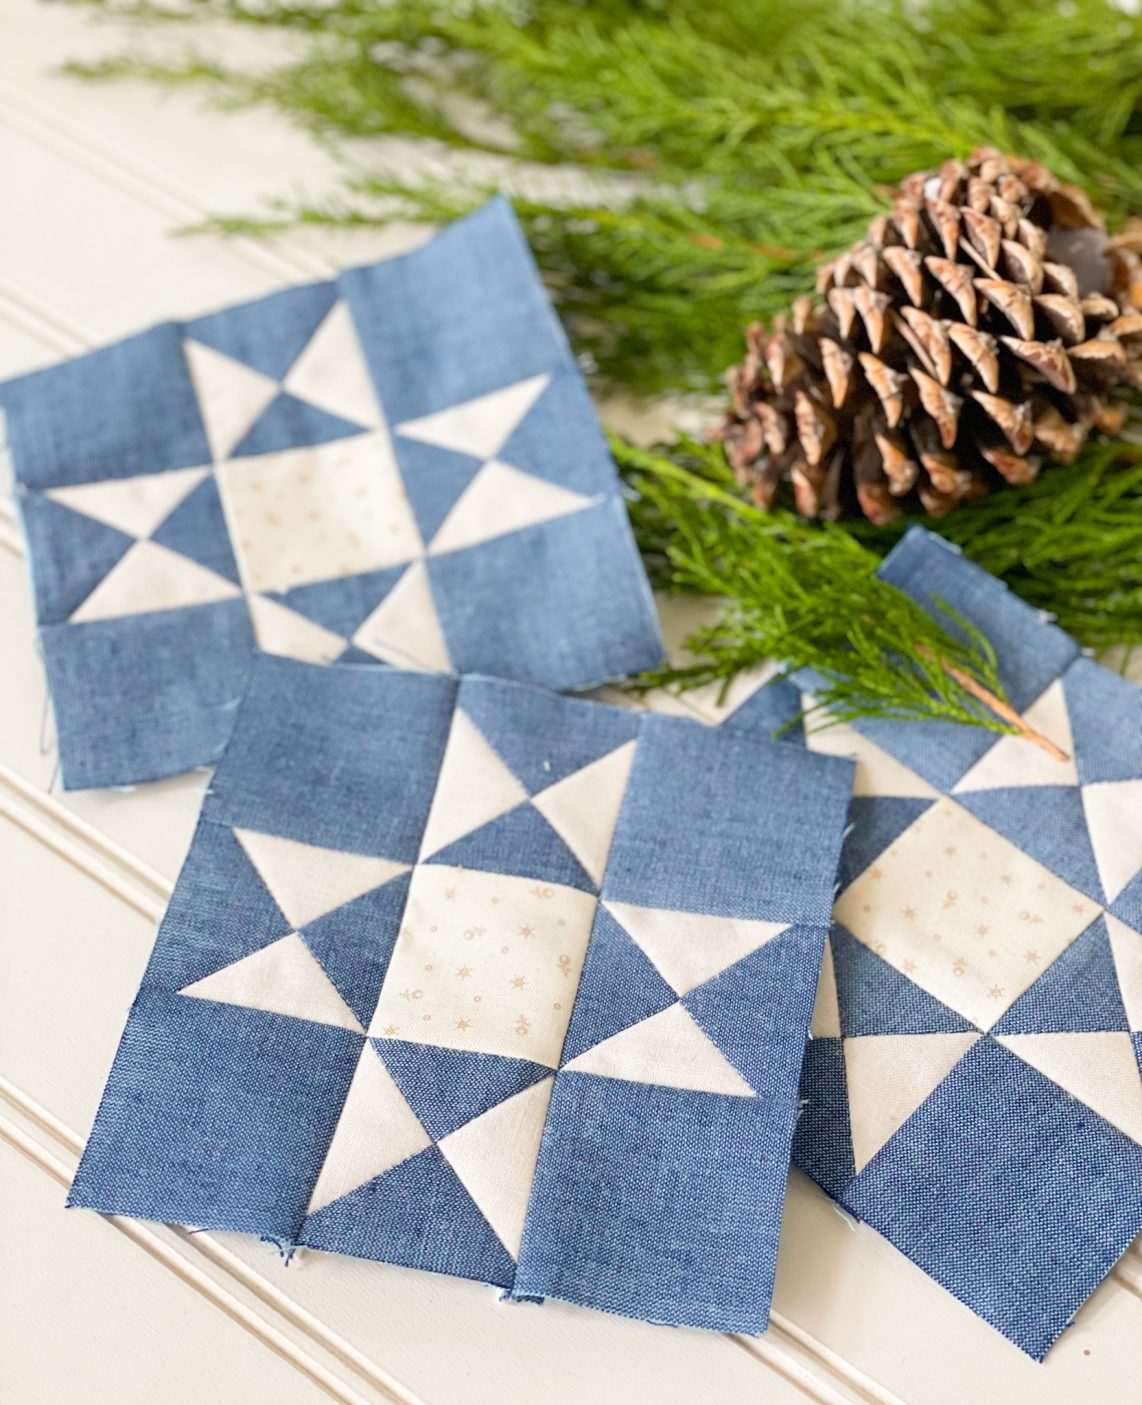
We are still working on stars this week, and these particular stars will sparkle in the border of your quilt!
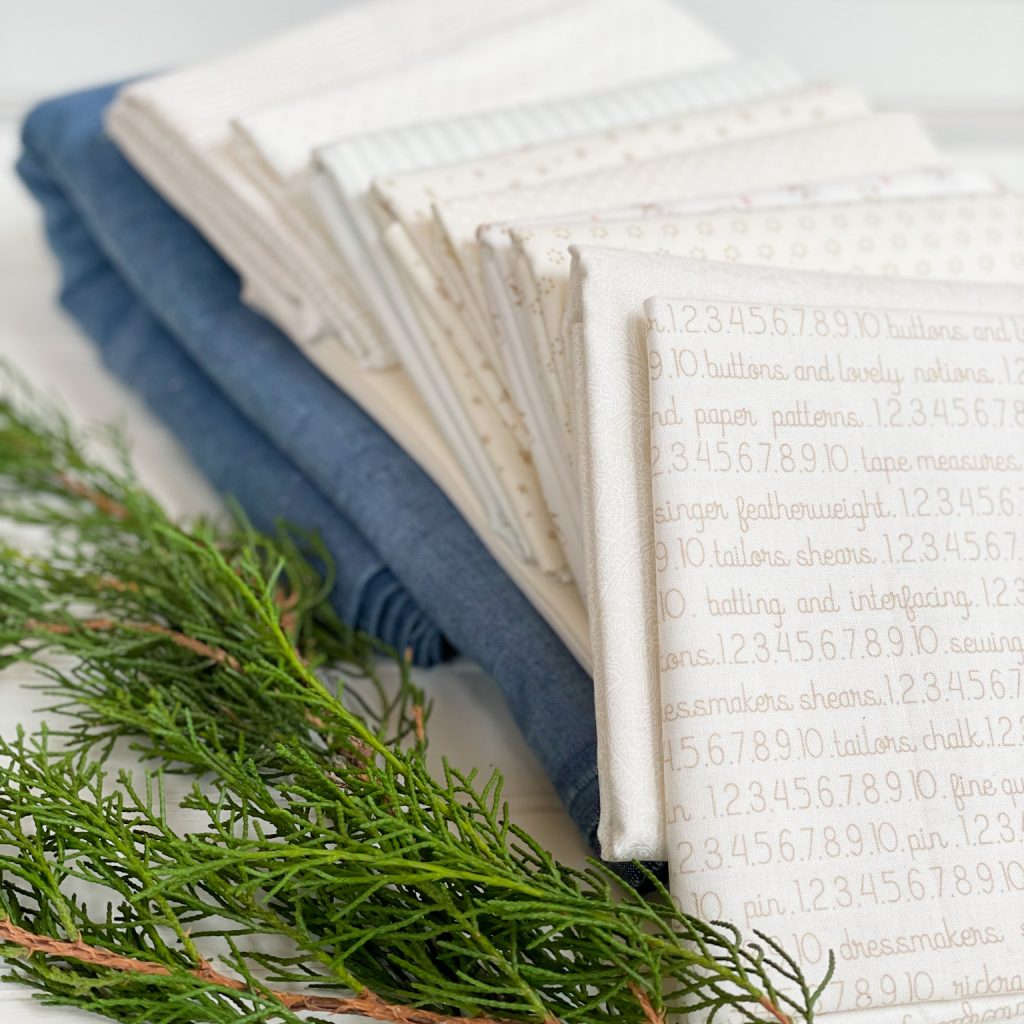
Constructed exactly just like Star # 2 from last week, these stars will form the basis of your pieced borders. Grab Cream Print #6 and let’s get started!

We opted to use the Cream Print #6 for the center of our stars and the solid ivory for the points. You should have lots of variety left in your cream prints, so feel free to pick a small scale tonal cream print or more of Cream Print #6 for your star points if you prefer a scrappier feel. They would look equally sparkly either way!

ASSEEDIT: WINTER WALK PATTERN WILL BE AVAILABLE BEGINNING OF JAN 2024MBLY INSTRUCTIONS:
BLOCK #7: TRUNK SECTIONS
The second half of our assignment for this week is to start on some of the block components that we will need to finish off our trees. (Did you know you made trees already and you didn’t even know it ?!?).
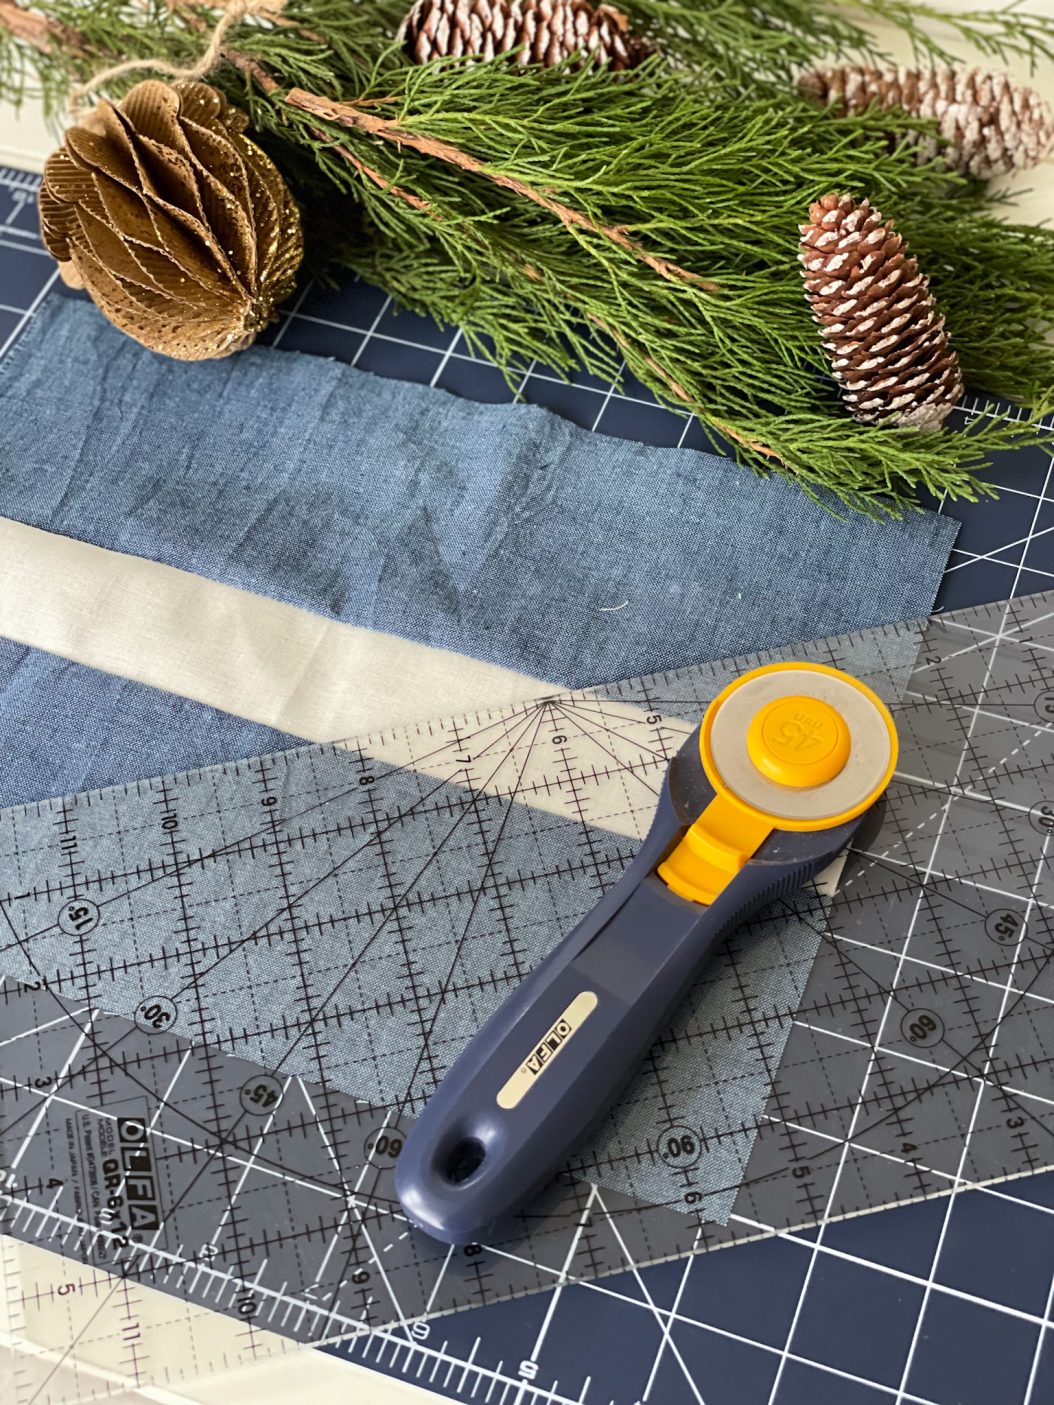
To make our tree trunk sections, we will use a simple strip piecing technique.
Anytime you are sewing long strips of fabric together, be sure to sew slowly paying attention to your seam allowance as you go. I like to pin every few inches and press my pieces after every strip I sew. I find this helps to keep all the seams laying straight and flat. Many people also have good luck keeping seams straight by alternating the direction they sew their strips.
Since you will be sub-cutting this strip set, it is important to keep it as straight as possible.
EDIT: WINTER WALK PATTERN WILL BE AVAILABLE BEGINNING OF JAN 2024
When finished, this week you will have made (12) Border Star Blocks and (5) Trunk Section Pieces.
Be sure to label each section piece for easy reference during assembly.
Use labels “Section #1- Section #5.
See you all next week with another set of cutting and piecing info!
xoxox
Susan and Joanna
Find all of the Winter Walk in the Woods posts here:
Week 4
Cindy | 20th Jan 22
I am dearly loving this sew along! Thank you Susan and team for such a great one!!!
joanna@figtreequilts.com | 24th Jan 22
You are so welcome. We are having great fun seeing everyone’s quilts progressing so quickly!
Linda Beckman | 22nd Jan 22
This week we are not able to print it out like last week? That was so much better when it could be printed…
joanna@figtreequilts.com | 24th Jan 22
Not always possible due to time. If you scroll through comments you can see lots of different ways that people save it. Thanks!