Embroidery Sew Along: Block #7
Welcome back to our weekly Embroidery block to accompany our Stitchery Sampler Sew Along. If you would like info on previous blocks, our supplies or general start and embroidery info, scroll back to the previous embroidery posts…
CLICK HERE to download our free embroidery sheet that you can transfer to the fabric of your choice.
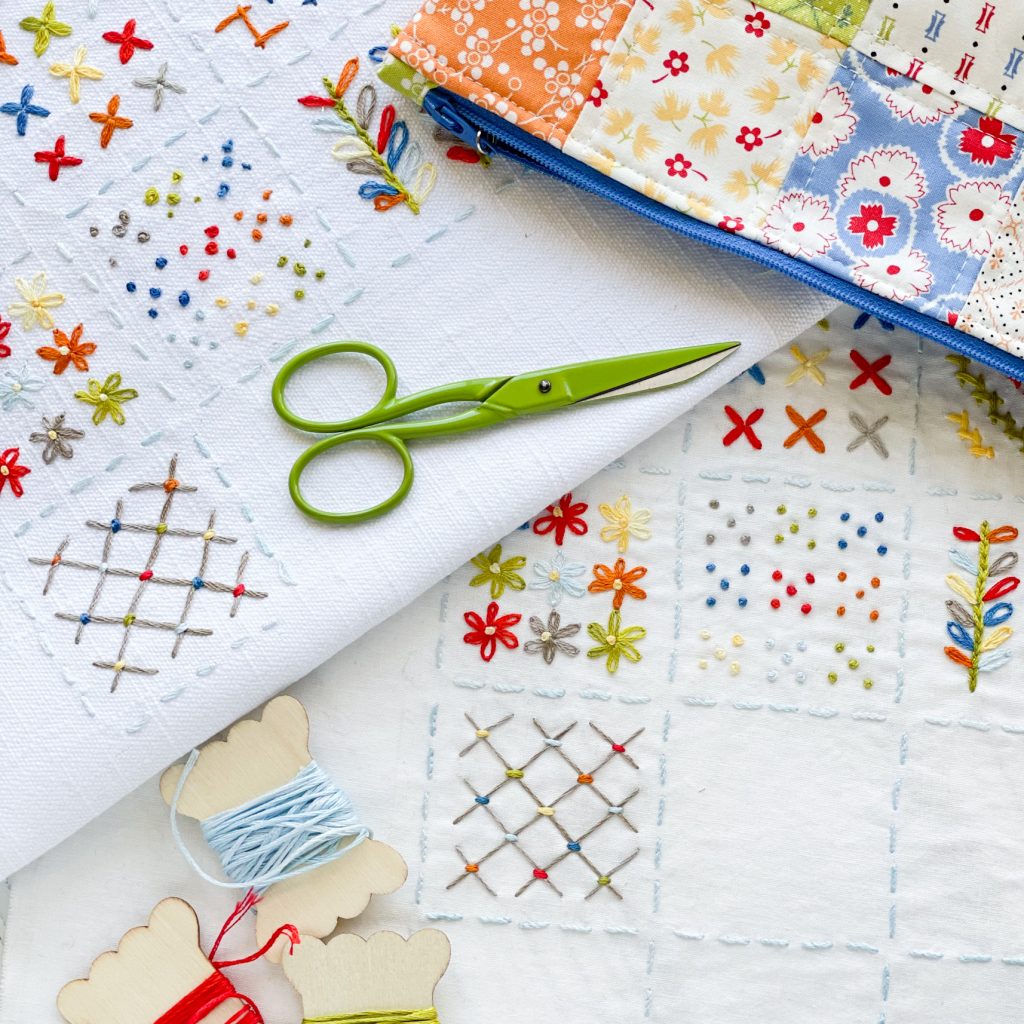
THE CROSS STITCH BLOCK
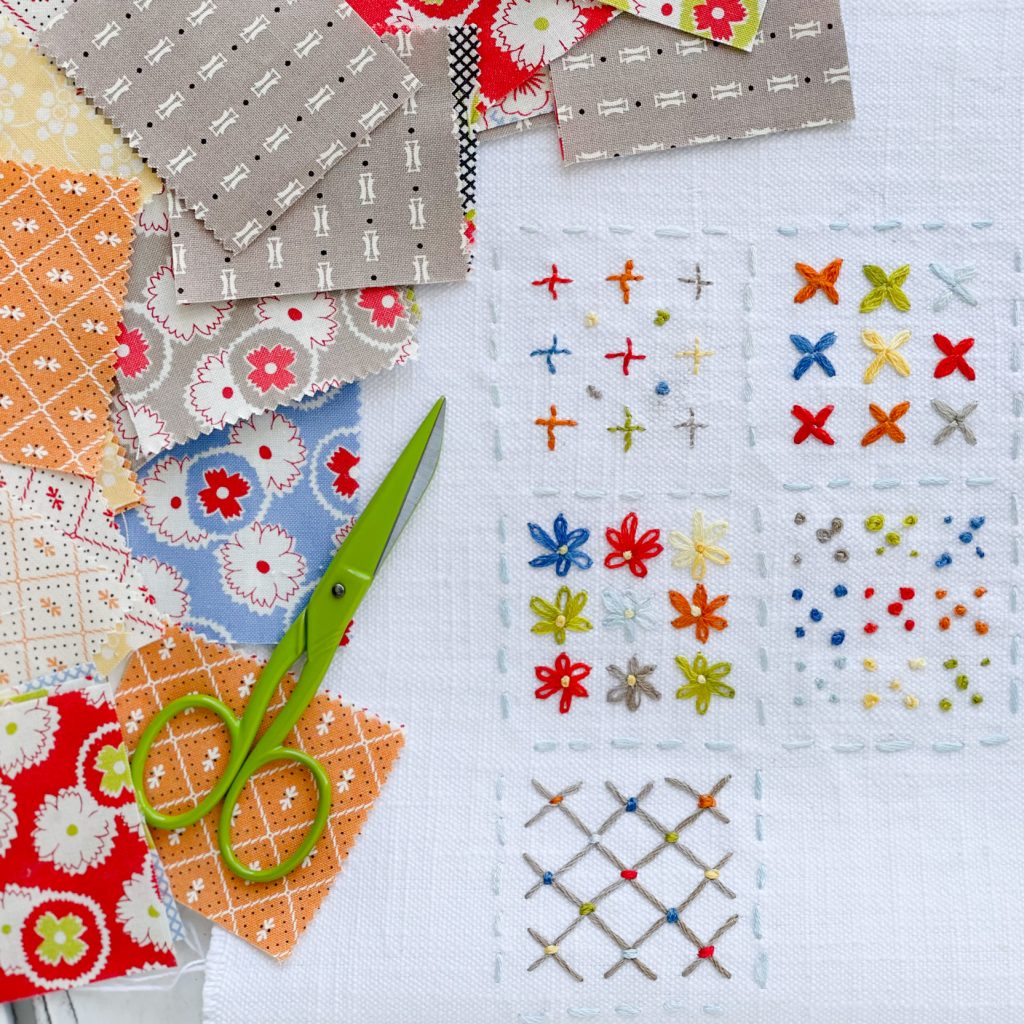
To represent this week’s Stitches Block, we wanted a stitch that would replicate the cross stitch shape, but not look similar to the Clover Block from Week 2. As we started investigating different embroidery stitches to use, I thought of doing the stem stitch, which I have been using to represent the sashing between blocks.
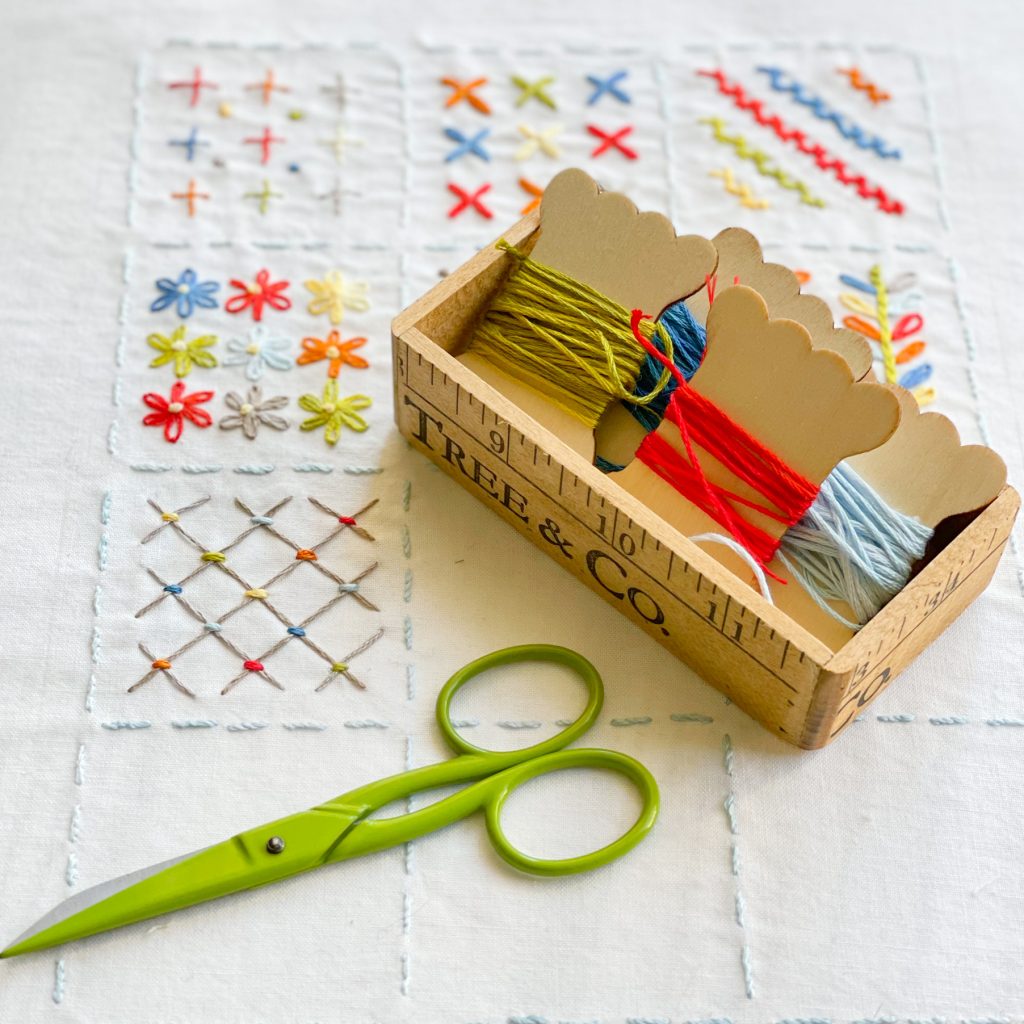
Sophie and I both tried it out, and the blocks seemed to be missing a bit of sparkle. We did some more research and discovered the Lattice fill stitch. We thought it was the perfect representation for Week 7!
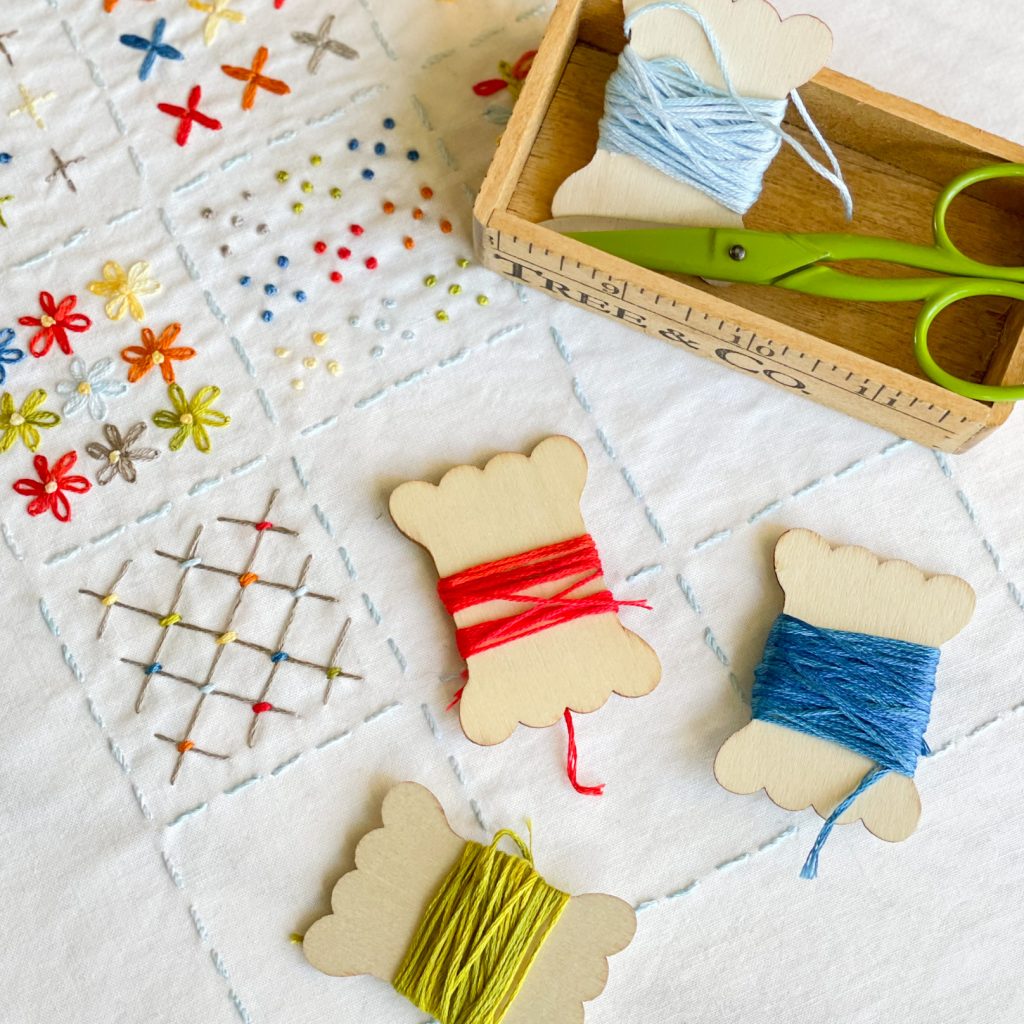
Sophie and I both opted to sew the base of our Lattice work with grey floss. We chose grey to really let the tack down stitches shine as well as have a calmer block under the bold Lazy Daisy box.
I stitched mine (on cotton) with four strands of grey for the base and Sophie, who is doing her sampler on the woven fabric, opted to do her base with six strands of floss so it really stood out.
We each used four strands of the color floss to take our stitches down and made two stitches on top of each other to make sure our joins were a focal point.
We are having so much fun doing this each week!
A few tips that we discovered while stitching out the blocks were:
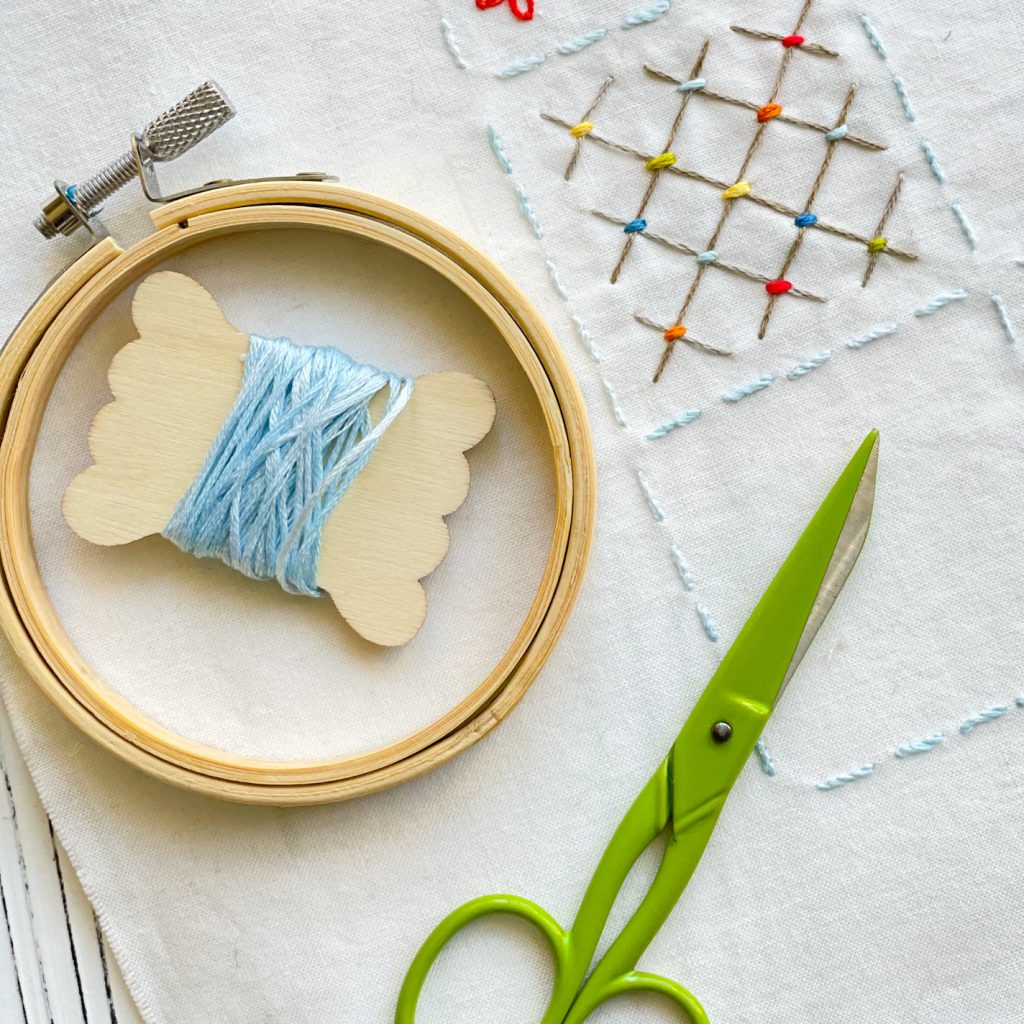
- Don’t mark all of the lines on the block. You only need to make a dot at the start and end of each line and then connect the dots.
- It is important to not pull your floss too tight, and not to keep your stitches too loose. There seems to be a delicate balance between the two that yields the best results. You want your stitches not to buckle the fabric, and not to appear stringy.
- Sophie enjoyed stitching hers with the aid of a hoop, whereas I felt it was easier to get a good tension by removing my fabric from the hoop. Don’t be afraid to experiment and see what works best for you!

This week, I also finished the rest of the grid work for my sampler. I used three strands of the light blue floss and stitched four stem stitches in a row for the appearance of the dash.
Sophie was running short on time and only finished one box. She is stitching the dashes with a running stitch using six strands of floss.
Here is a good video for this stitch:
Lattice Fill Video Tutorial: https://www.youtube.com/watch?v=KP3q3H5bnf8
Guide of Stitches So Far:
Week 1: Back Stitch with 3 strands and French Knots
Sashing: Stem Stitch with 3 strands
Week 2: Granitos with 3 strands
Week 3: Herringbone Stitch with either 6 or 4 strands [see above]
Week 4: Lazy Daisy Stitch and French Knots with 3 strands
Week 5: Colonial Knot [or French Knot] with 4 strands
Week 6: Chain Stitch with Lazy Daisy with 4 strands
Week 7: Lattice Fill Stitch with 4 or 6 strands
HERE ARE SOME GREAT VIDEO RESOURCES FOR PREVIOUS STITCHES:
Granitos Stitch: Link: https://www.youtube.com/watch?t=128&v=Cysb2KK29dA&feature=youtu.be
Back Stitch… https://www.youtube.com/watch?v=rZ_wVC84UmM&feature=emb_title
Stem Stitch… https://www.youtube.com/watch?v=TebgWq9AqyY&feature=emb_logo
French Knots… https://www.youtube.com/watch?v=W1Cq24d5-8s&feature=emb_logo
Herringbone Stitch… https://www.youtube.com/watch?v=4JyFBXtsO34&t=4s
Lazy Daisy (petal formation)... https://www.youtube.com/watch?v=hmYvBZhUkrI
Lazy Daisy (for connecting the petals)… https://www.youtube.com/watch?v=2pYtAKpRlTM&t=8s
Chain Stitch: https://www.youtube.com/watch?v=KP3q3H5bnf8
Each week we will share what stitches we have chosen and show you our progress and Sophie’s too!
Stitching samples and photos by Susan Vaughan.
Susan R | 24th Feb 21
Can you please let me know if I am looking at the wrong area for your newest stem stitch in the light blue? Is it four stem stitches for the grid? When I look at the picture, I see five stem stitches. I wanted to check to make sure. This is turning out sooo cute – thank you! By any chance, do you plan to create all of these helpful notes/tips into a booklet of some kind (or a pattern) – it would be wonderful to have it all in one place. Perhaps, that is way too much work, but thought I’d ask 🙂 Thank you again.
joanna@figtreequilts.com | 24th Feb 21
Not sure exactly what you are referring to but the sample is identical to the PDF printout we have for you. But whatever you would like to do is good… do what works for you! All the instructions here will stay on the blog forever but we have no plans to create a pattern. Thanks for stitching along with us!