
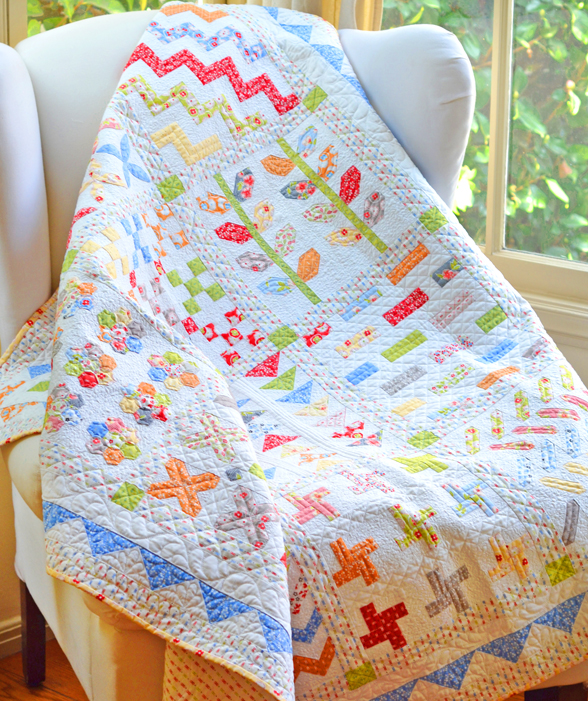
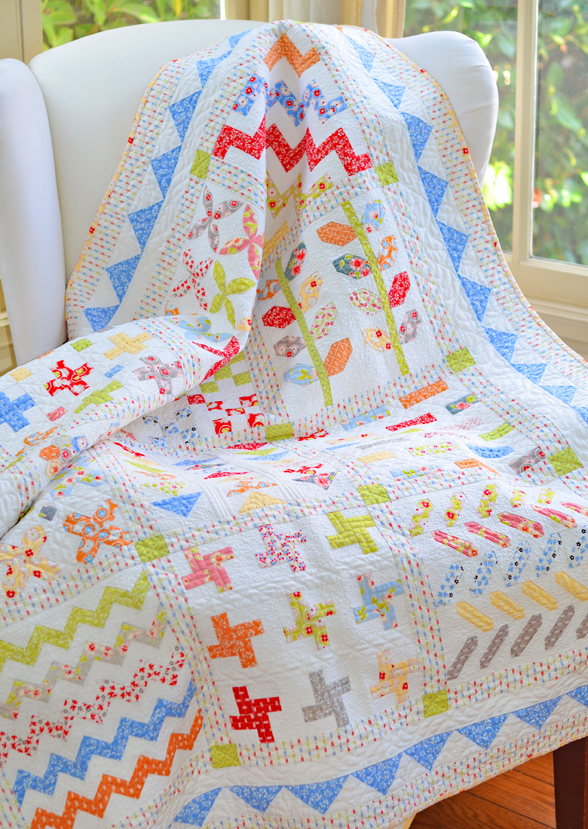
Stitchery Sampler: Sashing & Borders & Finishing
We are a few days late on this Week #13 finishing up post… family life got a bit in the way! But better late than never, right?

Welcome back to our final week where we talk about sashing, borders and finishing up our projects. Can’t believe we are done with our 12 blocks and I have seen SO MANY of you keeping up on Facebook and especially in our group. Way to go ladies and a few gentlemen as well!
If you need background information on the quilt and how it all starts off, please click HERE or HERE.

WEEK #13, SASHING & BORDER INFO & VIDEO
You will find all the info I could think to share on the VIDEO for this week and I hope you will check it out for hints on sashing, sizing, borders and more.
Here are a couple bullet points on things I would like for you to pay attention to:
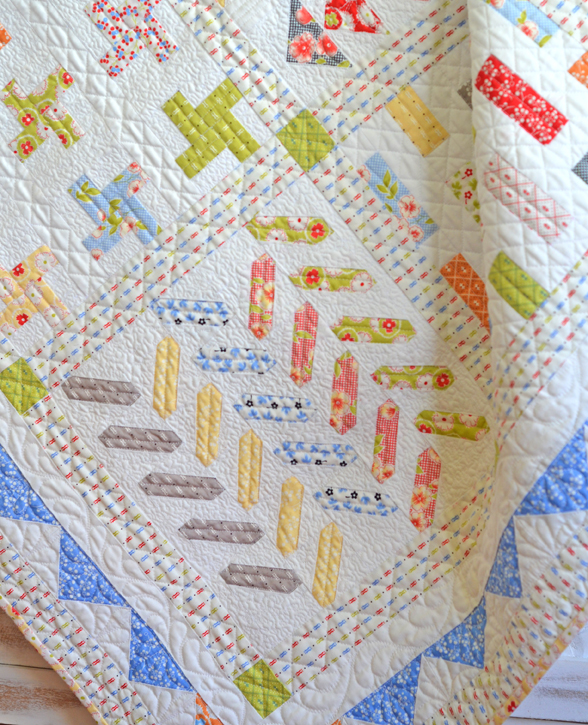
- The horizontal and vertical sashing are different sizes on purpose. Keep them marked well so you don’t confuse which is which.
- This is done so that the final internal size is exactly what you need for the SAWTOOTH BORDER to fit.
- As a result the posts are rectangles and not squares so pay attention to that when piecing as well.
- Join everything slowly and carefully and it should be easy and fit perfectly. Don’t rush!
- Once your quilt center is pieced, I would recommend piecing your SAWTOOTH BORDER next to see if it is the size it should be. That way you can adjust the inner ivory border on any of the sides if you need it.
- To be clear, the borders DO NOT NEED TO BE ADJUSTED IN ANY WAY and they should be a perfect fit. But IN CASE you are having any kind of an issue, this is the place to do it. Pay careful to the hints we give in the video if you are struggling with your borders for some reason.
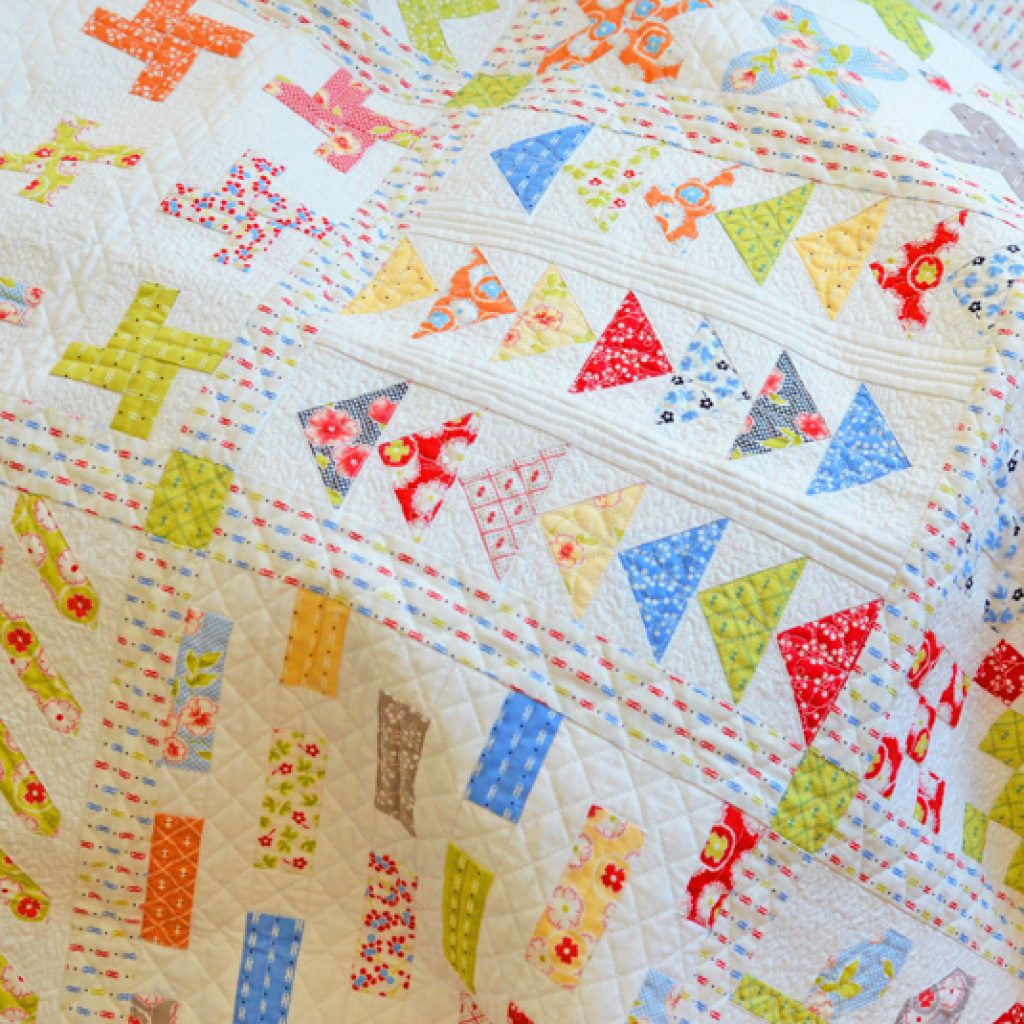
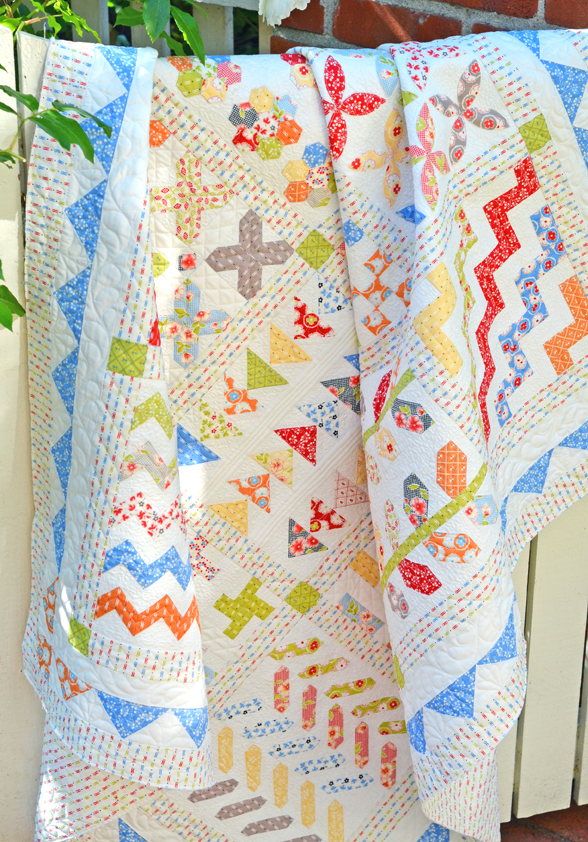
- Feel free to experiment with different prints in the borders and in the corners and notice our new sampler that is very scrappy… more pics coming of that as we finish it up!
CLICK HERE for the VIDEO.
Thanks for joining us and for following along on this SEW ALONG. We have already jumped into a few new projects in our FACEBOOK GROUP so please join us there if you are looking for a new project. We love our community there!
Thanks again everyone! Joanna
Come join us in our Facebook Group: Fig Tree Quilts Friends HERE to see us work on this sampler together, be encouraged and inspired, ask questions and have a chance to win some goodies while you are at it.
Becky | 10th Apr 21
This was such a fun project! This was my first sew along, and I enjoyed it so much. It was great to be a part of your amazing community. Flying geese are my favorite, and I especially loved the EPP block. Thanks for such well written instructions and bonus videos.